Quick Recap
Last month I walked through setting up Immich on a UGREEN NAS as an alternative to Google Photos. Since then, I’ve gotten a lot of good questions about using an external USB drive instead of the NAS’s internal storage as the primary location for Immich uploads. So this guide covers exactly that: setting up external storage, and migrating your existing Immich library over to it.
One thing worth clearing up first: this isn’t the same as adding a second upload location for your photos. That’s what Immich’s “External Libraries“ feature does, and it’s a different animal entirely, it indexes files in place without taking ownership of them. What you’re doing here is changing the storage location Immich itself owns and uploads every future photo to. Your existing albums and photos don’t disappear; they move with the library.
Back Up Before You Touch Anything
Your Immich folder holds three things: the postgres folder, which is the database tracking your albums and photo dates; the library folder, where all your actual media lives; and the model-cache folder, which stores the machine-learning models Immich uses for facial recognition. You can back all of this up by copying the whole Immich folder to a shared backup folder on the NAS or another external drive, or by setting up a backup task using UGOS’s “back up between pools” option. Either way, do this first — it’s the whole reason the rest of this process is low-risk.
Finding Your External Drive’s Mount Point
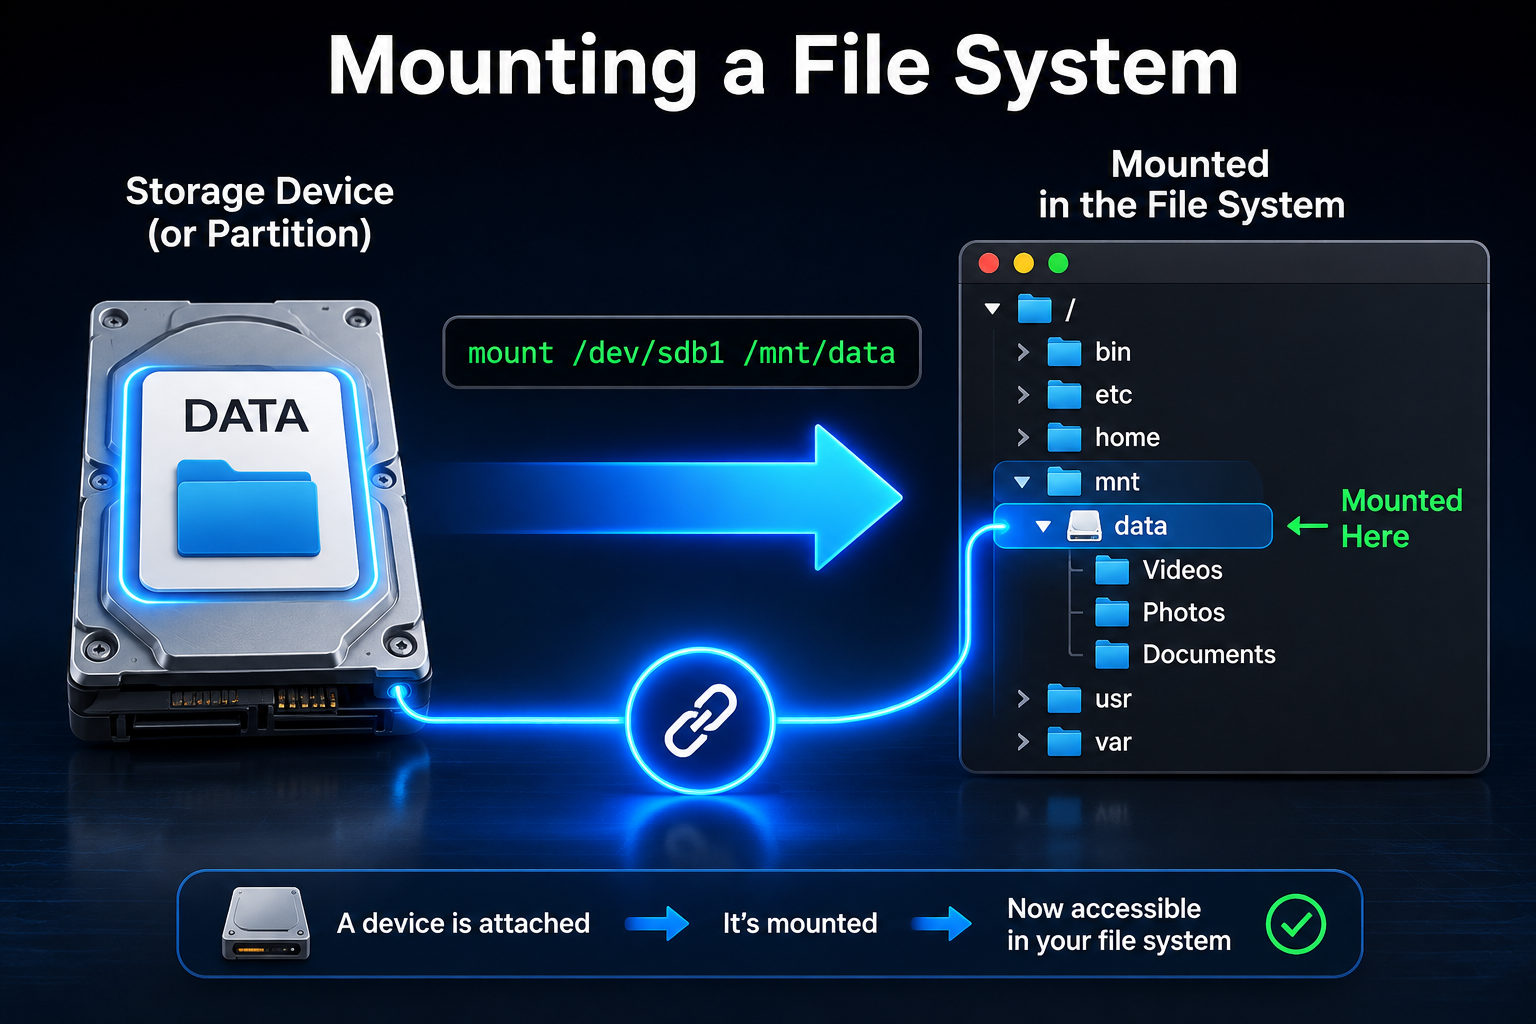
Plug the external drive into a USB port on your NAS. Before you can point Immich at it, you need to know its mount point — the path UGOS actually uses to address the drive.
Start in File Manager: go to External devices, double-click the drive, and note its name. Mine happens to be “Bench.” From there, you have two ways to find the actual mount point. The way I usually do it is over SSH: enable SSH under Control Panel > Terminal (make sure it’s running on port 22), SSH into the NAS from another computer, and run ‘lsblk -f‘ . That lists every block storage device on the NAS — drives, partitions, all of it — and you’re looking for an entry starting with /mnt/@usb/ that matches the drive name you noted earlier.
You don’t actually need SSH for this, though. File Manager will tell you the same thing: click the external drive under External devices and select Details in the right-hand panel, and it lists the mount point directly. Either way works — SSH just happens to be the method I default to.
Whichever way you find it, write it down, because you’ll need it in a few minutes. And keep in mind the mount point I’m using in this guide, /mnt/@usb/sde2/, is specific to my NAS and my drive. Yours will almost certainly look different — it depends on which USB port you use, what else is plugged in, and how many partitions your drive has. Always use the path you actually found, not mine.
Stopping Immich and Moving the Library
Back in the UGOS Docker app, select Stop next to the Immich project. This stops the containers so it’s safe to make changes.
Here’s the part that trips people up if they’re not paying attention: you’re only moving the library folder. Not postgres, not model-cache, not the yaml file — just library. Right-click it, select Copy/Move to, choose Move, and send it to the root of your external drive. Once it finishes, double-check that the folder and all its sub directories actually made it over before you move on. This is genuinely the step where things go wrong if you rush it — a partial copy is a much bigger headache than the ten extra seconds it takes to verify.
Editing the Compose File
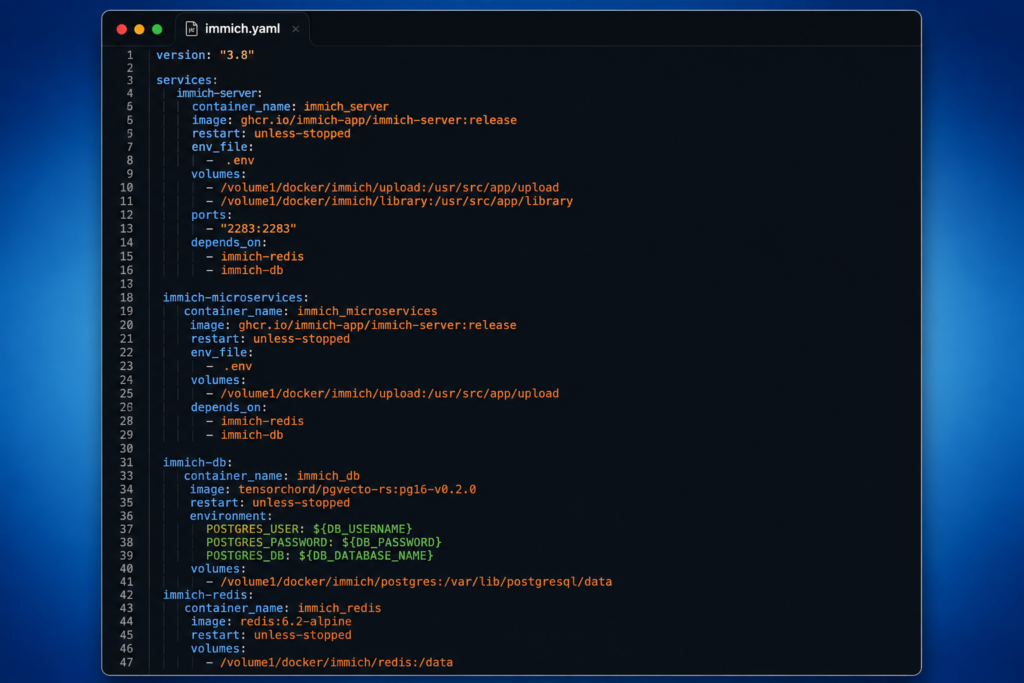
Back in the Immich project, click the three dots in the upper right, select Settings, then Compose configuration. The first path under volumes is where Immich is currently uploading everything — internally, on the NAS. Comment that out with a #, then add a new line with your external path:
'- /mnt/@usb/sde2/library:/data'
The part after the colon, /data, is the container’s internal path, and it never changes — only what’s mounted behind it does. That’s really the whole trick to this entire process: Immich only ever knows about /data. What’s physically sitting behind that path is entirely up to you.
One thing worth flagging explicitly, because it’s an easy mistake: yaml files and Linux itself are case-sensitive. It doesn’t matter whether you name your folder library, Library, or LIBRARY — but whatever case you actually used when you created it has to match exactly in the compose file. I used Library with a capital L on my own drive, so my line reads /mnt/@usb/sde2/Library:/data, not lowercase. Get the case wrong and Immich simply won’t find your files.
Redeploying and Checking Everything
Scroll down and click Redeploy to feed the updated yaml in. Once it’s back up, open a browser, go to your NAS’s IP address on port 2283, log in, and you should see every album and photo exactly as you left them. You can also confirm the switch actually took by checking the storage indicator in the lower-left corner — it should now reflect your external drive’s capacity instead of your internal storage.
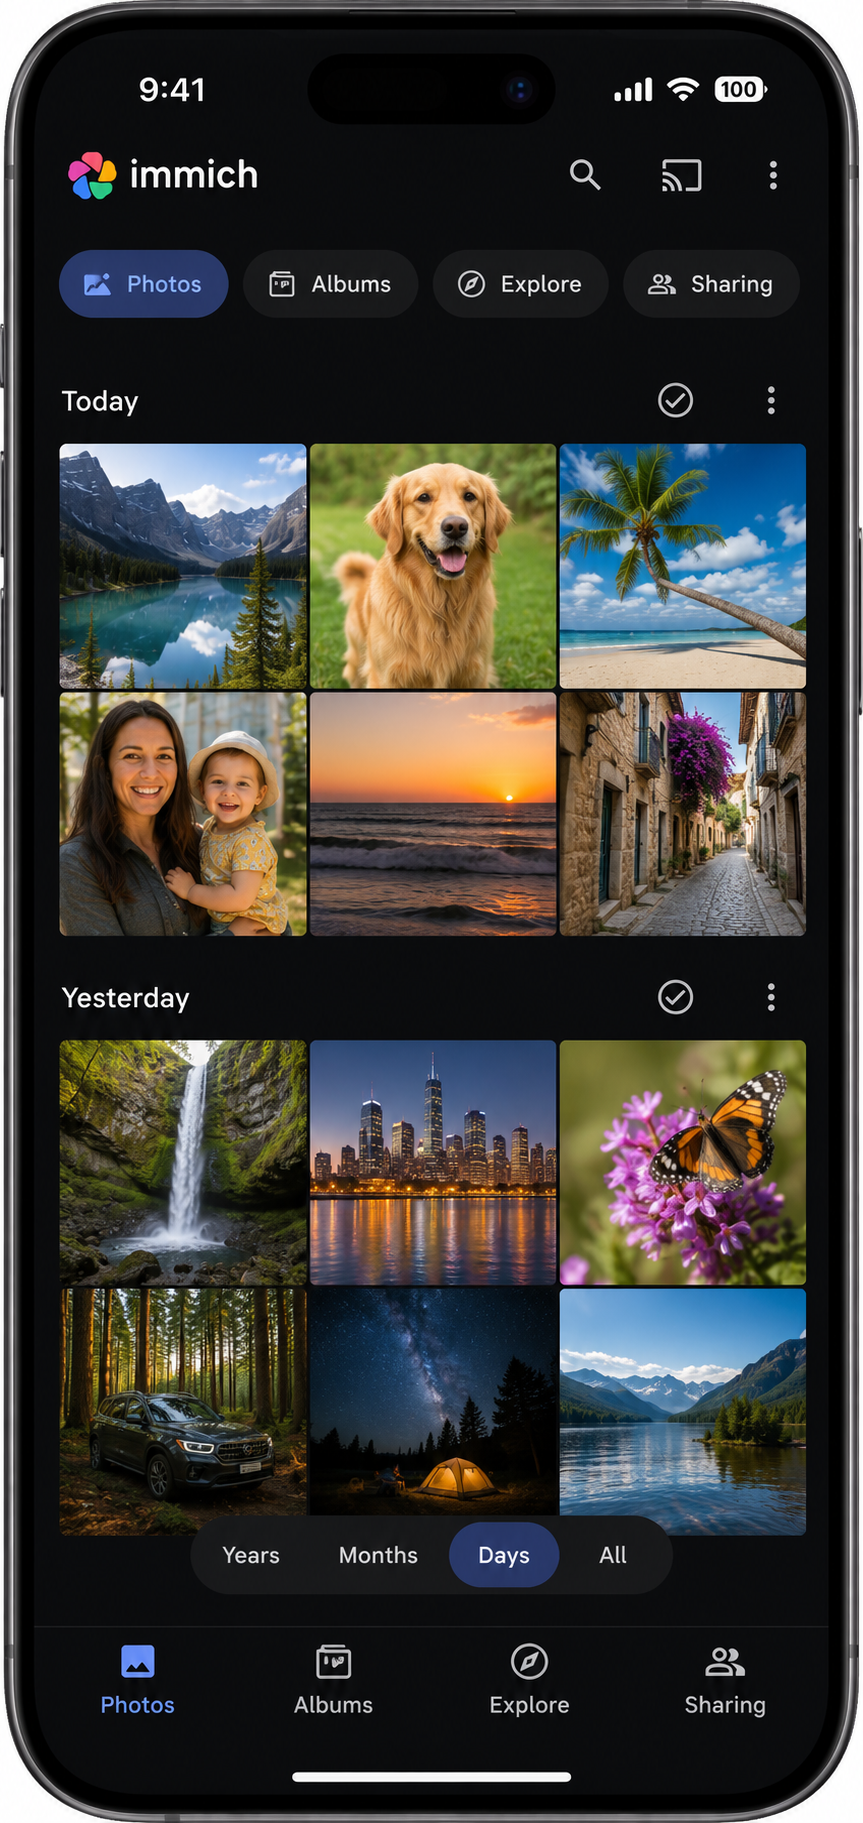
Then do one more sanity check: take a photo on your phone, let the Immich app sync it, and refresh the web app to confirm it shows up. Nothing changes on the mobile or web app side — same login, same IP, same everything. That’s honestly the part I find most reassuring about this whole process: you can move where the data physically lives without touching how you actually use the app day to day.
Don’t Skip the Backup Schedule
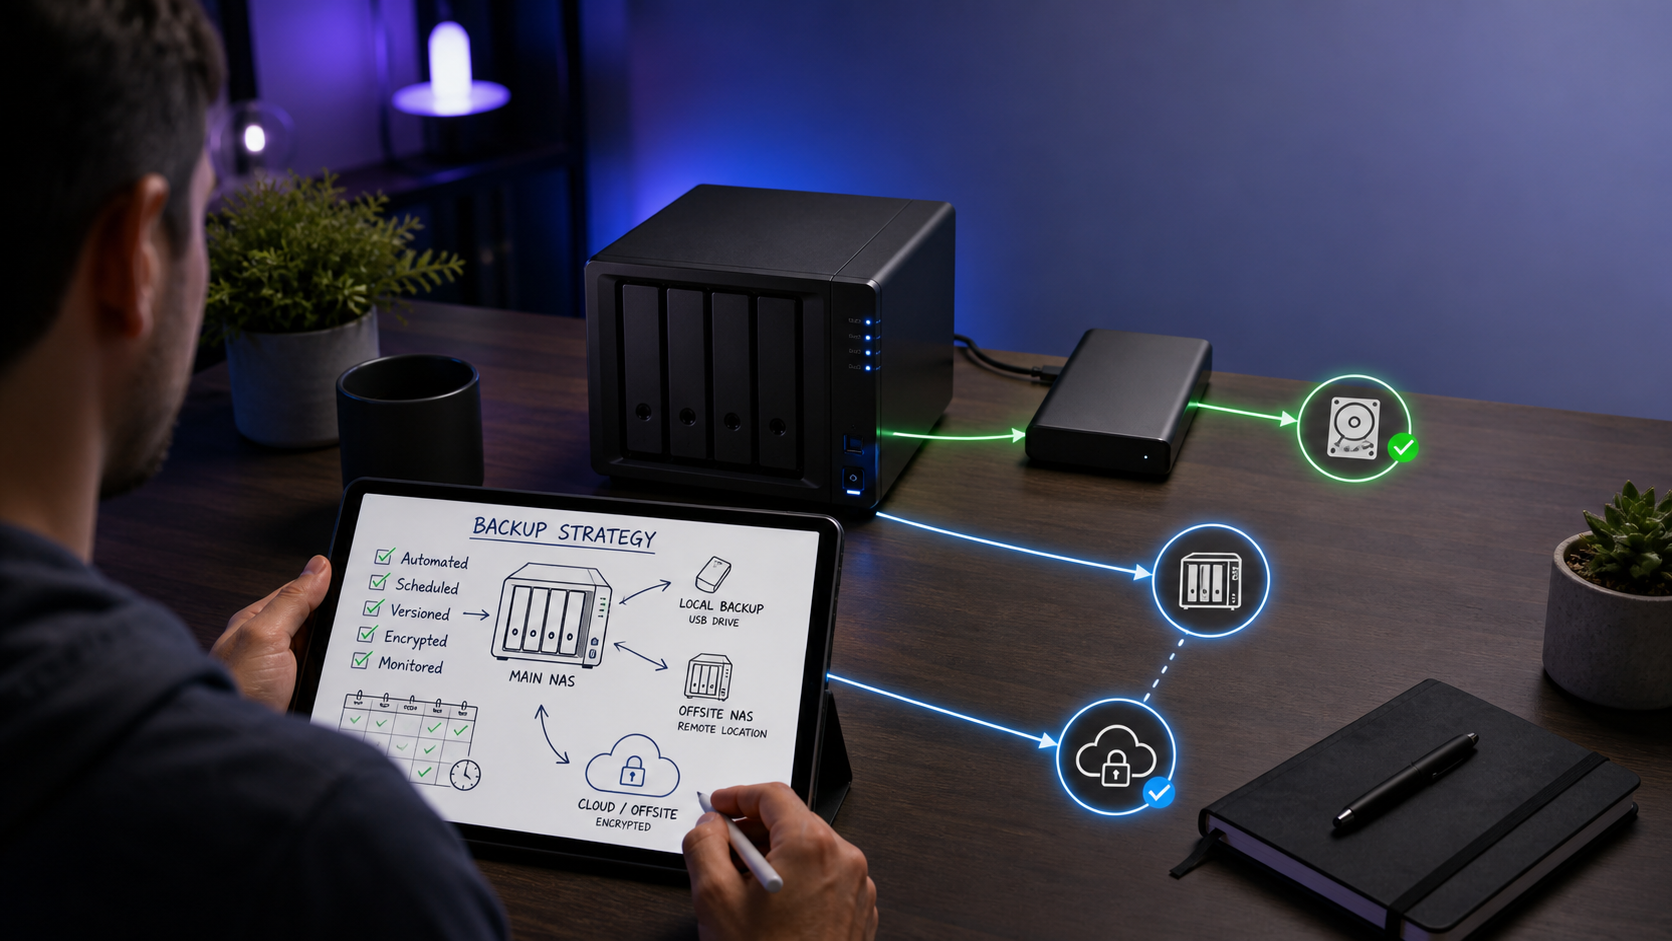
Once you’ve confirmed everything’s working, set up a regular backup schedule for the new external library location, and ideally keep more than one copy. A compose file you can rewrite from scratch in five minutes. Photos you can’t. I
One Last Thing
This turned out to be a pretty painless setup once you know where to find the mount point. If you’re one of the folks using UGOS’s built-in Photos app instead of Immich, I’d genuinely like to know how that’s working for you, and whether a migration guide from UGOS Photos to Immich would be useful. And if you hit something on your own setup that looked different from what’s here, drop it in the comments too, that’s usually how I find out what to cover next!
I also have a full PDF tutorail in my free Patreon, so please check that out!
💻 Hardware I Used: ✅ Some links on this post may be affiliate links, which help support me and help keep ads off here!
- UGREEN DXP6800 Pro NAS: https://amzn.to/4tKmKoF
- UGREEN DXP2800 NAS: https://amzn.to/4qxKdcI
- 4 x 8TB Ironwolf HDD Used in DXP 6800 Pro: https://amzn.to/4diniNt
- 2 x 4TB Ironwolf HDD Used in DXP 2800 Pro: https://amzn.to/3UxOlxg