
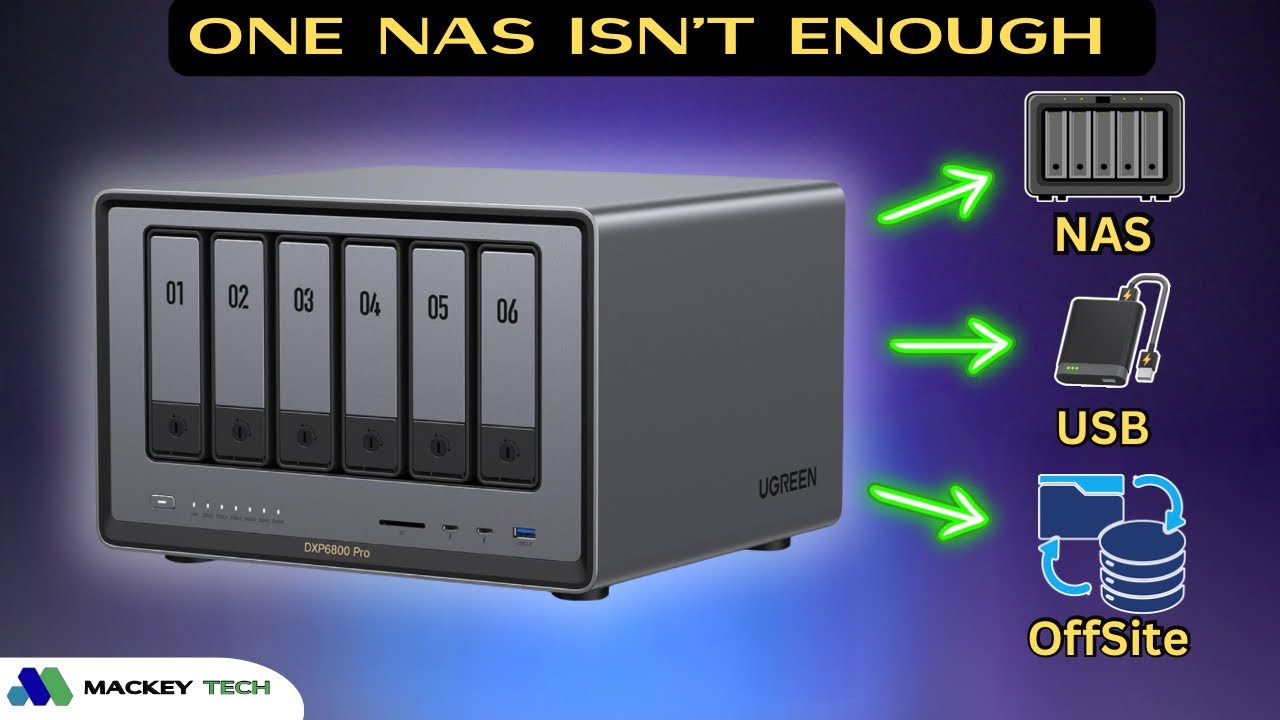
Do you have a Backup Plan?
There are countless ways to back up your important data, from external USB drives to cloud storage and a second NAS. However, choosing the right combination can become confusing—and cloud storage can get expensive once you start protecting several terabytes of data.
In this guide, we’ll use the easy-to-remember 3-2-1 backup strategy to protect the data stored on a UGREEN NAS. We’ll create a local backup on a USB drive, back up to another NAS using rsync, and explore two options for completing remote backups between UGREEN NAS devices.
What Is the 3-2-1 Backup Strategy?
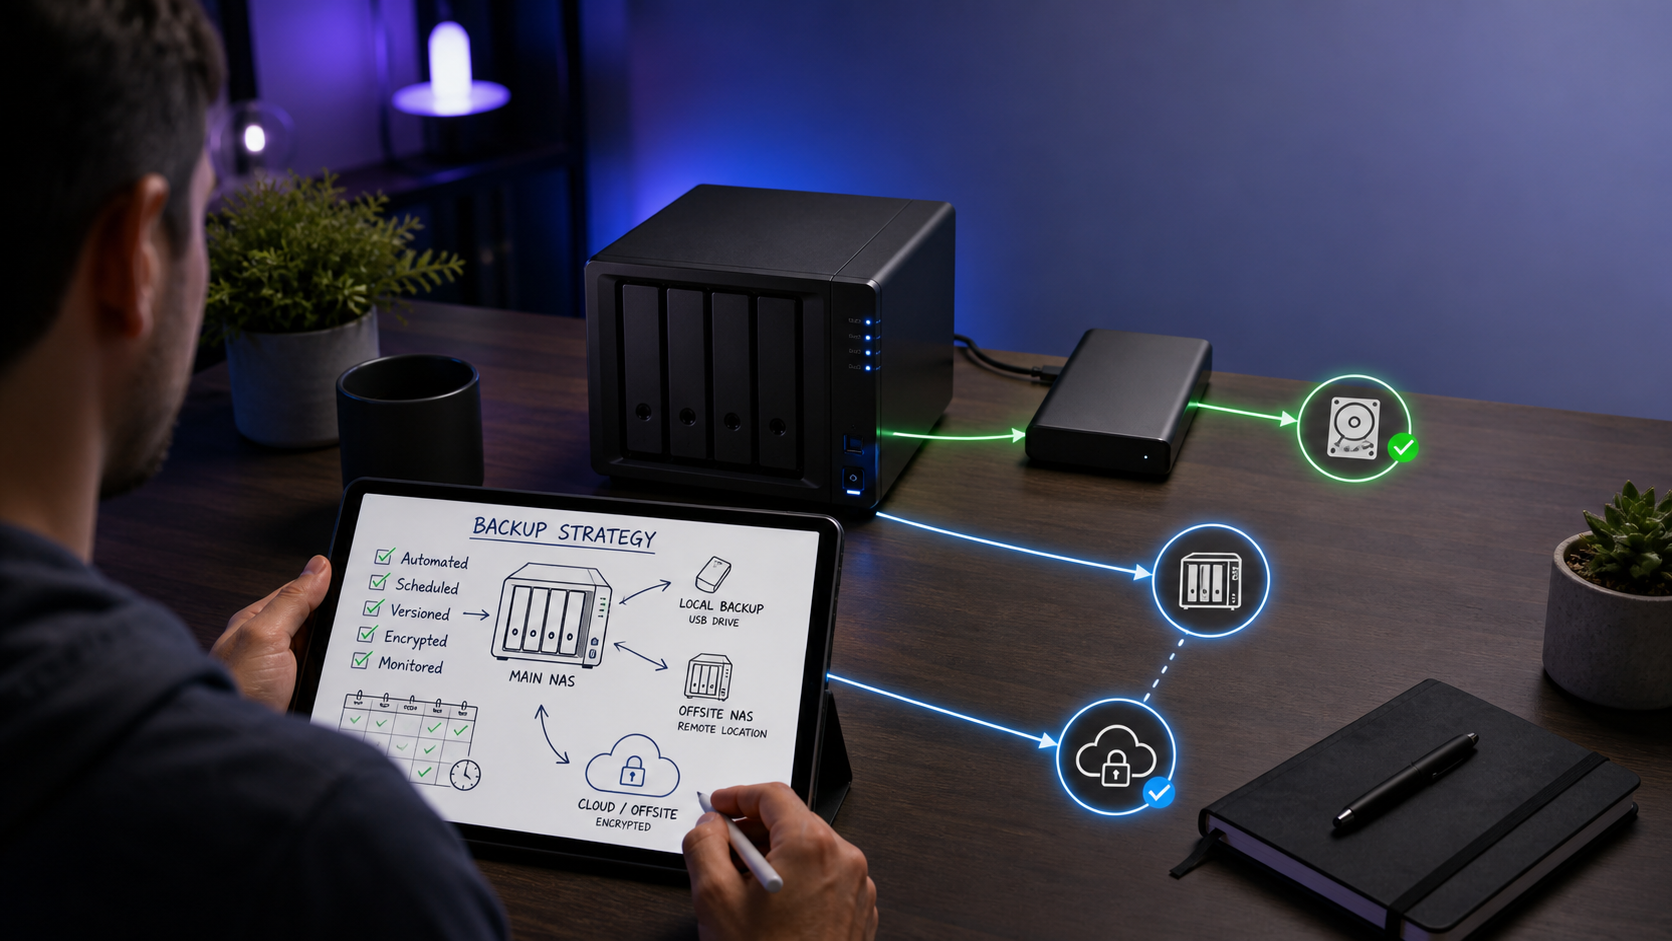
The 3-2-1 strategy means keeping at least three copies of your important data. Two copies should be stored on different types of storage, such as your NAS and an external USB drive. The third copy should be stored off-site so it remains protected if something happens to your home, such as theft, fire, flooding, or another disaster.
Your original files count as the first copy, so you need two additional copies to complete the strategy. RAID can help keep a NAS running when a drive fails, but RAID alone is not a backup. It doesn’t protect you from accidental deletion, corrupted files, ransomware, or the loss of the entire NAS.
Decide What You Need to Back Up
Not every file needs the same backup schedule. Files you access and change regularly should generally be backed up daily or weekly. This might include active projects, documents, business files, and anything else that changes frequently.
Irreplaceable files such as family photos, home movies, completed projects, and important financial or medical records deserve additional protection. These are good candidates for multiple backup copies, version history, and some form of long-term archival storage.
I like to think of archival storage as a place for data that cannot easily be replaced or recreated.
Using M-DISCs for Long-Term Archival Storage
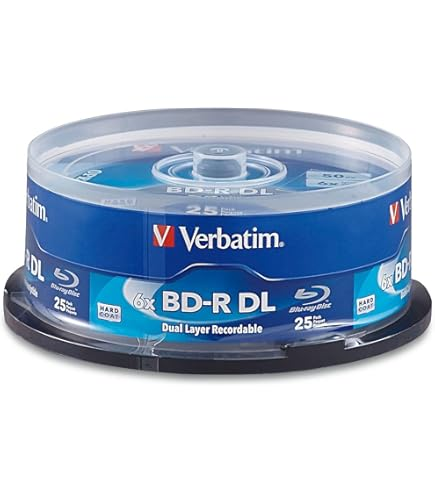
Archival-grade Blu-ray M-DISCs are one option for preserving a smaller collection of especially important files. Because the discs can be stored offline, they’re protected from ransomware, accidental deletion, and many of the problems that can affect storage devices that remain connected.
Manufacturers claim that properly stored M-DISCs may remain readable for several hundred years, with some estimates reaching as high as 1,000 years. Those figures are based on standardized accelerated-aging tests, so I would treat them as evidence of strong durability rather than a literal guarantee.
M-DISCs are not particularly cheap, and you also need a compatible Blu-ray writer. A 25GB disc typically costs around $3, while 50GB discs are often between $6 and $8 each. The 100GB BDXL versions can cost approximately $15 to $20 per disc and require a BDXL-compatible burner.
The larger discs aren’t priced strictly according to capacity because they use multiple recording layers and are more difficult to manufacture. The 25GB discs generally offer the best value, while the larger versions are convenient when you want to spread an archive across fewer discs.
Create a Local USB Backup
One of the easiest ways to create a second local copy of your data is with an external USB drive connected directly to the UGREEN NAS.
Ideally, this backup should be automated so it can run daily or weekly without requiring you to remember it. Keeping multiple versions is also helpful because it lets you recover an earlier copy if a file is accidentally changed, deleted, or corrupted.
UGOS makes this feature surprisingly difficult to find. When you open the Sync & Backup app and select Backup & Restore, there doesn’t appear to be an obvious USB backup option. However, if you create a new task and select Backup between storage pools, UGOS allows you to choose an external USB drive as the destination—even though that drive isn’t actually part of a storage pool.
Select the folder you want to protect, choose the external USB drive and destination folder, and then configure the backup schedule. You can create a one-time backup or schedule it to run automatically. If version retention is available, choose how many previous versions you want to preserve.
After the task finishes, open the UGOS Files app, select the external drive, and verify that the backup was created successfully.
This gives you a convenient second copy, but remember that a USB drive permanently connected to the NAS is still vulnerable to theft, electrical damage, ransomware, and accidental deletion. Disconnecting or rotating USB drives can provide additional protection.
Back Up One UGREEN NAS to Another
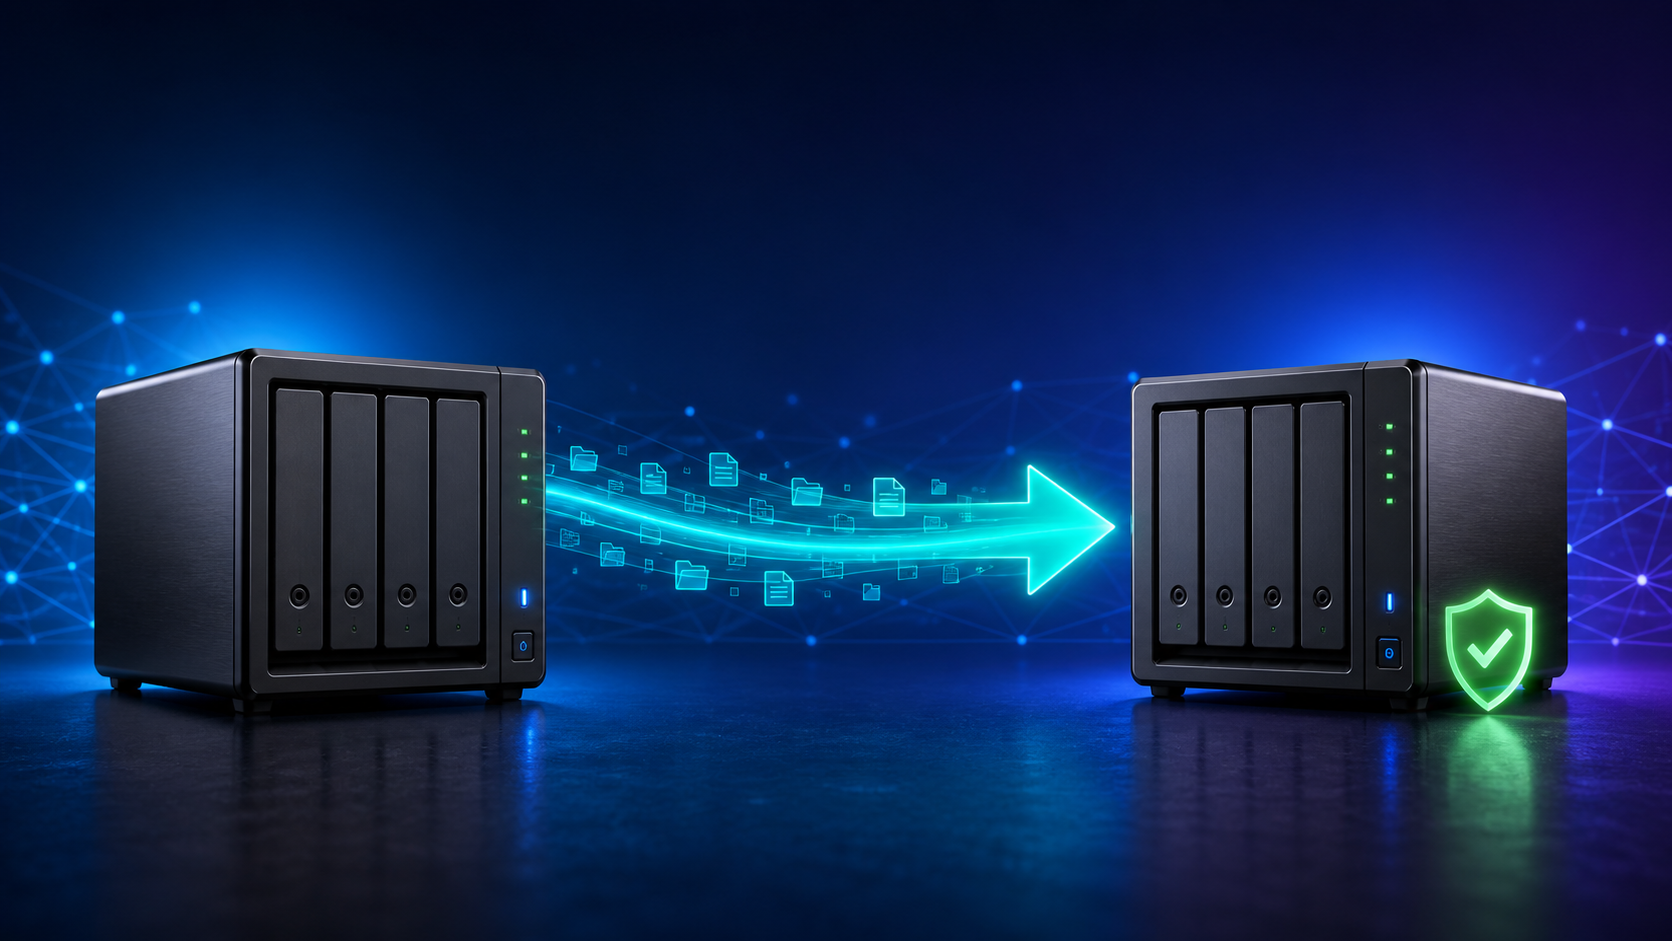
For the next part of the strategy, I used a UGREEN DXP2800 as a backup destination for my DXP6800 Pro. I first configured the backup locally and then tested it remotely with the two NAS devices on separate internet connections.
UGOS supports rsync, a widely used file-transfer and synchronization tool. If you don’t have another UGREEN NAS, the destination could instead be a Linux server, TrueNAS system, Synology NAS, OpenMediaVault server, or another device capable of receiving rsync transfers.
The setup varies between platforms, but the destination generally needs an rsync service or module, a folder with the proper read-and-write permissions, and a user authorized to access that folder. Traditional rsync daemon connections commonly use port 873, although rsync over SSH and custom configurations may use a different port.
Prepare the Destination NAS
On the destination UGREEN NAS, open Control Panel, select File Service, and enable rsync. Under the advanced settings, confirm the port being used. The default rsync daemon port is 873.
Next, create a shared folder for the backups and make sure the account that will receive the files has read-and-write access. It’s a good idea to create a dedicated backup account instead of using your primary administrator account.
Before creating the complete backup task, test the connection with a small folder. This makes it much easier to identify permission, authentication, or network problems without waiting for a large transfer.
Create the Local NAS-to-NAS Backup
On the source NAS, open Sync & Backup, select Backup & Restore, and create a new task to back up the current UGREEN NAS.
Choose rsync as the server type and enter the local IP address of the destination NAS. Enter the rsync port, username, and password, and then confirm the connection.
Once connected, select the source folder and the destination folder. Configure the schedule and version-retention policy, review the settings, and create the task. You can have UGOS begin the backup immediately or wait for the scheduled time.
After the task completes, open the destination NAS and confirm that the backup repository exists. You should also test the restore process rather than assuming that a successful status means the data can be recovered.
Plan the Initial Remote Backup Carefully
If you’re setting up a scheduled remote backup, it’s best to perform the first full backup while both devices are on the same local network whenever possible. The first transfer contains the bulk of your data and could take days over a typical internet connection.
Once the initial copy is complete, the scheduled remote jobs should generally transfer only new or changed data.
You should also check whether either internet provider has a monthly data cap. The source location’s upload speed will usually be the main bottleneck, while the destination location needs sufficient download capacity. Large transfers can consume a substantial amount of data at both locations.
What Happened with UGREENlink Remote Access
My original plan was to use the DXP2800’s UGREENlink client ID as the destination server address for a remote backup from the DXP6800 Pro.
However, the Backup & Restore portion of the app repeatedly rejected the remote client ID. After several attempts, I switched to the Sync portion of the same app, and the UGREENlink client ID worked.
I was able to create a scheduled sync task from the DXP6800 Pro to the remote DXP2800 and transfer the selected files successfully. This means UGREENlink worked for a remote sync in my testing, but it did not work as the server address for a remote backup task.
It’s worth remembering that synchronization and backup are not exactly the same. A sync task usually creates an accessible copy of the current files, while a backup task may preserve version history and offer a dedicated restore process.
Using Tailscale for Remote Backups
I
also tested Tailscale, which creates a private connection between the two NAS devices without requiring me to expose the rsync service directly to the public internet.
Tailscale must be installed and connected on both NAS devices. Rsync still needs to be enabled and properly configured on the destination NAS—Tailscale simply provides the private network path between them.
When configuring the remote connection, I entered the destination NAS’s Tailscale IP address in the server-address field. Unlike the UGREENlink client ID, the Tailscale IP was accepted by the Backup & Restore utility.
I was able to create and complete a remote backup task through Tailscale. The Tailscale IP also worked for remote sync tasks.
If you need help installing Tailscale on a UGREEN NAS, you can follow my UGREEN NAS Tailscale guide. The installation portion begins at approximately the six-minute mark.
Why the Backup Folder Contains So Many Files
The remote backup created a folder ending in .ubk. Inside were directories named data, index, keys, locks, and snapshots, along with a configuration file.
At first, this looked like UGOS had copied far more data than I selected. However, these folders are part of the backup repository created by UGOS. They store the backup data, indexes, metadata, snapshots, and information needed to restore files.
A .ubk backup is therefore not meant to look like a normal folder containing directly accessible copies of the original files. You use the Restore feature inside Sync & Backup to recover its contents.
Test the Restore Process
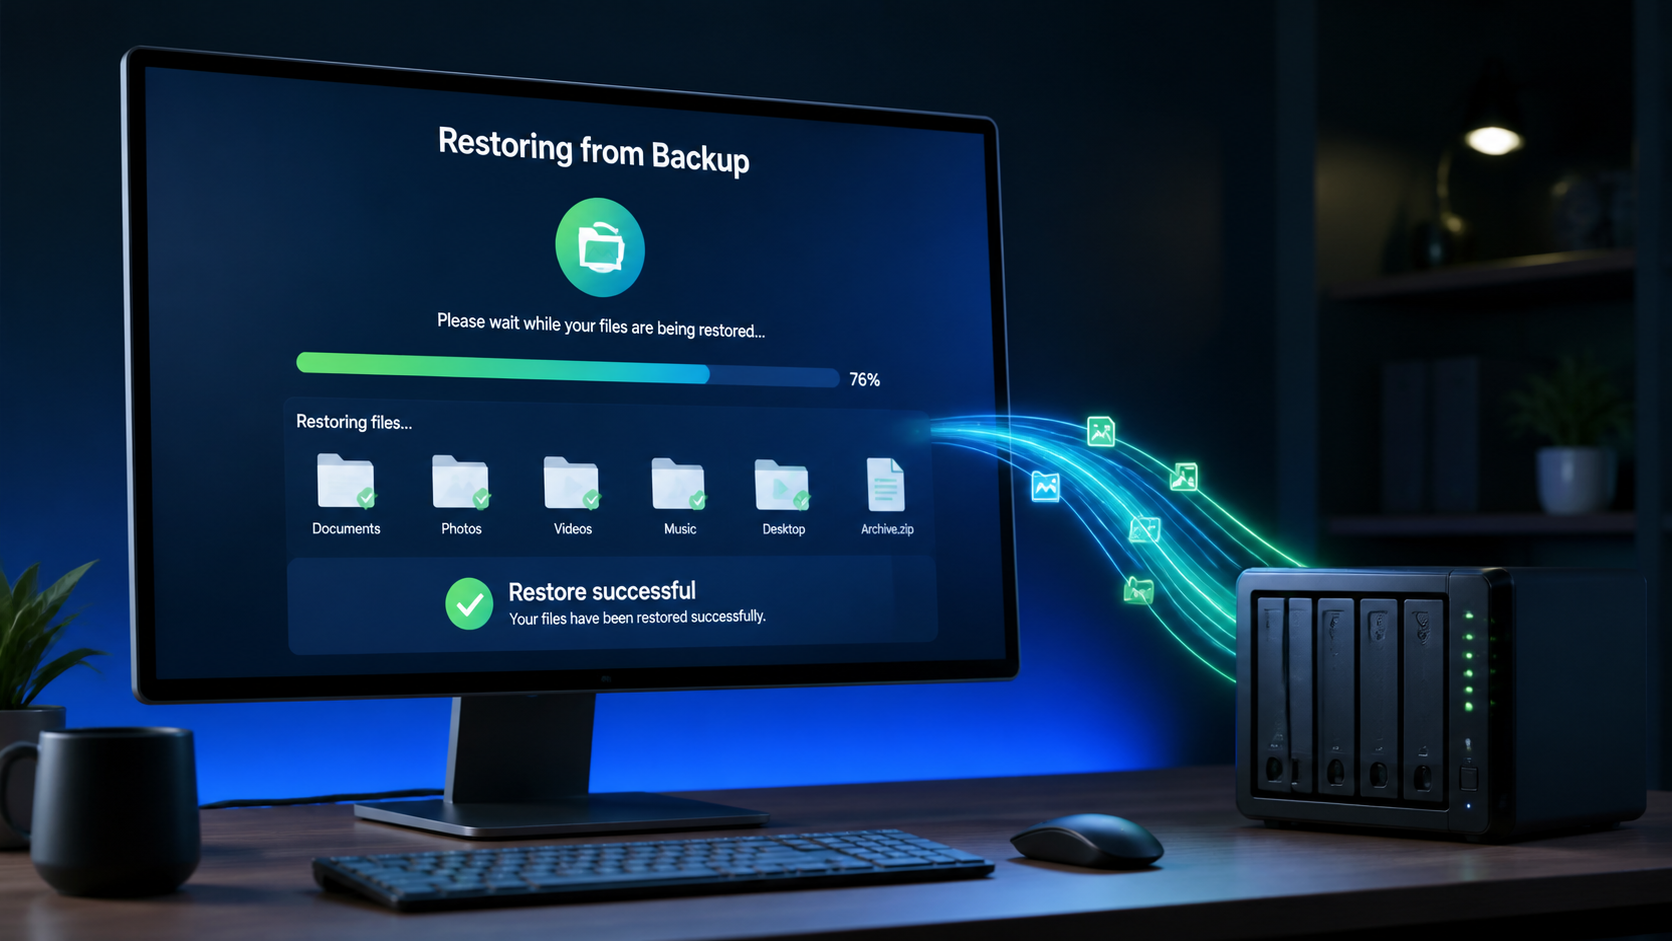
A backup is only useful if it can actually be restored, so I performed a remote restore test the following day.
Using the .ubk repository stored on the DXP2800, I created a restore task and selected a new destination folder on the DXP6800 Pro. The restore completed successfully through the Tailscale connection, and the original file appeared in the new folder.
That successful restore was the most important part of the test. It confirmed that the remote backup was not merely creating repository files—it could also return the selected data to the source NAS when needed.
What I Learned from the Remote Tests
This was one of those situations where I couldn’t know exactly how everything would behave until I tested it under real-world conditions. I don’t have two separate internet connections at home that would let me place each NAS on a different network.
Once the DXP2800 was located off-site, I could properly test the process. The UGREENlink client ID worked for remote sync tasks but was rejected by the Backup & Restore utility. The Tailscale IP worked for both remote backup and sync tasks, and I successfully restored data through the Tailscale connection.
Your results could vary with future UGOS updates, so always begin with a small test folder and verify both the transfer and restore process before relying on the setup for important data.
Build a Backup Plan That Works for You
The important thing is to maintain at least three copies of your critical data, with two copies stored on different media and one kept off-site.
Your off-site copy could be stored on another NAS at an office, a friend or family member’s house, a cloud service, or even an encrypted USB drive stored somewhere secure. The right combination depends on how much data you have, how frequently it changes, and how quickly you would need to recover it.
Whatever approach you choose, automate as much as possible, keep version history where practical, monitor your backup jobs, and periodically test a restore. A backup task showing “Successful” is reassuring, but a verified restore is what proves your backup plan actually works.
Please be sure to sign up for a free patreon membership and join my ‘Tech Fans’ community for the full 3-2-1 Backup Strategy
💻 Hardware I Used: ✅ Some links on this post may be affiliate links, which help support me and help keep ads off here!
- UGREEN DXP6800 Pro NAS: https://amzn.to/4tKmKoF
- UGREEN DXP2800 NAS: https://amzn.to/4qxKdcI
- 4 x 8TB Ironwolf HDD Used in DXP 6800 Pro: https://amzn.to/4diniNt
- 2 x 4TB Ironwolf HDD Used in DXP 2800 Pro: https://amzn.to/3UxOlxg