Today we’re intalling Home Assistant on a Raspberry Pi with Tailscale! So our goal will be to configure Tailscale to access our smart devices remotely; more importantly, we’re not going to be forwarding any ports!
So, picture this! You’re at the airport, about to board a flight for a well-earned two-week vacation in Maui. Then it hits you—you forgot to turn off the TV.
Now you’ve got two options. You can call someone with a key and hope they answer… or you can pull out your phone and turn it off yourself.
That’s exactly what we’re setting up today.
In this guide, I’ll show you how to install Home Assistant on a Raspberry Pi and access it remotely using Tailscale. Once it’s up and running, you’ll be able to control your devices from anywhere—no port forwarding, no complicated networking.
What Home Assistant Actually Does
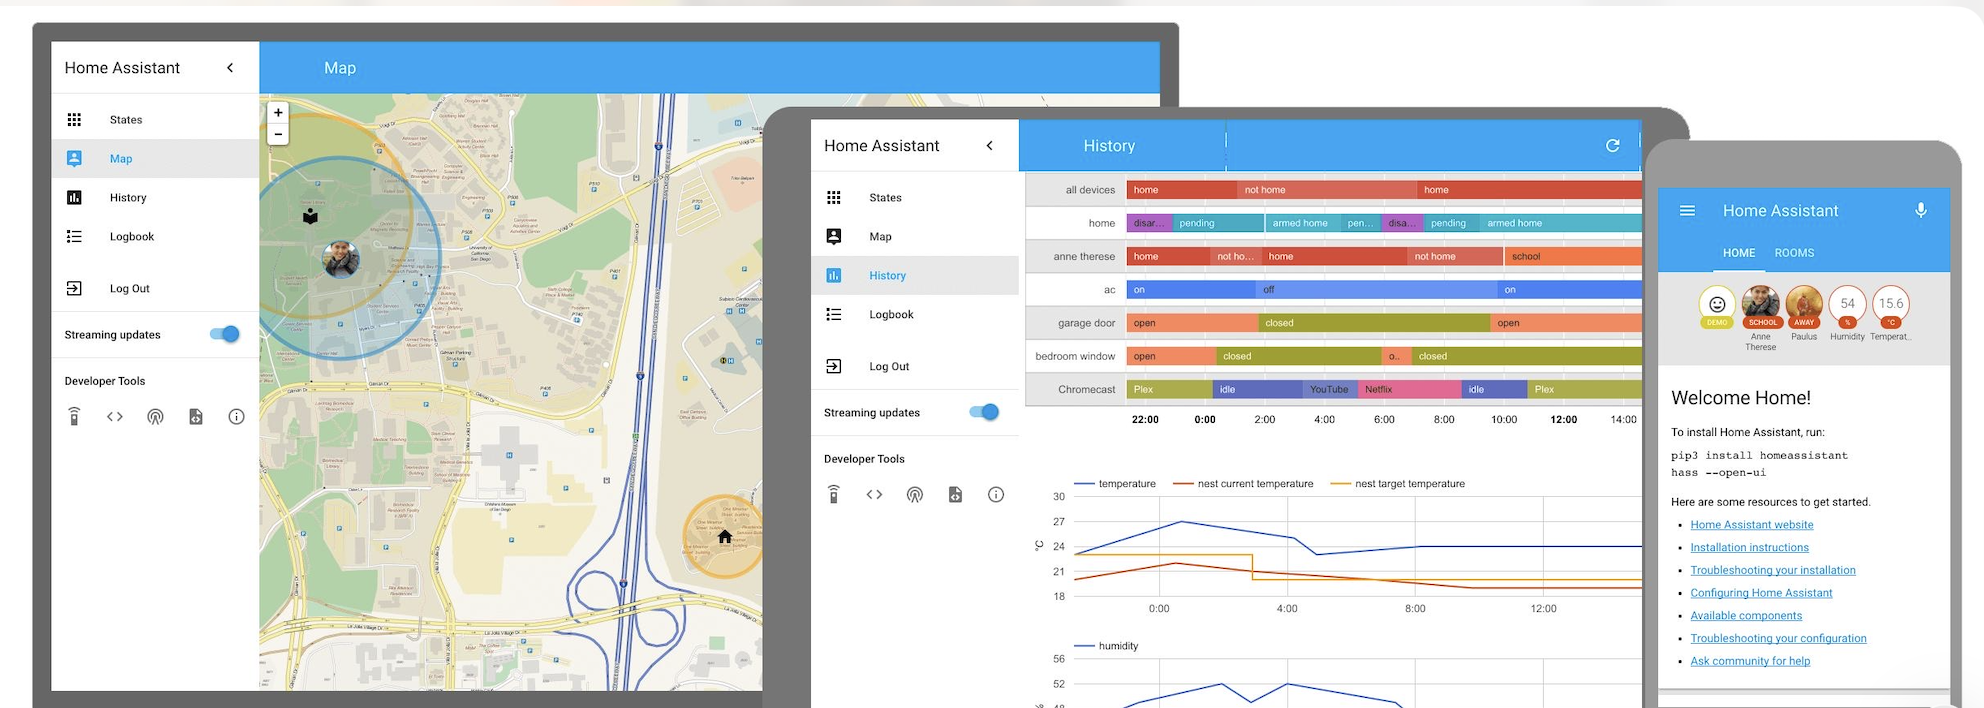
Home Assistant is a platform that lets you control and automate smart devices in your home.
You can:
- Turn devices on or off remotely
- Create automations
- Group devices by room
- Build a fully customized smart home
For example, you could have a motion sensor turn on lights automatically, or schedule your TV to power on at a specific time.
This isn’t a deep dive. The goal here is simple: get everything installed and working so you can start controlling your home remotely.
What You’ll Need
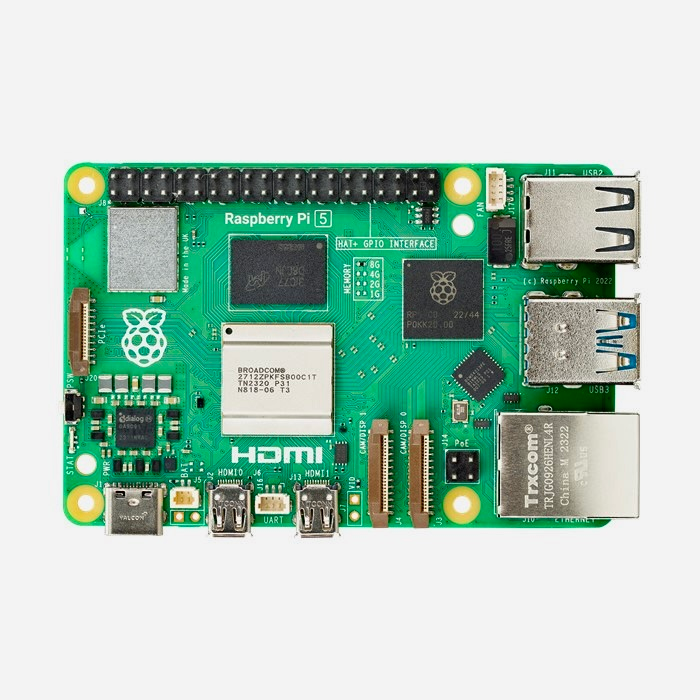
For this setup, I’m using a Raspberry Pi 4B with 4GB of RAM. That’s a great starting point for Home Assistant.
You’ll also want:
- A Raspberry Pi (Pi 3, 4, or 5)
- A 32GB Class A2 microSD card
- Ethernet connection (recommended for setup)
- Power supply for the Pi
The A2 rating matters because it improves performance when running apps and services.
If you’re new to the Raspberry Pi, think of it as a tiny computer about the size of a credit card. Despite its size, it’s powerful enough to run Linux, host services, and handle home automation without breaking a sweat.
Installing Home Assistant on a Raspberry Pi
Let’s get this up and running.
Start by using the Raspberry Pi Imager to flash the Home Assistant operating system to your microSD card. This version is designed specifically for Home Assistant, which makes installing apps and add-ons much easier later on.
Inside the Imager:
- Select “Other OS”
- Choose “Automation”
- Pick the correct Home Assistant version for your Pi
If you prefer Balena Etcher, you can flash the image manually.
Once complete:
- Insert the microSD card into the Pi
- Connect Ethernet
- Plug in power
No monitor, keyboard, or mouse needed.
Accessing Home Assistant for the First Time
From another device on your network, open a browser and go to:
homeassistant.local:8123
That’s the default hostname and port.
If it doesn’t load:
- Check your router for the Pi’s IP address
- Use that IP instead
Once inside:
- Create an admin account
- Set your location
- Log in
Then:
- Check for updates under Settings → System
- Review hardware and network info
Adding Your First Devices
Home Assistant will often detect devices automatically.
Start by organizing your setup:
- Create a room (for example, “TV Room”)
- Assign devices to that room
- Test basic controls like power and volume
If your device doesn’t show up:
- Go to Integrations
- Search for the device (Roku, Fire Stick, etc.)
- Follow the setup
Setting Up Remote Access with Tailscale
Now let’s make everything accessible from anywhere.
First:
- Create a free Tailscale account
- Install Tailscale on your phone or laptop
Then in Home Assistant:
- Go to Settings
- Open Add-ons or Apps
- Search for Tailscale
- Install and start it
Log into your Tailscale account and connect Home Assistant.
Understanding What Tailscale Enables
Tailscale creates a secure private network between your devices.
Here are two features worth knowing:
- Subnet Router This lets Home Assistant act as a bridge to your entire network. You can access other devices without installing Tailscale on each one.
- Exit Node This routes your internet traffic through your home network. It’s useful when using public Wi-Fi.
You don’t need to enable these right away, but they’re powerful tools as your setup grows.
Accessing Your Home Remotely

Now for the payoff!
On your smart phone:
- Turn off Wi-Fi
- Open the Tailscale app
- Connect to your Home Assistant device
Then:
- Copy the MagicDNS or IP address
- Open it in your browser
- Add :8123 at the end
Log in and control your devices like you’re at home.
TV still on? Fixed in seconds.
Why This Setup Works So Well
This setup removes a lot of common headaches.
You don’t need:
- Port forwarding
- Static IPs
- Complex firewall rules
Tailscale handles secure networking. Home Assistant handles automation.
Together, they give you full control from anywhere.
Final Thoughts
This setup is simple, but it opens the door to much more.
Once you’re up and running, you can:
- Add more devices
- Build automations
- Monitor your home remotely
- Expand into a full smart home
And the next time you forget to turn something off, it’s no longer a problem.
Just pull out your phone and fix it. And If you’re already using Home Assistant, I’d love to hear what you’re running. And if you’re just getting started, this is a great place to begin! 👍