How I Actually Use My Tech Tools in My Homelab, Test Bench, and Studio
In a previous video, I shared a list of tech tools I recommend—but that’s only part of the story. What really matters is how those tools are used in a real-world setup. It’s one thing to show a product; it’s another to demonstrate how it actually solves problems day to day.
In this guide, I’m going to walk you through how these tools fit into my workflow across three main areas: my test bench, my homelab, and my studio. These aren’t just random gadgets—they’re tools I rely on regularly to make things more efficient, organized, and reliable.
Everything featured here was purchased with my own money, with the exception of a portable monitor that was sent out for review. The goal here isn’t to sell you anything—it’s to show you practical use cases so you can decide what might actually improve your own setup.
Why Setup Matters More Than the Tools Themselves
Before jumping into specific tools, it’s worth calling out something important: tools are only as valuable as how they’re used.
A lot of people fall into the trap of buying gear without a clear purpose. In reality, the best setups aren’t necessarily the most expensive—they’re the ones that reduce friction. That means:
- Less time swapping cables
- Less clutter
- Faster workflows
- More reliability
Each tool I use is there because it removes a bottleneck or simplifies something that would otherwise slow me down.
Test Bench: Efficient Hardware Testing Without the Chaos
When you’re regularly testing different systems—whether it’s single-board computers, mini PCs, or full servers—things can get messy quickly. Constantly swapping cables, keyboards, and monitors is not only inefficient, it’s frustrating.
KVM Switch: One Control Point for Multiple Systems
One of the first tools I rely on at my test bench is a KVM switch (Keyboard, Video, Mouse).
Instead of dedicating separate peripherals to every system I test, the KVM lets me control multiple machines using a single keyboard, monitor, and mouse. Everything plugs into the switch, and I can toggle between systems with the press of a button.
For example, if I’m working with something like a Raspberry Pi alongside another system, I don’t need to unplug anything or switch monitor inputs. I just hit a button and instantly move between them.
This does a few key things:
- * Keeps the desk clean and organized
- * Eliminates constant cable swapping
- * Reduces the need for duplicate accessories
Some KVM switches also include additional USB ports, which means you can share devices like external drives, webcams, or speakers across multiple systems.
USB Hub: Expanding Limited Ports
Another essential tool on my test bench is a USB hub, especially because one of my main editing systems is a Mac. Like many modern laptops, it’s limited in terms of ports.
When I’m testing hardware or capturing footage, I often need to connect multiple devices at once—things like a capture card, external storage, or input devices. Instead of constantly unplugging and replugging cables, the USB hub acts as a central connection point.
For example, I use it to connect an AverMedia capture card so I can record footage from test systems without disrupting my workflow. It’s a simple tool, but it removes a lot of friction when working across multiple devices.
Storage and Speed: Why NVMe Matters
Once everything is connected and running, performance becomes the next bottleneck—and that’s where NVMe storage comes in.
NVMe Drives: The “Race Cars” of Storage
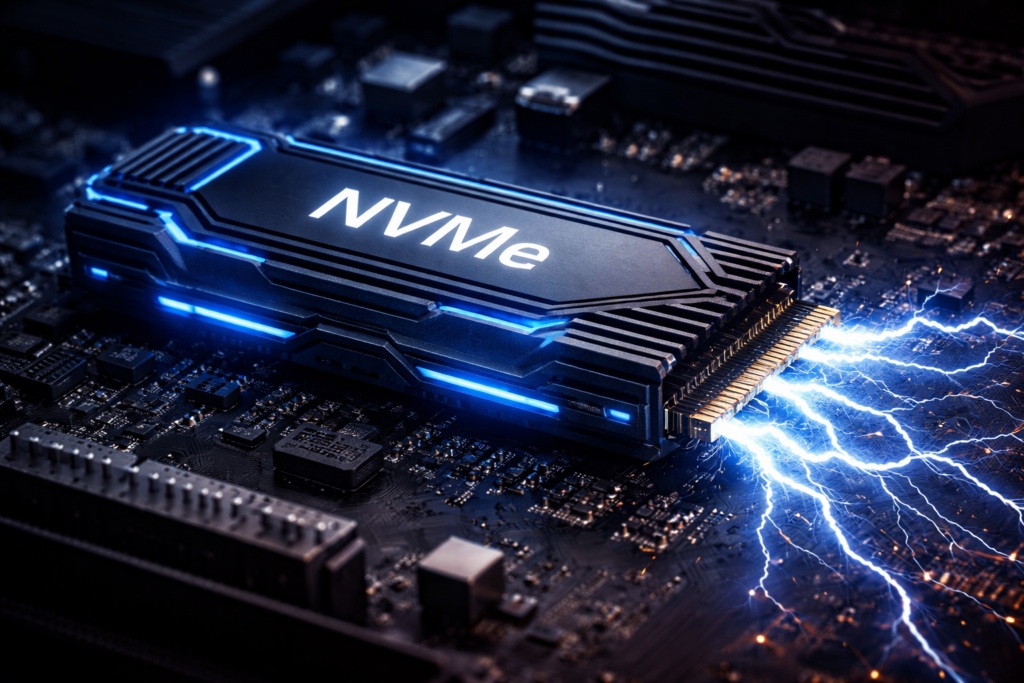
NVMe drives are significantly faster than traditional SATA SSDs or hard drives. In my setup, I use NVMe storage in a few different ways.
In my NAS, NVMe drives act as a high-speed layer for frequently accessed data. You can think of it like keeping your most-used files on the fastest possible storage. This makes a noticeable difference when:
- * Transferring large files
- * Scrubbing through video footage
- * Accessing commonly used data
Everything just feels more responsive.
I’ve also used NVMe drives in external enclosures for more specialized tasks. For example, when working with boards that require USB boot—like certain compute modules—I can load operating system images directly from an NVMe enclosure. This speeds up setup and makes the process more flexible compared to traditional methods.
Power Management: Cleaning Up the Workspace
Power is one of those things you don’t think about—until it becomes a problem. Between test equipment, studio gear, and computers, cable clutter can get out of control fast.
Power Station: Centralized Power, Less Clutter
To simplify things, I use a power station across both my test bench and studio.
Instead of running multiple power bricks and extension cables, I can plug everything into a single centralized unit. This helps in a few ways:
- * Reduces cable clutter
- * Makes it easier to manage power connections
- * Keeps everything accessible in one place
It might not be the most exciting piece of gear, but it has a big impact on how clean and functional the workspace feels.
Homelab: Reliability and Protection
In a homelab environment—especially one running servers and network equipment—reliability is critical.
UPS (Uninterruptible Power Supply): Protecting Your Data
One thing I don’t compromise on is backup power.
Sudden power loss can be more than just an inconvenience. For systems running spinning drives, it can lead to data corruption or even hardware damage.
To prevent that, I use two separate UPS units:
- * One dedicated to servers and NAS
- * One dedicated to networking equipment
Each UPS provides battery backup during a power outage, giving me enough time to safely shut everything down. This controlled shutdown is key to protecting both data and hardware.
It’s one of those investments that you hopefully never “need”—but when you do, it can save you from major headaches.
Studio: Smart Control and Automation
The studio environment is where things shift from raw functionality to workflow optimization and control.
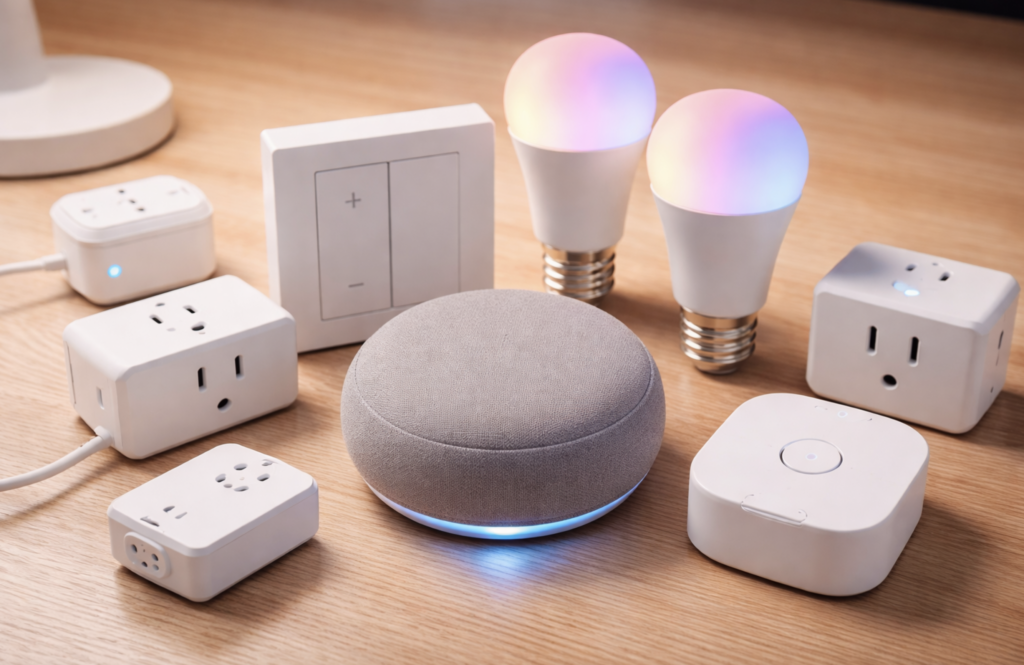
Smart Devices and Zigbee: Local, Reliable Automation
Lighting is a big part of any studio setup, and instead of relying on manual switches or cloud-based systems, I use smart devices powered by Zigbee.
Zigbee is designed specifically for smart home devices, which makes it more reliable and responsive than typical Wi-Fi-based solutions.
In my setup, I control six different lights using a Zigbee network and a remote. This allows me to create scenes—like turning everything off downstairs while activating specific lighting upstairs.
What really makes this powerful is that I’m using Home Assistant instead of relying on something like Alexa. This gives me:
- * Full control over automations
- * Local operation (no cloud dependency)
- * Custom configurations tailored to my workflow
Everything runs locally, which means it’s faster, more private, and not dependent on an internet connection.
A Tool That Works Everywhere: Portable Monitor
Some tools are specialized—but others end up being useful everywhere. For me, that’s the portable monitor.
Portable Monitor: Flexible Display Anywhere
This has turned out to be one of the most versatile tools in my setup.
On the test bench, it acts as a secondary display when working with multiple systems. In the studio, it becomes a field monitor for my camera—especially useful for overhead shots and B-roll where the built-in camera screen isn’t enough.
Even in my homelab, it’s been useful for troubleshooting servers. Because it’s lightweight and uses a full-size HDMI connection, I can quickly hook it up to different systems without needing a permanent monitor setup.
It also mounts to a tripod, which helps save space while keeping it flexible and portable.
Bringing It All Together
At the end of the day, my setup isn’t about having the most advanced or expensive gear—it’s about reducing friction.
Each tool serves a purpose:
- * The KVM switch eliminates constant cable swapping
- * The USB hub expands connectivity
- * NVMe drives improve speed and responsiveness
- * The power station keeps everything organized
- * The UPS protects critical systems
- * Smart devices streamline control and automation
- * The portable monitor adds flexibility across environments
Individually, these might seem like small upgrades—but together, they create a setup that’s much smoother and easier to work with.
Final Thoughts
This is what my setup actually looks like day to day. Nothing over the top—just practical tools that make everything run more efficiently.
If you’re building out your own homelab, test bench, or studio, the key takeaway is this: focus on solving problems, not just adding gear.
Think about what slows you down, what creates clutter, and what could be simplified. Then choose tools that directly address those issues.
What About Your Setup?
I’d be interested to hear what tools you rely on in your own setup.
What devices have made the biggest difference for you? What problems have you solved with them?
If you found this guide helpful, I have a follow up video where I go into more detail about how I actually many of these products in my own homelab!
And as always—thanks for reading.