I didn’t decide to install smart shades because I was desperate to automate my windows.
I installed them because my dog wouldn’t stop barking at my neighbor!
Every time our neighbor walked through his own yard, my dogs would spot him through the kitchen window and immediately launch into full-scale neighborhood alert mode. Apparently the audacity of someone using their own backyard was simply too much to tolerate.
So when SmartWings offered to send me one of their smart shades for review, I figured this was the perfect opportunity to solve a real-world problem while also seeing how well the shades integrate with Home Assistant.
The question was simple: would smart shades help reduce the barking?
As it turns out, the answer is… complicated.
Who is Smart Wings?
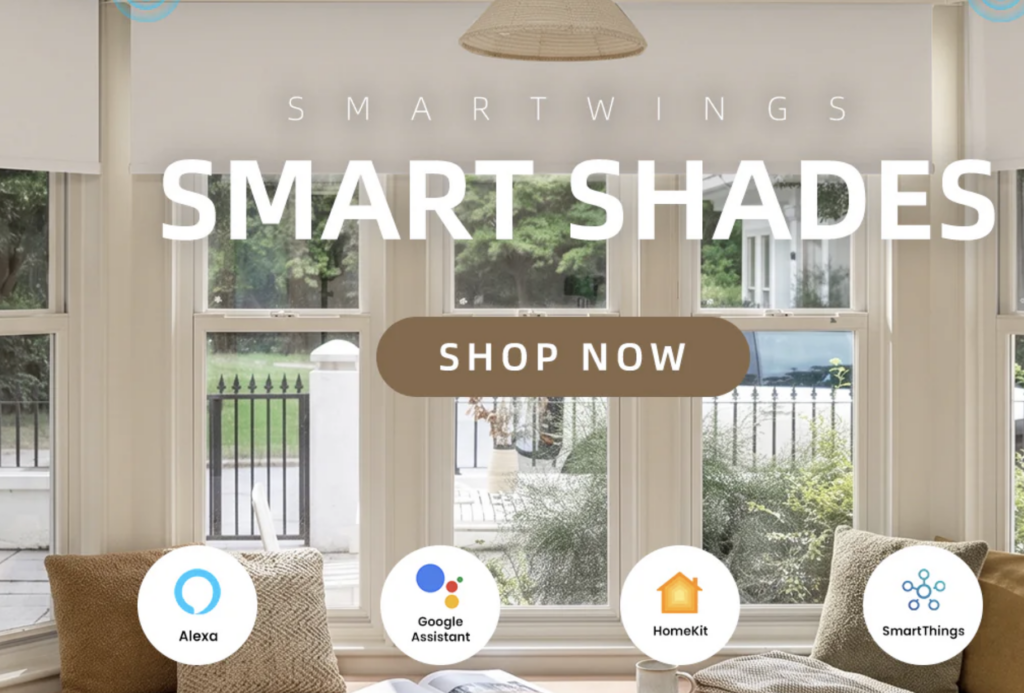
Smart Wings is a Texas-based company that specializes in custom motorized window coverings. They offer a wide range of products including roller shades, Roman shades, blinds, and drapes, along with support for several smart home ecosystems.
Depending on the motor you choose, Smart Wings shades can work with platforms such as Amazon Alexa, Google Home, Apple Home, SmartThings, and Home Assistant. For this review, I tested one of their Linen Roman Shades equipped with a Zigbee motor.
Since every shade is custom-made, there are a lot of configuration options available, which can be both a blessing and a curse.
Ordering the Shades
For this part of the review, I let my wife take the lead because she’s far more interested in fabrics, colors, and all the feng shui-related decisions that usually cause my eyes to glaze over.
According to her, the Smart Wings website was easy to navigate and made it simple to browse through the various styles, fabrics, and color options. One feature she especially appreciated was the ability to order fabric samples before making a final decision.
The ordering process does involve more decisions than simply entering your window dimensions. You’ll need to choose things like mounting style, fabric type, motor location, control options, and more. While that may seem overwhelming at first, those choices ultimately allow you to tailor the shade to your specific installation.
The one area she found confusing was selecting the motor.
Choosing the Right Motor
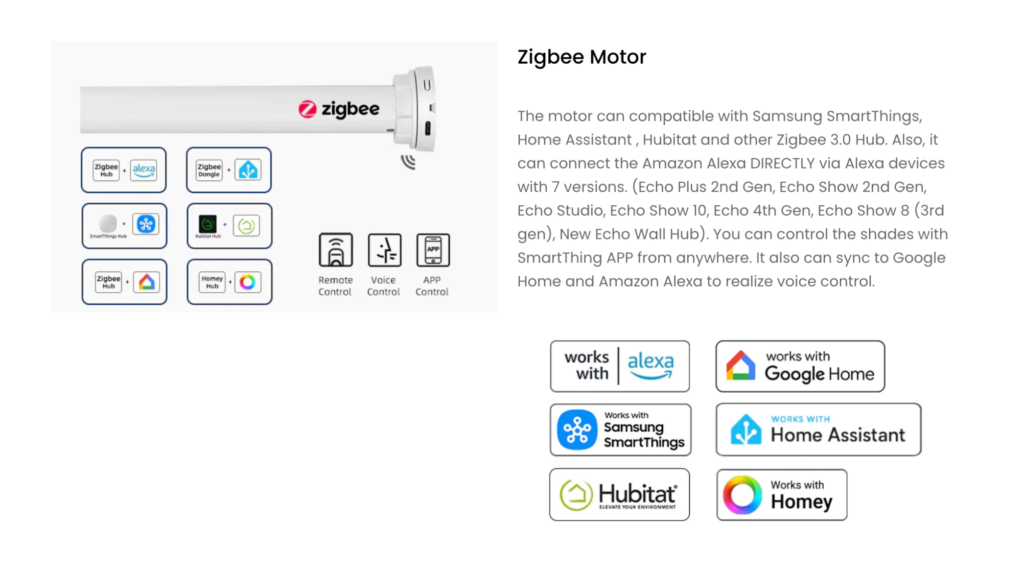
If there’s one technical decision you’ll need to make during the ordering process, it’s choosing the motor.
Smart Wings offers several motor options that support different smart home technologies. The standard motor is included at no additional cost and still works with a remote, but it doesn’t offer any smart home integration.
If you want smart home support, you’ll need to upgrade. The Zigbee motor I selected added $29 to the price, while the Matter-over-Thread option adds about $94.
Since I already run Home Assistant with an existing Zigbee network, choosing the Zigbee motor was an easy decision.
The important thing to remember is that the motor determines how the shade communicates with your smart home platform. If you’re heavily invested in Apple Home, for example, the Matter-over-Thread option may be a better fit.
Personally, I think Smart Wings could improve this part of the ordering experience by offering a simple wizard that asks which smart home platform you use and then recommends the best motor options.
Price and Shipping
The particular configuration I tested came in at roughly $522.
That price included the upgraded remote control and the optional solar charging panel, which added about $10 and $50 respectively.
Because these shades are custom-made and shipped from China, you’ll also need to account for some production and shipping time. In my case, I placed the order on April 27th and received the shades on May 15th, which was consistent with Smart Wings’ published delivery estimates.
What’s In the Box?
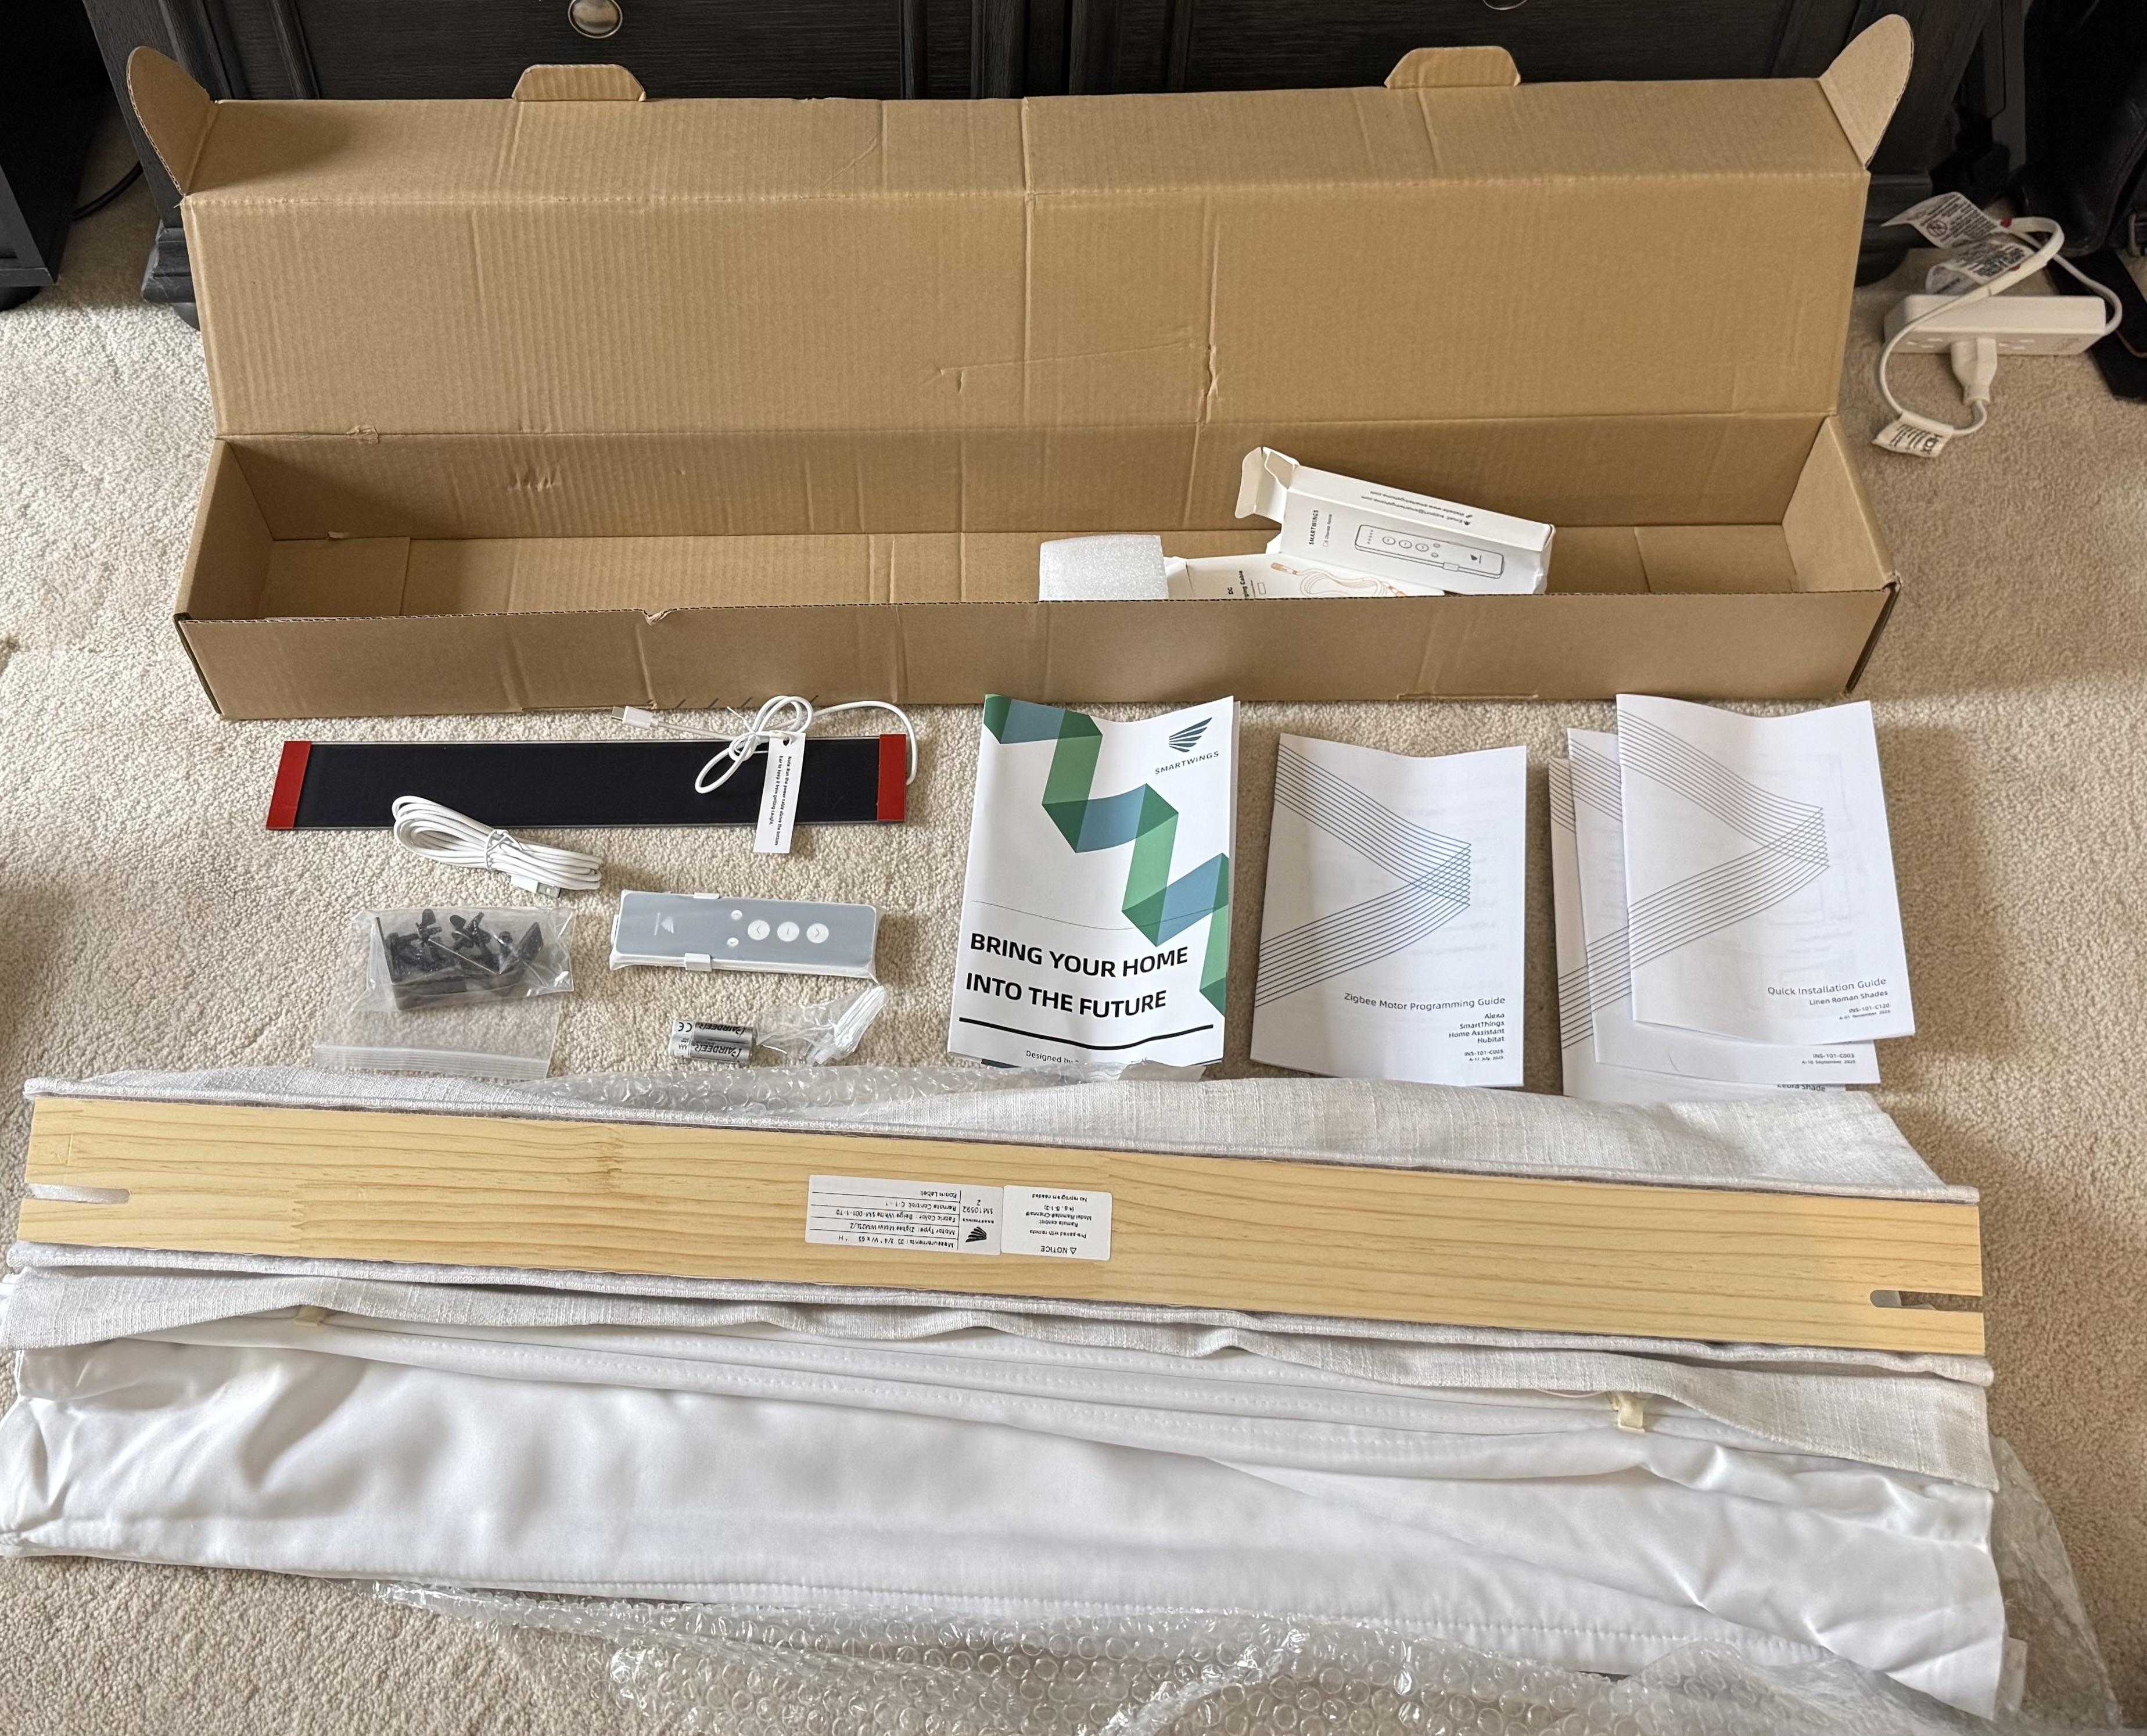
Inside the box, we have-
- * The custom Roman shade
- * Remote control
- * Mounting hardware
- * Installation manuals
- * USB-C charging cable
- * Optional solar charging panel (if ordered)
Overall, everything arrived well packaged and ready for installation.
Installation and Setup
Installation was mostly straightforward, although I did run into one small issue.
Neither the shades nor the manual clearly identified which side was the front and which side was the back. Once I figured that out, the rest of the installation went smoothly.
I shared that feedback with my contact at Smart Wings, and they were very receptive to the suggestion, so hopefully that’s something they’ll improve in future documentation. One thing I really appreciated was that the remote arrived pre-programmed. Pairing took only a few seconds because everything was already configured from the factory.
The only awkward part of setup involved accessing the pairing button on the motor itself. It’s hidden on the back of the motor and recessed enough that you’ll probably need a small tool to press it.
In my installation, the motor sits fairly close to the mounting surface, making the button difficult to access after installation. Looking back, I’d recommend pairing and configuring everything before mounting the shade.
Thankfully, this is something you’ll probably only need to do once.
Home Assistant Integration
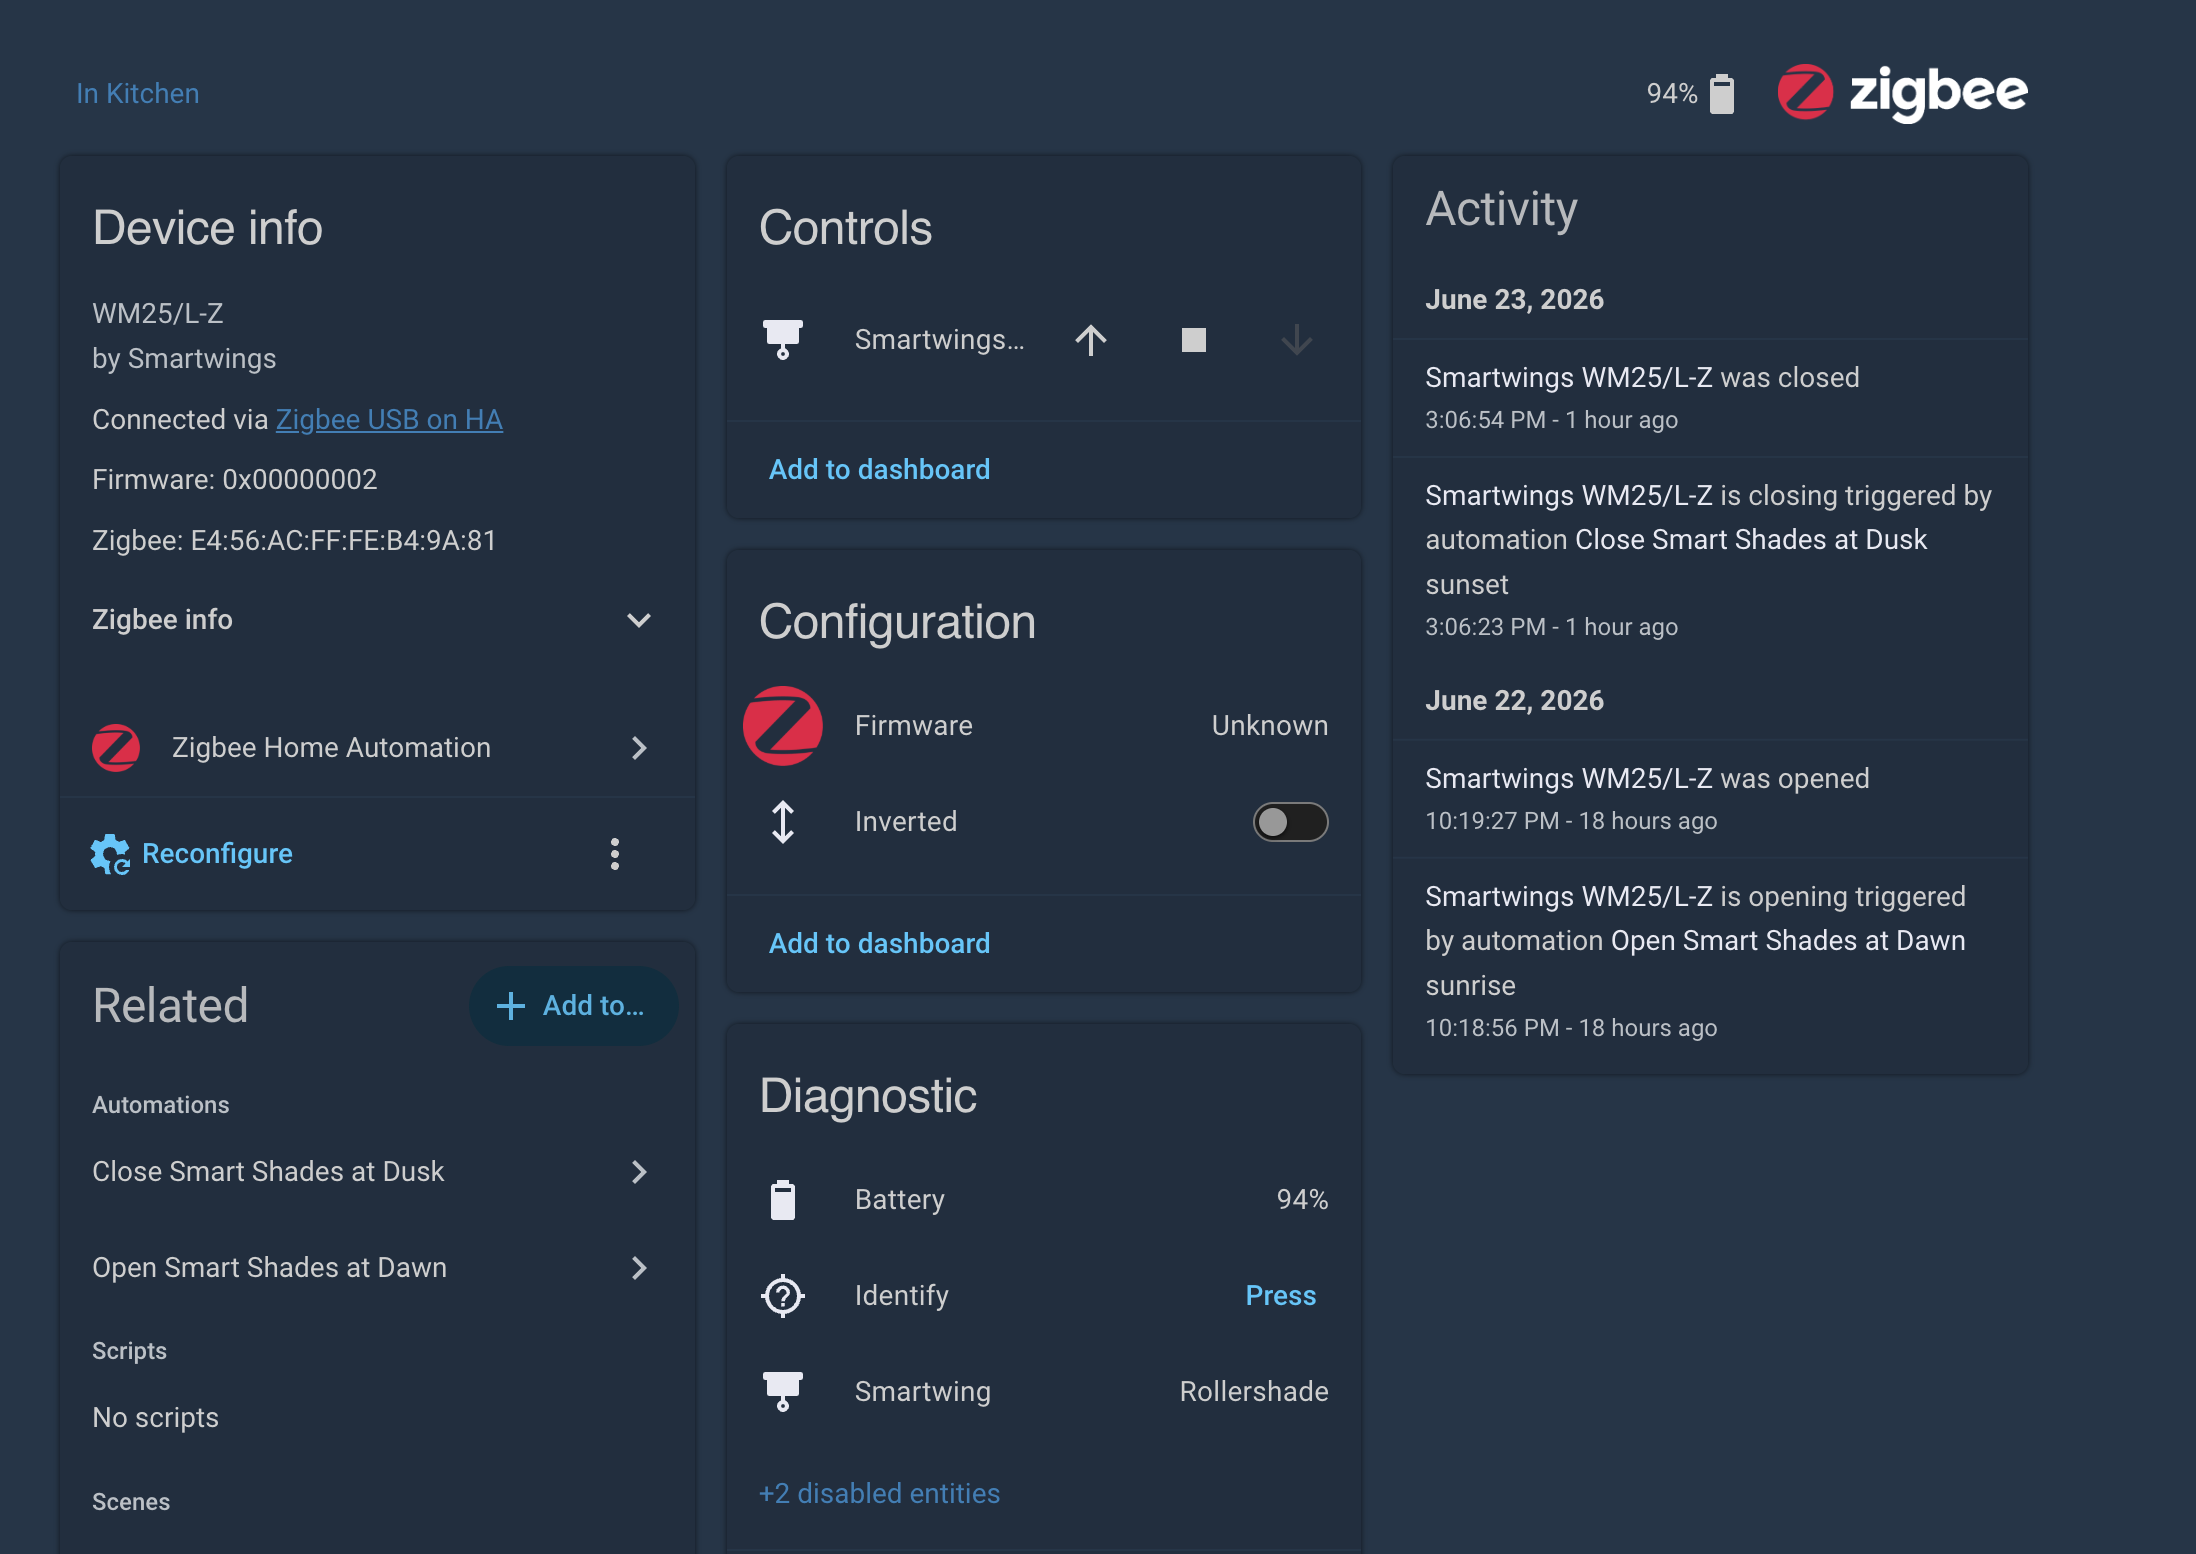
One of my primary goals was to automate the shades through Home Assistant.
The plan was simple: Close the shades at dusk and Open the shades at dawn!
Unfortunately, things didn’t go exactly as planned.
The standard Open and Close commands weren’t behaving correctly within Home Assistant. I spent several hours troubleshooting the issue, reviewing Zigbee settings, testing automations, and checking device configurations.
At the time of filming, I wasn’t able to determine whether the problem was related to the motor firmware, Zigbee integration, or Home Assistant itself.
Fortunately, there was an easy workaround.
Using absolute position values worked perfectly. Setting the shade to 0% fully closed it, while 100% fully opened it. Every position in between worked exactly as expected.
As a result, I simply changed my automations to use position values instead of Open and Close commands, and everything worked flawlessly.
Problem solved.
Mostly.
Remote Control Performance
The upgraded 15-channel remote performed exactly as expected.
My shade arrived assigned to Channel 3, and if I decide to add more shades later, I can simply assign them to different channels while continuing to use the same remote.
The remote can also be used to adjust motor settings, upper and lower travel limits, and even motor speed.
At the default setting, it took roughly 15 seconds for the shade to fully open from the closed position.
Day-to-Day Use
After spending some time with the shade, I can honestly say I enjoy using it.
The fabric looks great, the motor is reasonably quiet, the remote is responsive, and the overall experience feels polished. Small details like the pre-programmed remote help make setup easier and contribute to a more premium feel.
That said, I did encounter a few documentation inconsistencies and translation quirks that occasionally made installation and troubleshooting more difficult than necessary.
And because I’ve only been using the shade for a short period of time, I can’t really comment on long-term reliability. Whether the motor performs just as well 30, 90, or 365 days from now is something only time will tell.
On the plus side, Smart Wings backs the motor with a 3-year warranty, which does provide some extra peace of mind.
Did It Solve My Dog Problem?
Remember the original goal?
Stopping the dogs from barking at the neighbor? Well… The dogs are still barking.
The only difference is that now they’re barking at the shades that were installed to stop them from barking at the neighbor.
So instead of solving one problem, I may have accidentally created a brand-new one.
I’m still not entirely convinced I’m not being punked.
Final Thoughts
Overall, I came away impressed with the Smart Wings experience.
The ordering process was straightforward, the customization options were extensive, installation was relatively easy, and the Home Assistant integration worked well once I switched to position-based controls.
They’re definitely not cheap, but if you’re looking for custom motorized shades that integrate into a smart home ecosystem, Smart Wings offers a compelling option with plenty of flexibility.
As for whether they’re worth over $500, that ultimately depends on how much value you place on convenience, automation, and custom-made window coverings.
For me, the shades worked well.
The dogs, however, remain unconvinced. 😄