You probably have better things to do this weekend than babysit a multi-terabyte NAS migration… or maybe you don’t—and that’s completely fine too. But if you’re moving from Synology to UGREEN, the real question becomes: how do you transfer terabytes of data from one NAS to another without constantly swapping external drives or dealing with painfully slow transfers?
In this walkthrough, I’m going to walk you through the exact process I used to move my data locally from a Synology DS920+ over to the UGREEN DXP6800 Pro. I’ll also show you how I set up a simple, scheduled backup from the UGREEN to an external drive. I actually did a recent video on why I decided to make the switch from Synology to UGREEN, so if you’re curious about the reasoning behind it, that’s worth checking out as well.
Now, yes—you can migrate large amounts of data remotely, but in most cases it’s just not worth it. Between ISP data caps, bandwidth limitations, and the occasional disconnect, it ends up being more frustrating than anything else. Remote setups make more sense for incremental backups, not full migrations. So for this, we’re keeping everything local.
Preparing Both NAS Devices
Before jumping in, I’m assuming your storage pools are already configured on the UGREEN and you know which folders you want to migrate. The first step is making sure both NAS devices are ready to communicate properly. On my setup, I was running DSM 7.2.3 on the Synology and version 1.13.1 on the UGREEN.
From there, I verified that rsync was enabled on both systems and created a dedicated user account specifically for the transfer. You’ll also want to make sure port 873 is open, since that’s what rsync uses. While you’re in there, it’s a good idea to enable WebDAV and SSH as well—we’ll be using SSH later on.
One thing that tripped me up for a while was firewall settings. Make sure each NAS is whitelisted in the other device’s firewall, and if you’re using Synology, double-check the Protection settings to ensure your UGREEN’s IP isn’t blocked. Mine was blocked for weeks, and I couldn’t figure out why rsync wasn’t working. Also confirm that your rsync user has permission to access the folders you want to migrate—otherwise the job will fail before it even starts.
Migrating Data Using rsync and Hyper Backup
For the actual migration, rsync is really the most practical option when you’re working locally. On the Synology side, I used Hyper Backup to create a new task. After selecting “Folders and Packages,” you’ll see a variety of destinations like USB, cloud services, and enterprise options—but what you’re looking for is the rsync server under the File Server section.
I chose a single-version backup since this was just a one-time migration, entered the UGREEN’s IP address, user credentials, and port 873, and left encryption off since everything was staying on my local network. From there, I selected the destination folder on the UGREEN and chose which folders to transfer from the Synology. You can include application data if you want, but I skipped that for now.
Once everything is set, you name the task, confirm the destination, and let it run. Hyper Backup will create any necessary folders on the UGREEN automatically. Depending on how much data you’re moving and your network speed, this can take a while. In my case, transferring about 15TB over a 1Gb connection took roughly 48 hours. The nice part is that even if something interrupts the process, rsync will pick up where it left off, and both systems keep logs so you can verify everything completed successfully.
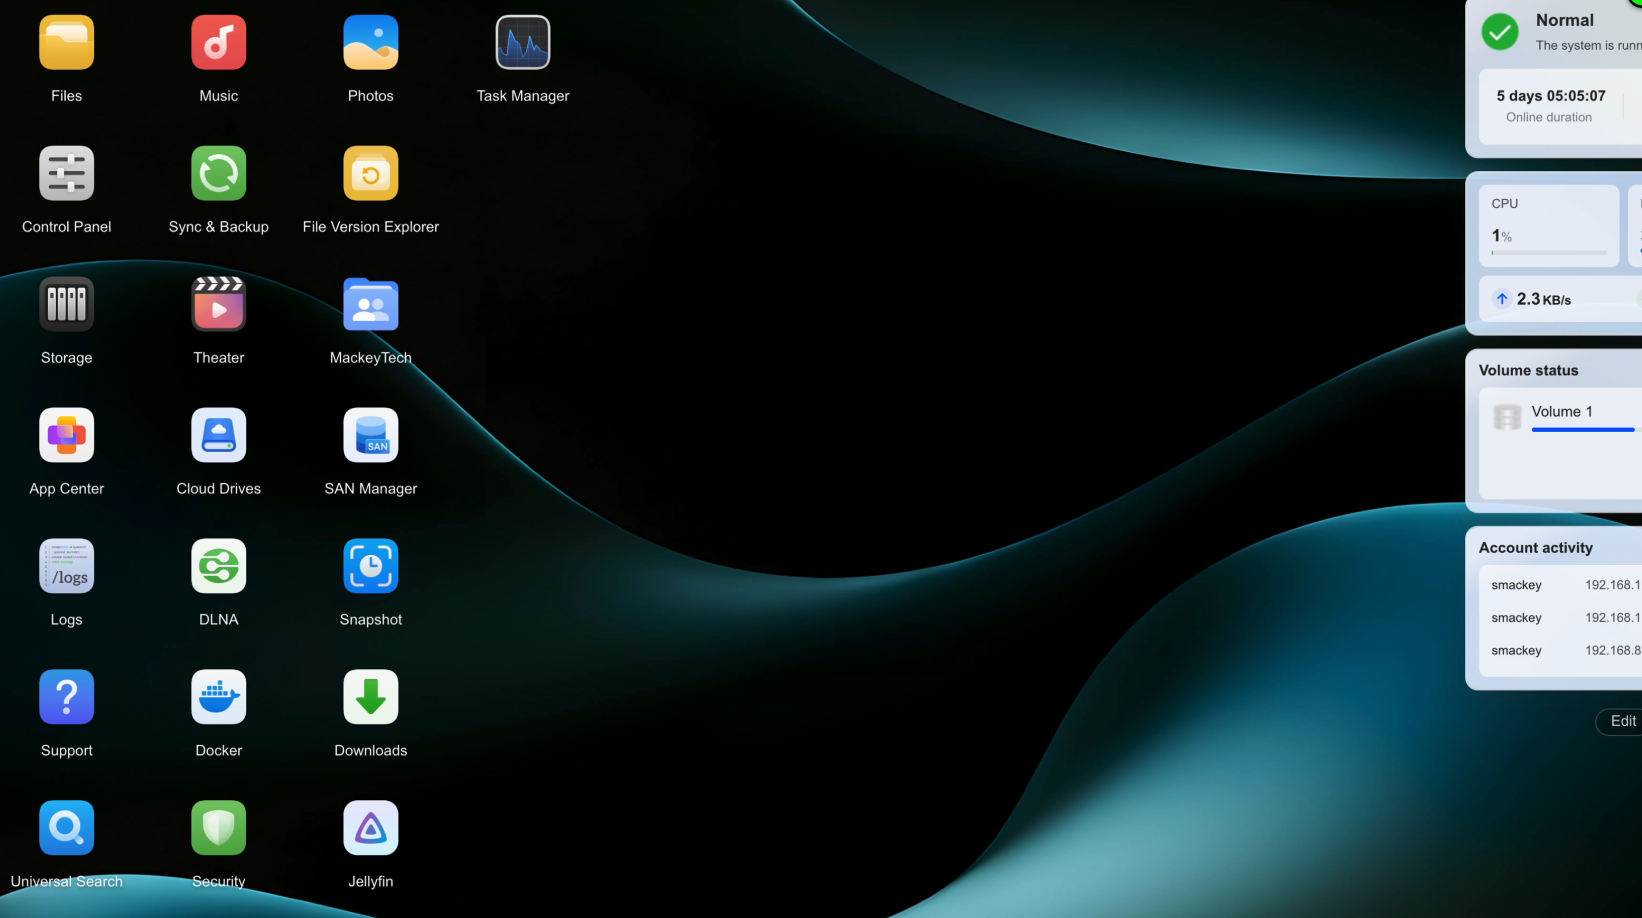
Setting Up a Backup Strategy on UGREEN
Once the migration is done, the next step is setting up a proper backup strategy on the UGREEN. The built-in Backup & Sync options are geared toward backing up to another NAS or services that support WebDAV or rsync, which is great if you have that infrastructure—but if you just want something simple, like backing up to an external USB drive, there isn’t really a straightforward built-in option. That felt a little odd to me, so instead I set up my own solution.
Creating a Local Backup with rsync over SSH
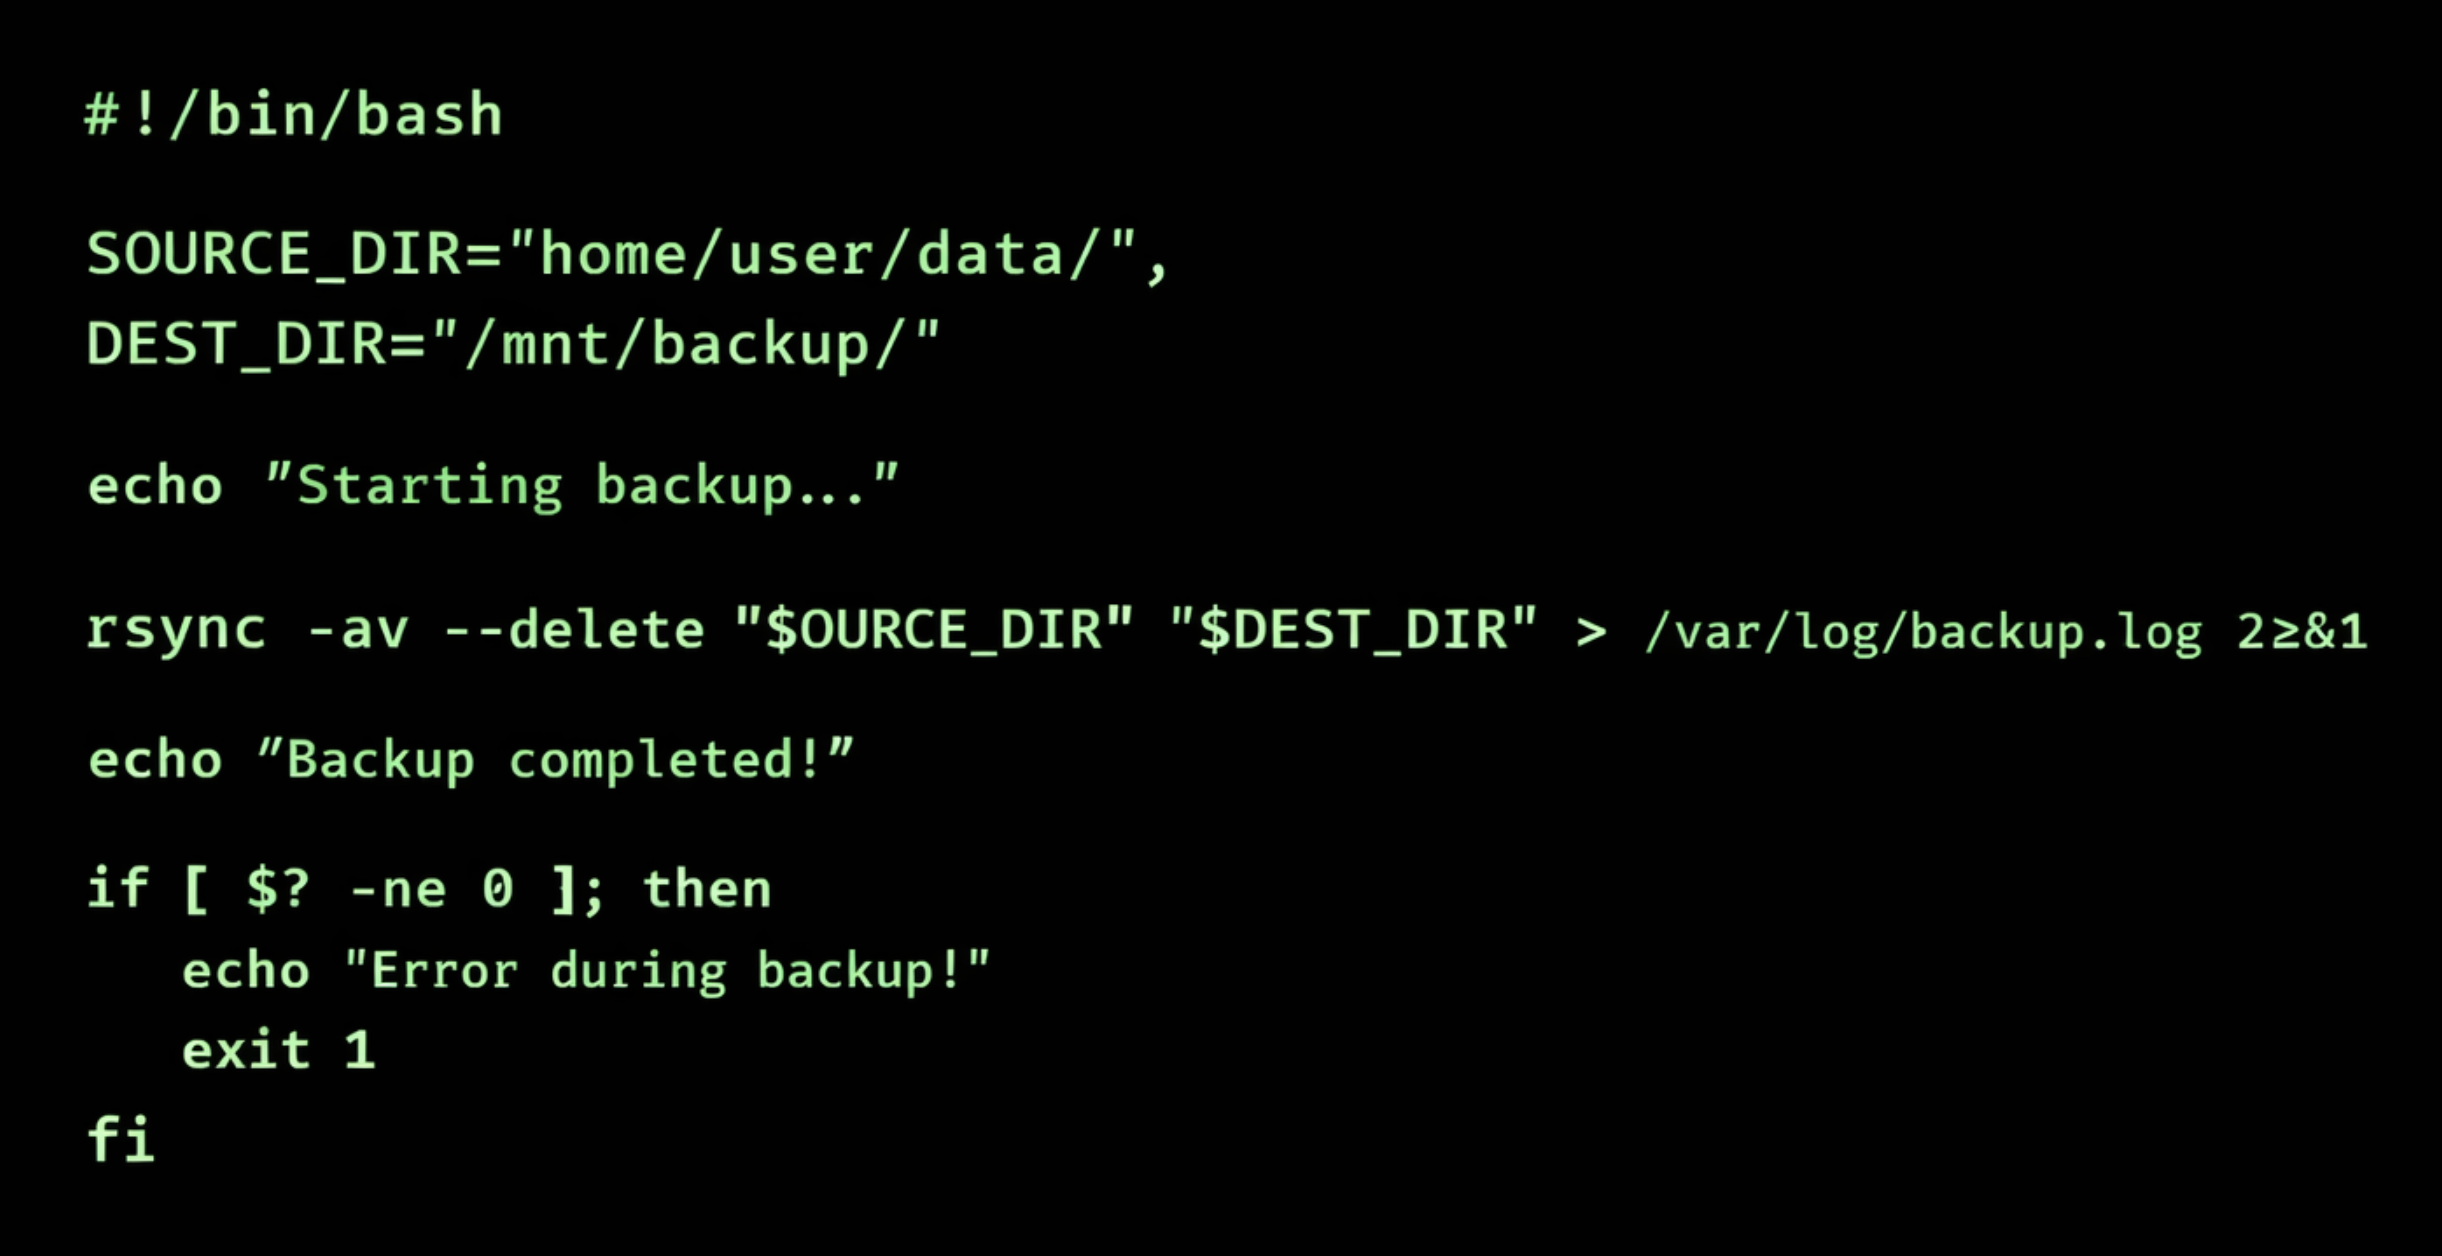
To handle local backups, I created a simple script using rsync over SSH. The script looks at a list of source folders, copies them to an external drive, and logs everything so I can confirm it worked. I’ll be sharing that script on my free Patreon, but the core idea is straightforward—you define your source path, your destination path, and the folders you want to mirror. Everything else is just there for safety and logging.
On the UGREEN, understanding folder paths is important. In the file manager, you’ll see ‘User’, ‘Shared’, and ‘Personal’ folders, but for scripting, you need the absolute path—the exact location on the system. When you log in over SSH, you’ll land in your home directory, which corresponds to your Personal folder. Running pwd will show you the full path.
If you need to locate something in the ‘Shared’ directory, you can use the find command to reveal its absolute path. For example, finding a folder named “MackeyTech” might return something like ‘/volume1/MackeyTech’, which becomes your source path.
To identify your external drive, you can use lsblk and look for the mount point. In my case, the drive was mounted at /mnt/@usb/sde1, and I created a folder within it for backups.
Testing and Running the Backup Script
Before running the full script, I always recommend doing a dry run with ‘rsync’. This shows you what would be copied without actually making changes, which is a great way to confirm everything is set correctly. Once you’re confident, you can run the full command or execute your script directly.
After that, it’s just a matter of making the script executable and running it manually once to verify everything works as expected. From there, you’re ready to automate it.
Automating Backups with Cron
To automate the backup process, I used cron, which is Linux’s built-in scheduler. With a simple cron job, you can have your script run daily, weekly, or on whatever schedule you prefer. In my case, I set it to run every day at 3am.
The format might look a little intimidating at first, but it’s essentially just defining when the script should run, followed by the path to the script itself. Once it’s saved, cron takes over and runs the job in the background without any further input.
Since rsync is incremental, after the first full backup, it only copies new or changed files, which makes ongoing backups much faster and more efficient.
Final Thoughts
At this point, your data is migrated, backed up, and running on a schedule without any manual intervention—which means you can finally stop babysitting your NAS and go do something a little more interesting with your weekend.
If you found this walkthrough helpful, feel free to share your thoughts or questions. Don’t forget to check out the full cheat sheet and script on my free Patreon tier membership—I’ll have everything laid out there to make this process even easier. I really appreciate all the support and feedback, and I’ve got plenty more coming soon!