
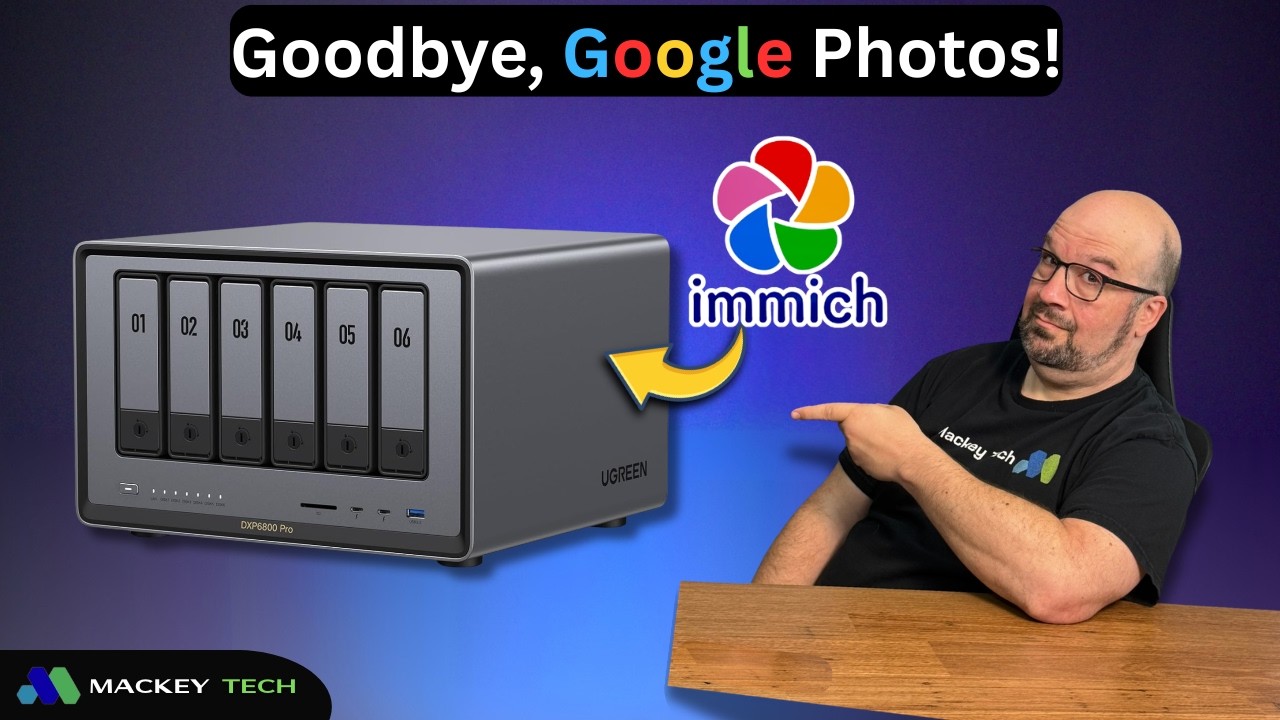
How to Install Immich on a UGREEN NAS
Google Photos is convenient, but its free 15 GB of storage can disappear quickly once you start uploading a large photo library or high-quality video. Immich provides an open-source alternative that lets you store and manage your collection on hardware you control. In this guide, we’ll install Immich on a UGREEN NAS using the built-in Docker application and its Projects feature.
This walk through uses a UGREEN DXP6800 Pro, but the standard Immich configuration is designed to work across Intel-, AMD, and ARM-based UGREEN NAS devices. The result is a dedicated photo application with automatic mobile backups, albums, facial recognition, Smart Search, location-based browsing, and other familiar photo-management features.
Why Use immich?
UGREEN includes its own photo application, but Immich offers a dedicated web and mobile experience that opens directly to your library. Your original photos and videos remain on your NAS, and core features such as facial recognition, object detection, metadata indexing, and AI-powered searches can run locally instead of requiring your entire collection to be processed by a cloud photo service.
Immich can still connect to outside services for maps, software updates, and optional integrations, but your core library and machine-learning processing remain under your control. That makes it a compelling option for anyone who wants the convenience of a modern photo platform without relying entirely on third-party storage.
Install the UGREEN Docker App

Begin by opening the UGREEN App Center and installing Docker. Immich uses several containers that work together, including the main Immich server, a PostgreSQL database, valley, and the machine-learning service. Docker Projects lets us deploy and manage those components together as one application stack.
Create the immich Folder Structure
Open File Manager, navigate to the Docker shared folder, and create a folder named immich. Inside it, create three additional folders named library, postgres, and model-cache. The library folder stores uploaded photos, videos, and generated media; postgres holds the database that tracks users, albums, dates, locations, permissions, and other library information; and model-cache stores the downloaded models used by Immich’s machine-learning features.
Create the Docker Project
Open Docker, select Project, and choose ‘Create’. Give the project a clear name such as Immich, then select the Docker/immich folder you created earlier as its location. The Compose configuration screen is where you will import the YAML file that defines the complete Immich stack.
Import the immich Yaml
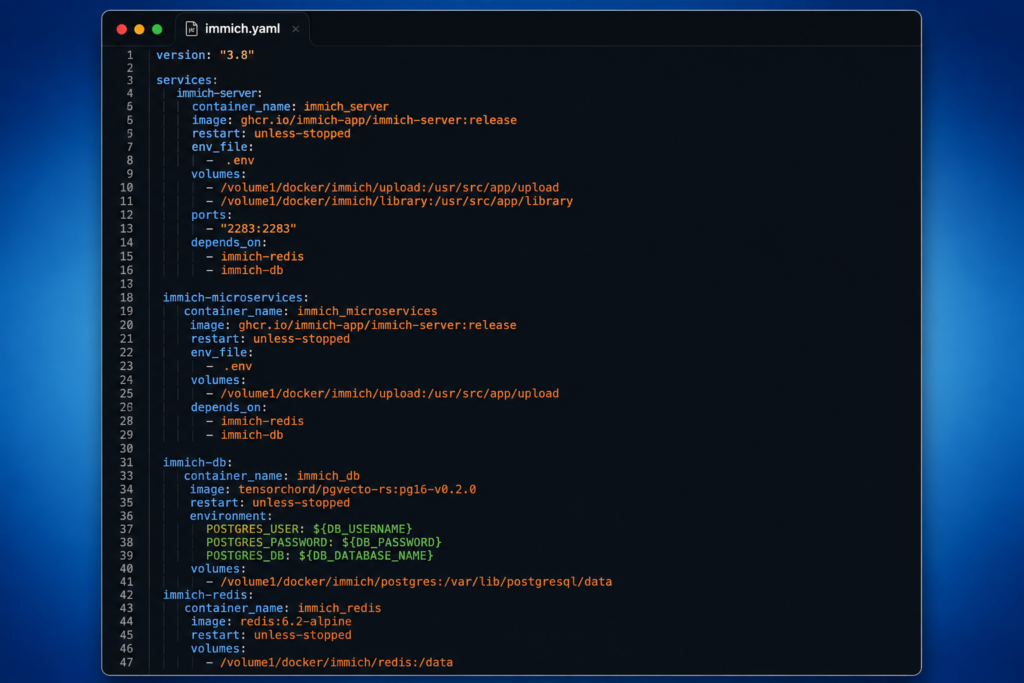
Rather than copying YAML from a web page or PDF, use the exact immich.yaml file provided with the companion guide. Downloading and importing the file preserves its indentation and avoids subtle formatting errors that can prevent Docker Compose from working.
Download the exact immich.yaml file and supporting details from the free Mackey Tech Patreon post.
Review Yaml
The standard machine-learning image in this guide works across Intel-, AMD, and ARM-based UGREEN systems. Immich also offers OpenVINO acceleration for compatible Intel hardware, which can speed up AI tasks such as facial recognition and Smart Search. The largest difference is usually noticeable while Immich processes the existing library for the first time; afterward, it generally processes only newly added photos and videos.
The YAML also includes a database password in two locations: one for the Immich server and another for PostgreSQL. Replace the placeholder with your own strong password and make sure both entries match exactly. This is an internal database connection password rather than the password you will use to sign into Immich, but it should still be stored safely in a password manager.
Immich uses port 2283 by default. Once you have reviewed the configuration, import immich.yaml and select Deploy. Docker will download the required images and start the services, which can take several minutes on the first run.
Open immich & Create Admin Account
When deployment finishes, open a browser and enter your NAS IP address followed by port 2283, such as http://192.168.1.100:2283. The first account created becomes the Immich administrator, so enter your name, email address, and a strong password you can keep secure.
After signing in, select your profile icon and open Administration. This area lets you add users, review storage information, monitor background jobs, and adjust machine-learning settings. You may not need to change anything immediately, but it is useful to know where these controls live before uploading a large library.
Connect immich mobile app
Install the official Immich mobile app from the Apple App Store or Google Play Store. When prompted for the server address, enter the local address of your NAS followed by port 2283, then sign in using the account you created. This local address normally works only while the phone is connected to your home network.
Choose Photos to Back up
Allow Immich to access the photos and videos on your phone. On an iPhone, choose access to all photos if you want the app to back up your complete library. Select the cloud icon in the upper-right corner, choose the phone albums you want to include, and enable backup. Immich will begin uploading the selected photos and videos directly to your NAS.
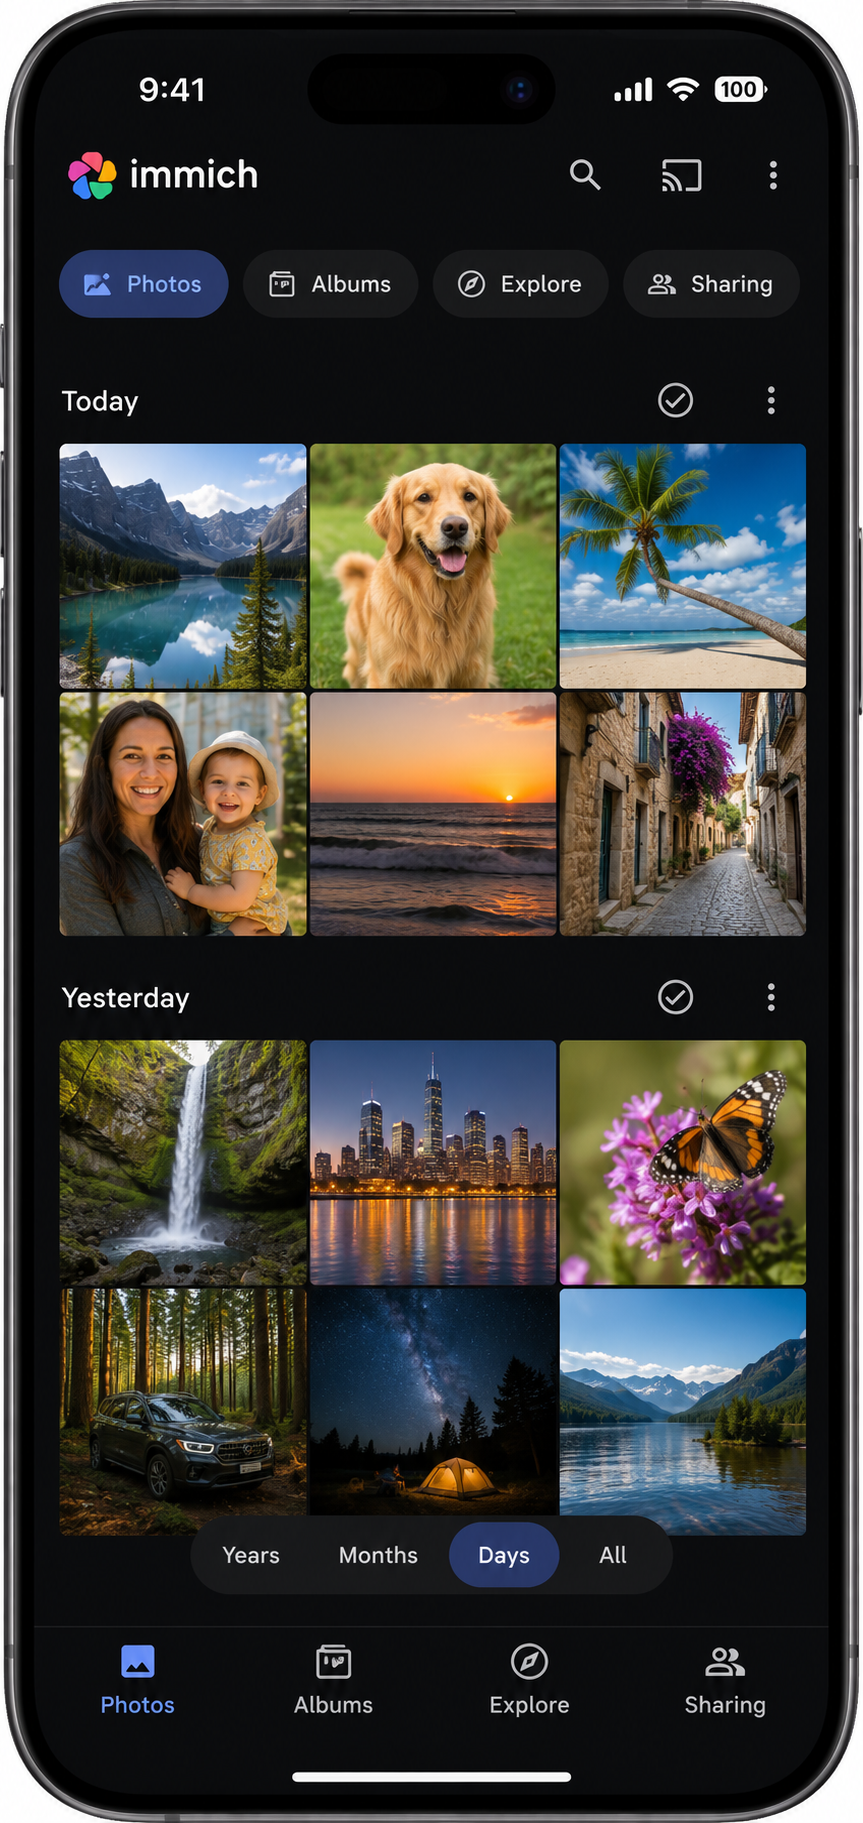
Return to the Immich web interface and confirm that the selected albums and media are appearing in the library. You can also open the Docker/immich/library folder on the NAS to verify that Immich is writing files to the assigned storage location.
Manage photos through the Immich application instead of moving, renaming, or reorganizing files directly inside the NAS folders. Immich relies on its database to connect the original files with albums, thumbnails, users, dates, locations, and other information. Manual changes inside the storage folders can cause the database and files to fall out of sync.
Accessing immich Remotely
The local NAS address used in this guide is intended for devices connected to your home network. For remote access, Tailscale provides a secure way to connect to Immich without opening ports on your router or exposing the application directly to the internet. Remote access deserves its own walk through, so it is best configured after confirming that Immich works correctly on the local network.
Final Thoughts
At this point, Immich is running on the UGREEN NAS, the mobile app is connected, and selected photos and videos are backing up to storage you control. This guide focuses on getting the platform installed and working, but Immich also includes shared albums, facial recognition, OCR text recognition, Smart Search, location-based browsing, and many other features worth exploring.
If you’re looking for a guide for running Jellyfin on Ugreen, check out my post here!
For the downloadable immich YAML file and more detailed setup notes, visit the Mackey Tech Patreon guide.
💻 Hardware Used:
✅ Some links may be affiliate links, which help support me and help keep ads off here!
- UGREEN DXP6800 Pro NAS: https://amzn.to/4tKmKoF
- 4x 8TB Ironwolf HDD Used in 6800 Pro: https://amzn.to/4diniNt
- 256 Kingspec NVMe Drive: https://amzn.to/4ukfJvG