If I had a nickel for every time I had to troubleshoot a headless server, NAS, or Raspberry Pi without a monitor nearby, I’d probably have my car paid off by now. That frustration is what got me thinking—why don’t more of us keep a small, dedicated diagnostics display in our homelab? Something lightweight, easy to grab, and ready to plug in whenever something goes sideways. Speaking of Raspberry pi, I also did a review of Magex’s All In One Raspberry Pi Monitor, which is also a portable monitor but the Raspeberry Pi actually fit inside the monitor!
That’s exactly where the ANDYCINE N10 comes in. This is a 10.1-inch portable monitor with a full HD IPS display, priced around $119, and designed to work with just about anything that outputs HDMI. On paper, it sounds like a perfect fit for homelab use—but the real question is whether it actually earns a permanent place in your toolkit.
First Impressions and Build Quality
Out of the box, the ANDYCINE N10 keeps things simple. You get the monitor itself, a USB-C cable, a full-size HDMI cable, a small manual, and an adjustable stand. It’s a straightforward package, and honestly, that’s all you really need.
The monitor itself is impressively compact. It weighs just under 12 ounces and measures under half an inch thick, making it incredibly easy to toss into a bag or keep on a shelf in your workspace. It’s also a touchscreen, which adds a bit of versatility depending on how you plan to use it.
Build-wise, it’s a plastic enclosure, which isn’t surprising at this price point. While it doesn’t feel premium, it does help keep the weight down and makes it more portable. The included stand is also plastic and adjustable, but it’s probably the weakest part of the design. It works, but it doesn’t feel particularly stable, and it’s easy to knock out of position. A locking mechanism would have gone a long way here.
Ports and Mounting Options
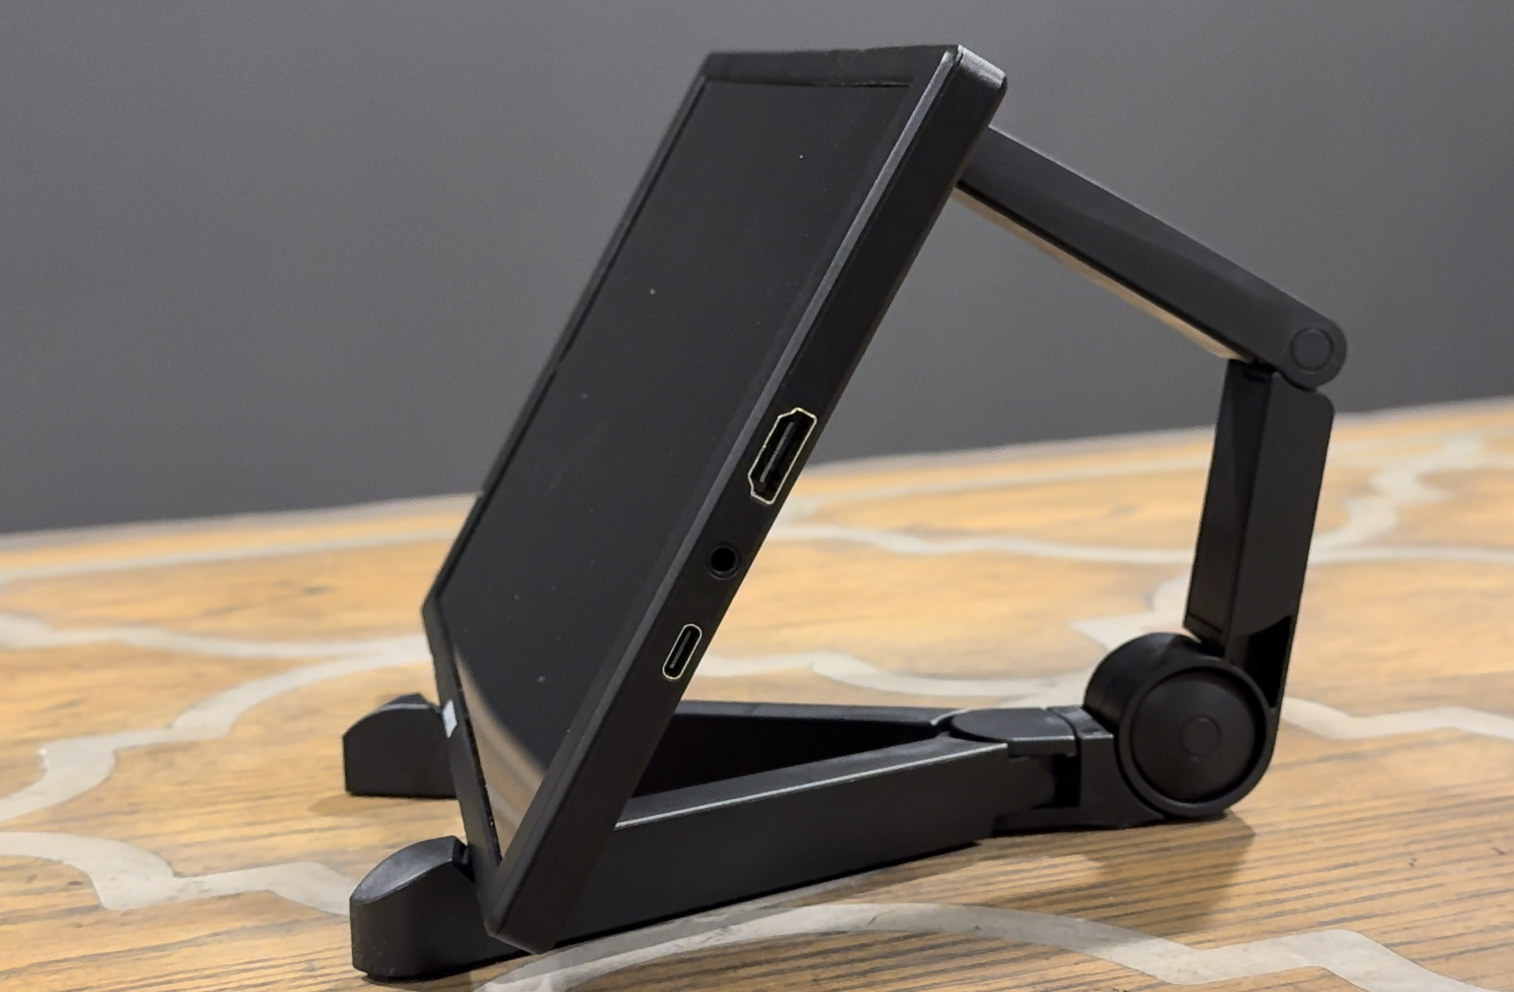
One of the standout features of this monitor is its port selection. You get a full-size HDMI port—which is honestly refreshing—along with a USB-C port for power and touchscreen data, and a 3.5mm audio jack. There are also built-in rear-facing speakers, which we’ll talk about in a bit.
On the back, you’ll find VESA mounting support, and on the bottom, there’s a standard ¼-inch screw mount. That means you can mount this on a tripod or even clamp it onto a rack or workstation, which is incredibly useful in a homelab environment where flexibility matters.
The physical controls for power, brightness, volume, and menu navigation are located on the top edge, and they’re easy enough to access once you get used to them.
Using It in a Homelab Workflow
Rather than focusing on gaming or media consumption, I wanted to see how this monitor performs in a real homelab scenario—working with things like Raspberry Pi systems, servers, and headless devices.
Starting with a Raspberry Pi, the experience was exactly what you’d hope for. I plugged it in, and the display came up immediately. Running a quick check showed it was already operating at its native 1920×1200 resolution, which means it’s correctly communicating its supported display modes. That’s a great sign for compatibility.
The screen itself is sharp enough for terminal work, configuration tasks, and general navigation, and the viewing angles are surprisingly good. Colors stay consistent even when you’re not looking at it straight on, which is important when you’re working in tight spaces or awkward positions.
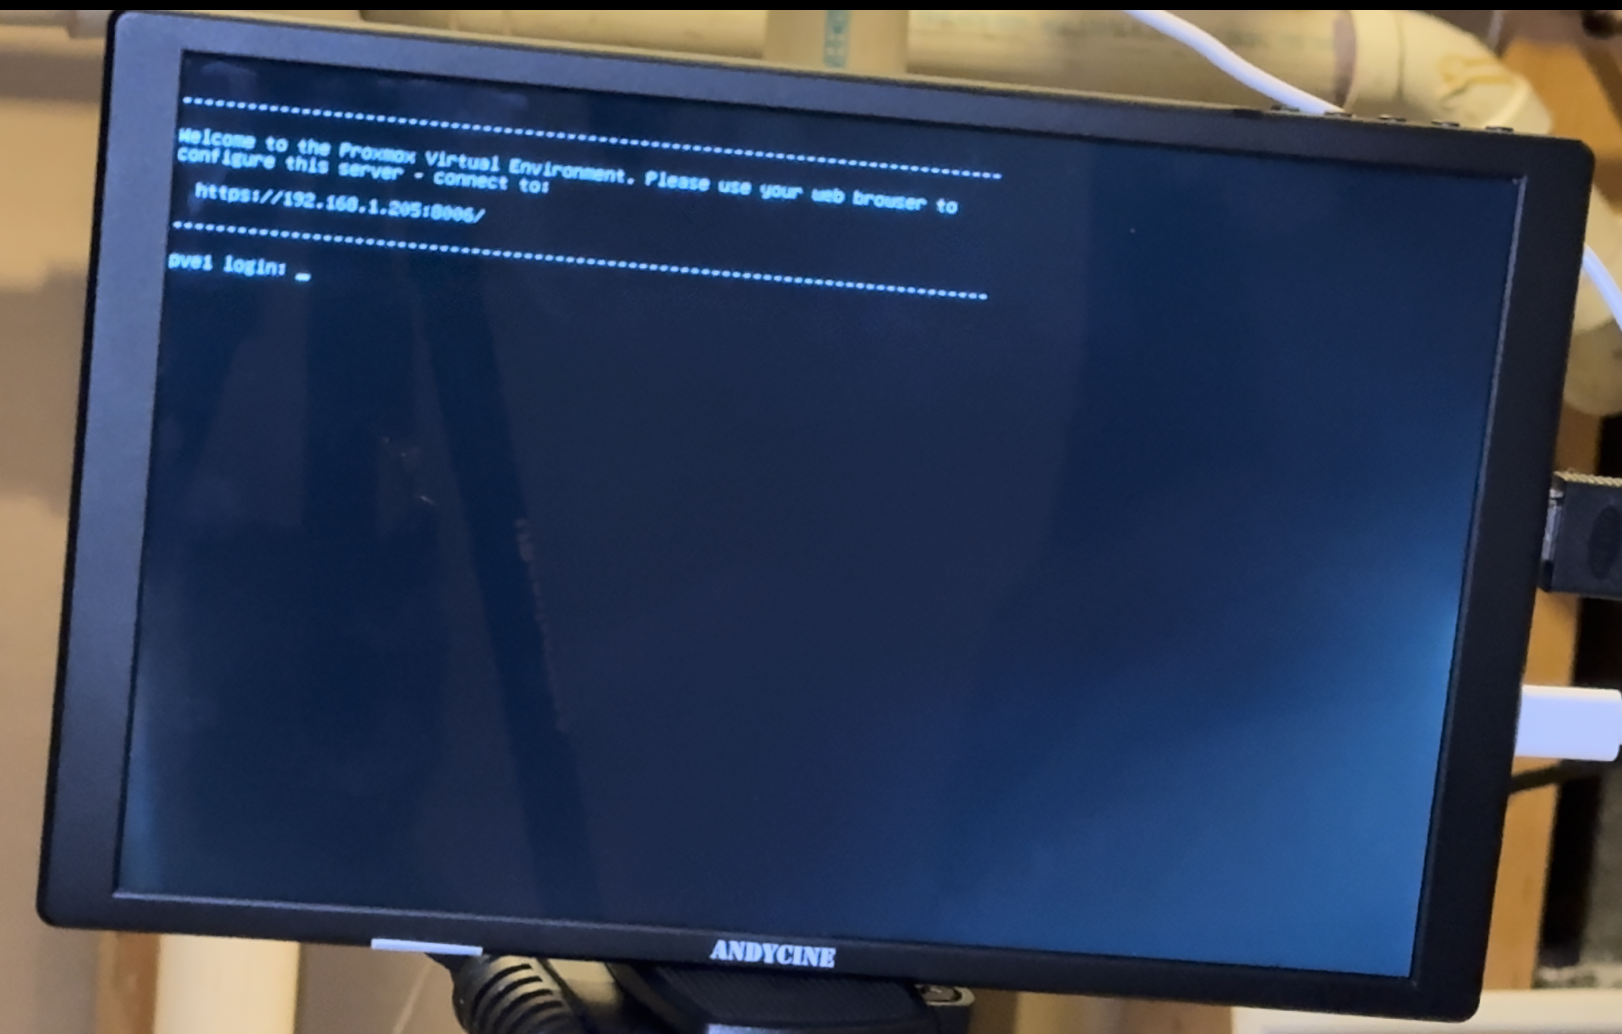
Moving over to a Proxmox server, I had to get a bit creative since the system only outputs VGA. Using a USB-powered VGA-to-HDMI converter, I was able to connect the monitor and bring up the terminal without any issues. Text was clean and readable, which is exactly what you need when diagnosing problems or working through configurations.
This is where a monitor like this really shines. Not every system has remote management like IPMI, and even when it does, you don’t always want to rely on it. Having a small, dedicated display you can plug in instantly makes troubleshooting significantly easier.
Secondary Display and Touchscreen Functionality
As a secondary display, the monitor works exactly as expected. It’s plug-and-play on both macOS and Windows when connected via HDMI. The touchscreen functionality, however, is a bit more limited. It only works on Windows systems and requires the USB connection for input.
On my Windows laptop, the touchscreen worked fine, but on a mini PC, it didn’t respond at all. That inconsistency seems to depend more on the system than the monitor itself, but it’s something to be aware of.
It’s also worth noting that this monitor separates video and power. The HDMI cable handles video and audio, while USB-C handles power and touch input. Some portable monitors combine everything into a single USB-C cable, but this approach trades that convenience for the reliability of a full-size HDMI connection. Depending on your setup, that may actually be preferable.
Audio and OSD Controls
The built-in speakers are functional but unremarkable. They’re fine for quick testing or background audio, but they’re not something you’d rely on for gaming or media consumption. Think of them as a convenience feature rather than a selling point.
The on-screen display (OSD) is similarly basic. You get standard controls for brightness, contrast, and a few preset modes, but there’s no advanced tuning for color accuracy or image calibration. That’s typical for a monitor in this category—it’s designed to be simple and easy to use, not highly customizable.
Image Quality
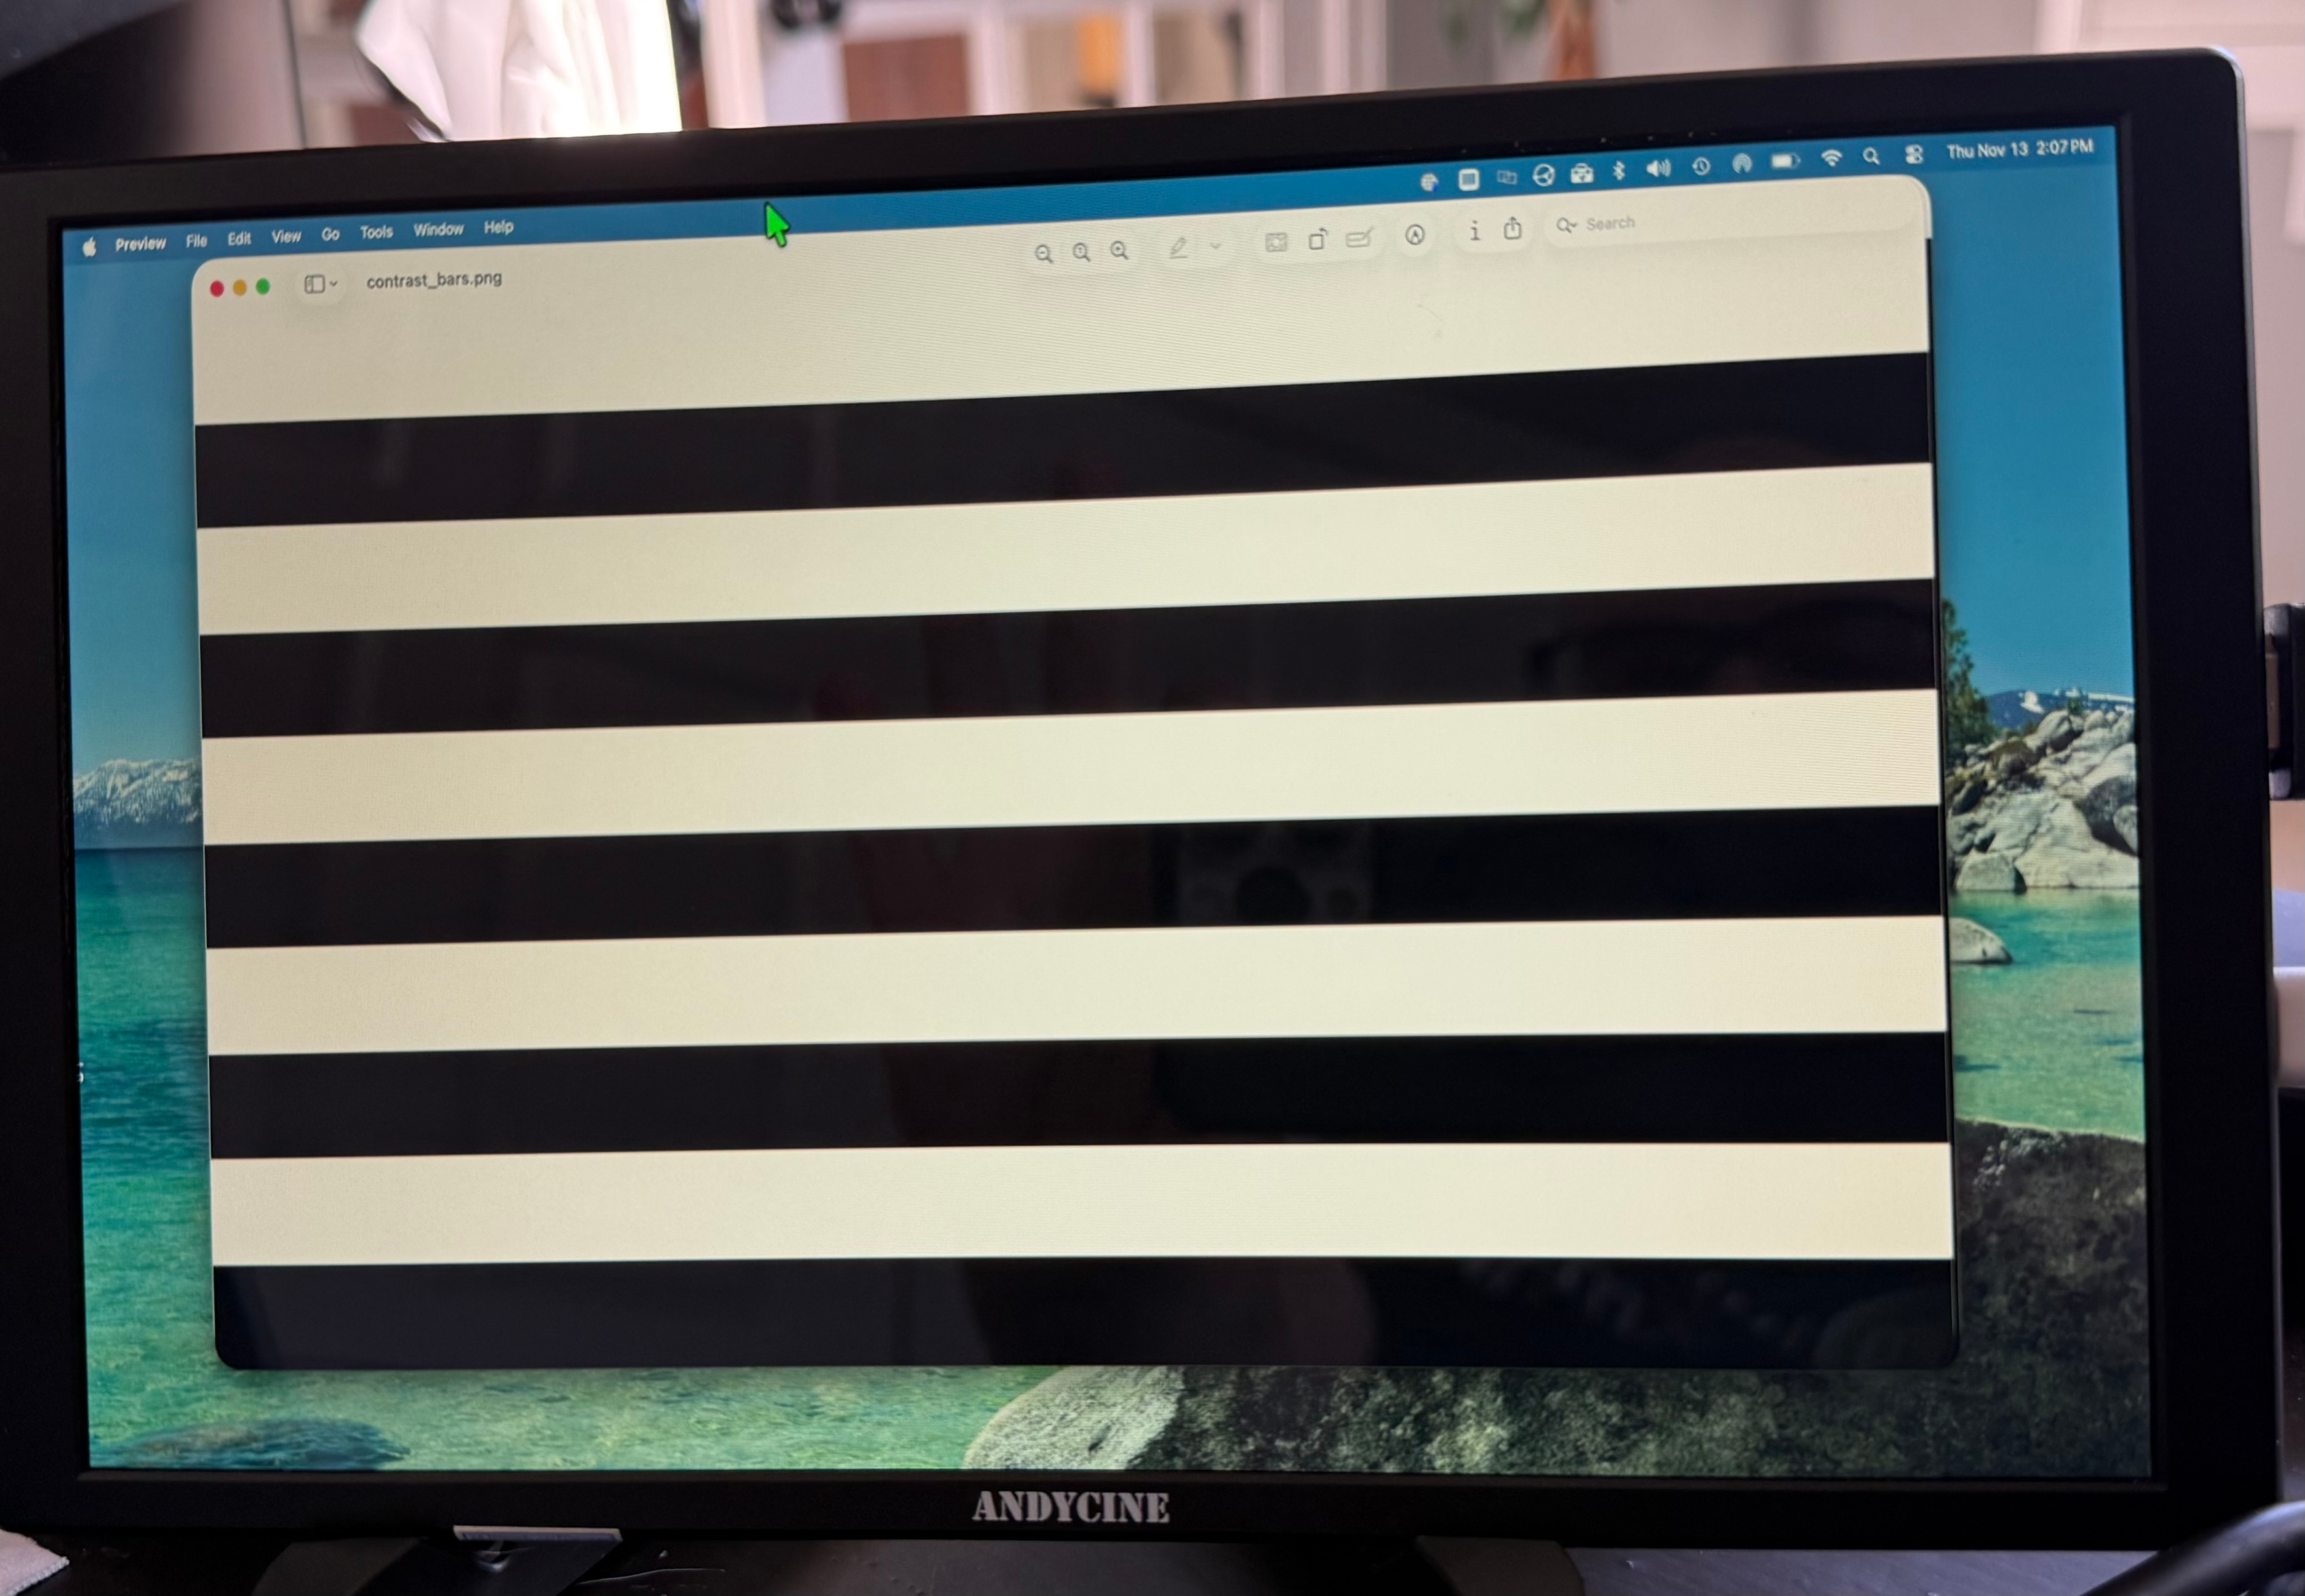
In terms of image quality, the monitor performs about how you’d expect for a budget IPS panel. Colors are slightly warm, saturation is a bit muted, and contrast is decent but not exceptional. Blacks tend to appear more like dark gray, and bright whites can blend together at the top end.
For homelab use, though, none of that is a dealbreaker. You’re not editing photos or grading video—you’re reading logs, configuring systems, and checking outputs. In that context, the display is more than adequate.
Practical Use Cases
Where this monitor really proves its value is in everyday homelab scenarios. Whether you’re flashing an operating system, checking boot output, diagnosing a failed service, or just needing quick access to a console, it does exactly what you need it to do.
Instead of dragging out a full-size monitor or rearranging your workspace, you can just plug this in and get to work. That kind of convenience is hard to overstate once you’ve experienced it.
Final Thoughts
At the end of the day, the ANDYCINE N10 isn’t trying to be a high-end display—and it doesn’t need to be. What it offers is a lightweight, portable, and reliable screen that fits perfectly into a homelab workflow.
It’s not perfect. The stand could be sturdier, the speakers are basic, and the image quality won’t impress anyone looking for color accuracy. But for what it’s designed to do—quick diagnostics, secondary display use, and portable troubleshooting—it delivers.
If you’re constantly working with headless systems or just want a more convenient way to interact with your hardware, this is one of those tools that quickly goes from “nice to have” to “why didn’t I get this sooner?”
As always, let me know what you’re using in your setup or if you’ve found a different solution that works better. And if you’re into homelab content like this, make sure you’re following along for more builds, reviews, and practical guides!