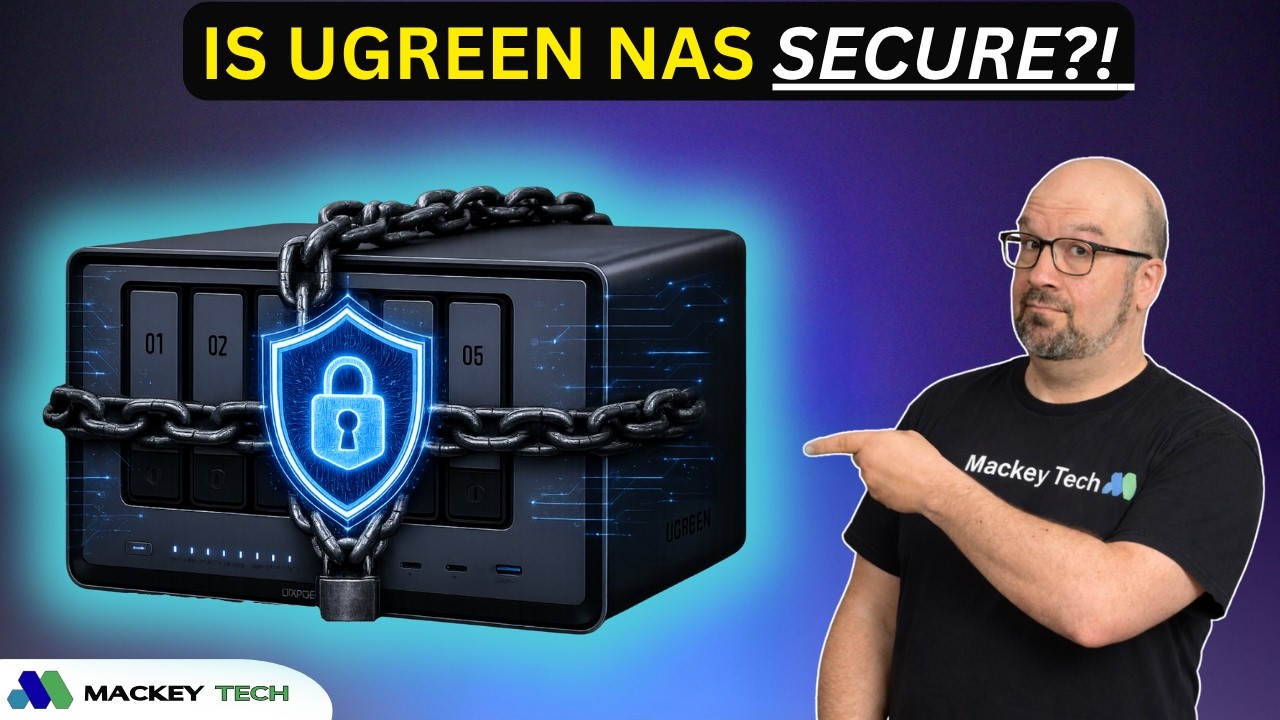
A NAS, gives you an incredible amount of control over your files, applications, backups, and media. But once you start thinking about accessing your NAS remotely, security becomes just as important as convenience.
UGREEN provides its own remote-access service, UGREENlink, but you don’t necessarily have to use it. If you prefer a platform-independent solution that works across different NAS brands, servers, computers, and mobile devices, Tailscale is an excellent alternative.
In this guide, we’ll go through several security best practices for a UGREEN NAS, including reducing unnecessary services, strengthening account security, configuring the built-in firewall, and finally using Tailscale for secure remote access.
Reduce Your NAS Attack Surface
One of the simplest ways to improve NAS security is to reduce the number of services that are available in the first place.
If you’re not using UGREEN Remote Access, you can disable it. The same principle applies to other services and applications installed on your NAS. If you don’t use something, there is little reason to leave it running.
Unused applications should also be removed, and services such as UPnP should generally remain disabled unless you specifically need them. Every unnecessary service is another potential entry point that you have to maintain and secure.
Review UGREEN’s Built-In Security Settings
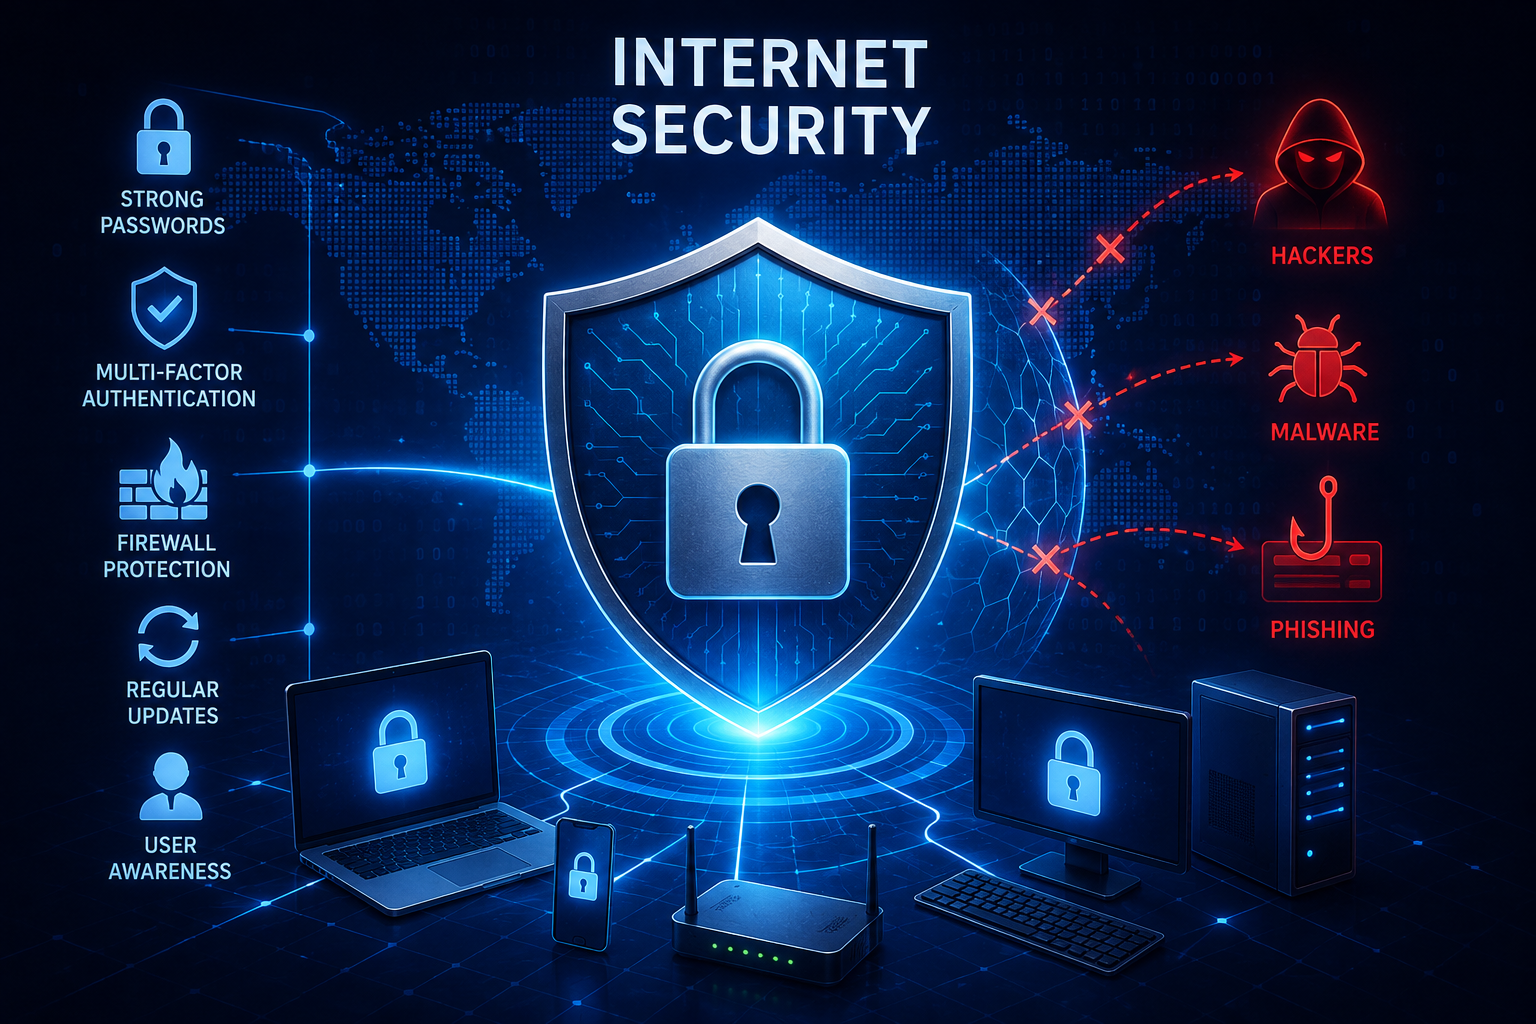
UGOS includes several security controls that are worth reviewing even if many of them are enabled by default.
Inside the UGREEN Control Panel, open the Security section and review the available options.
One setting controls how long an inactive management session can remain open before you are automatically logged out. Another option can clear active user sessions whenever the NAS restarts, requiring everyone to authenticate again.
These aren’t dramatic security features by themselves, but together they reduce the chance that an unattended or previously authenticated session remains accessible.
Enable DoS Protection
UGREEN also provides built-in protection against denial-of-service, or DoS, attacks.
A DoS attack occurs when another system intentionally overwhelms a device with network traffic to the point where it slows down or becomes unavailable.
UGOS can monitor TCP, UDP, and ICMP traffic for behavior that could indicate this type of attack. Enabling all three protections gives the NAS another layer of defense against suspicious network activity.
Configure Automatic IP Blocking
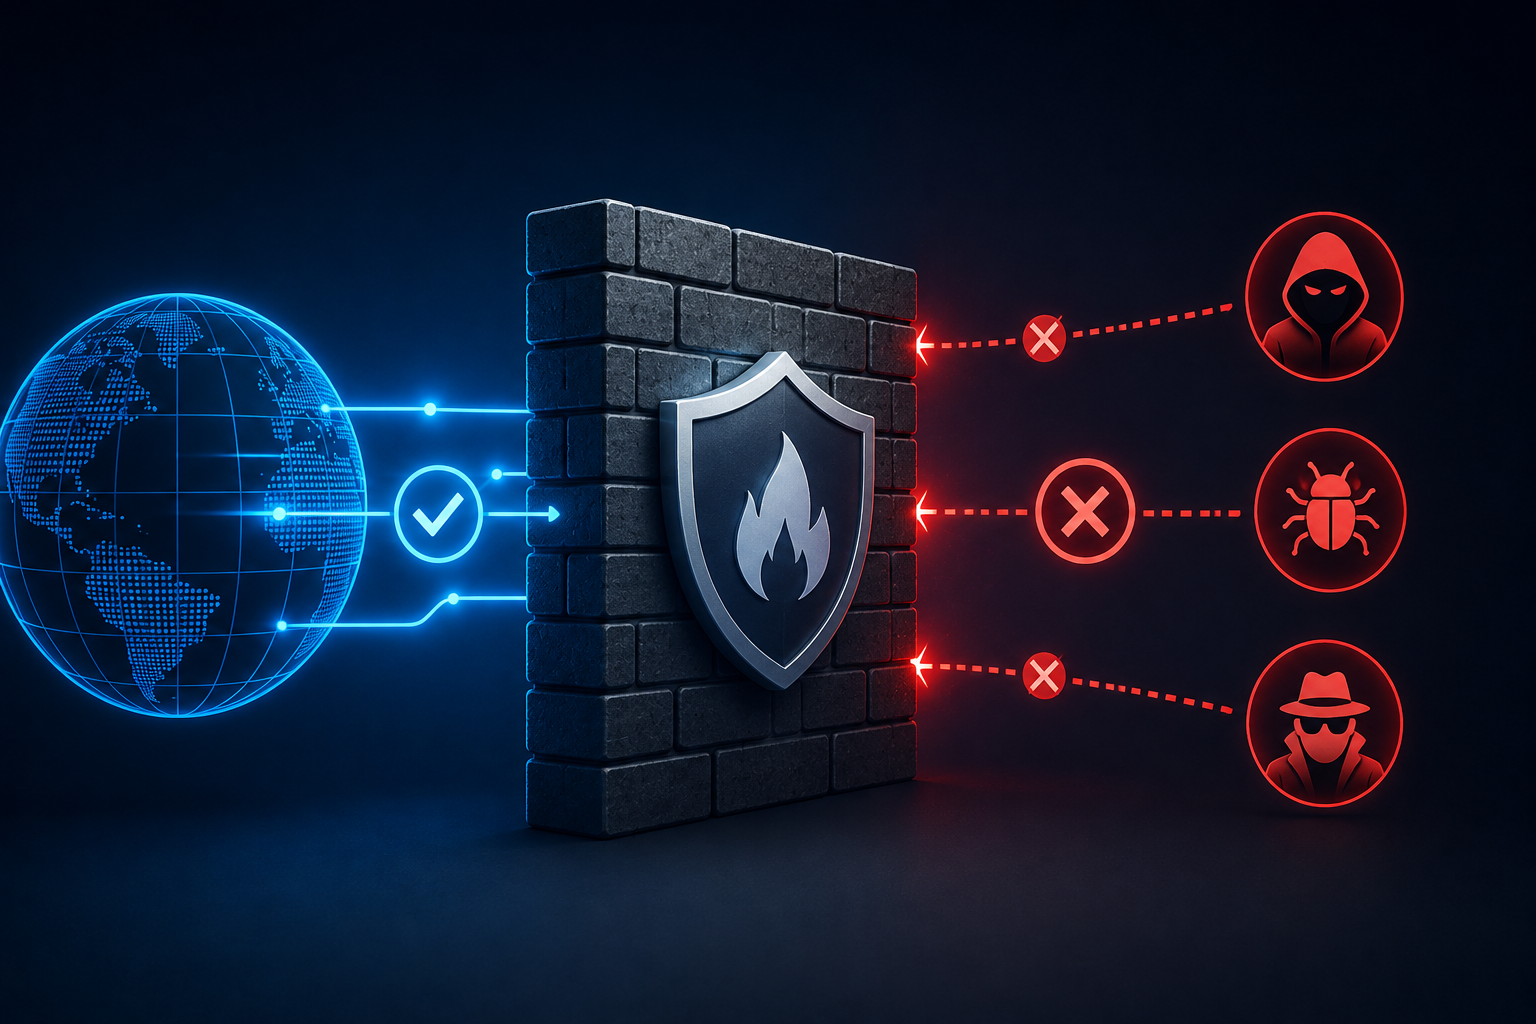
Another important setting controls failed login attempts.
You can configure the NAS to automatically block an IP address after a certain number of incorrect password attempts within a specified period of time. This can help slow down automated login attempts and basic brute-force attacks.
UGOS also provides a Block List where you can review addresses that have been blocked or manually add addresses yourself.
There is also an optional Whitelist. This allows you to identify trusted IP addresses that should never be automatically blocked. For example, you might whitelist a trusted computer on your local network so repeated login mistakes don’t accidentally lock that system out.
Use TLS 1.2 or Later
UGOS also includes a TLS configuration option.
This particular setting does not turn HTTPS on or off. Instead, it determines which versions of the TLS encryption protocol the NAS is allowed to use when an HTTPS connection is established.
Leaving the minimum version set to TLS 1.2 or later helps prevent connections from falling back to older and less-secure encryption protocols.
Strengthen Your UGREEN Account Security
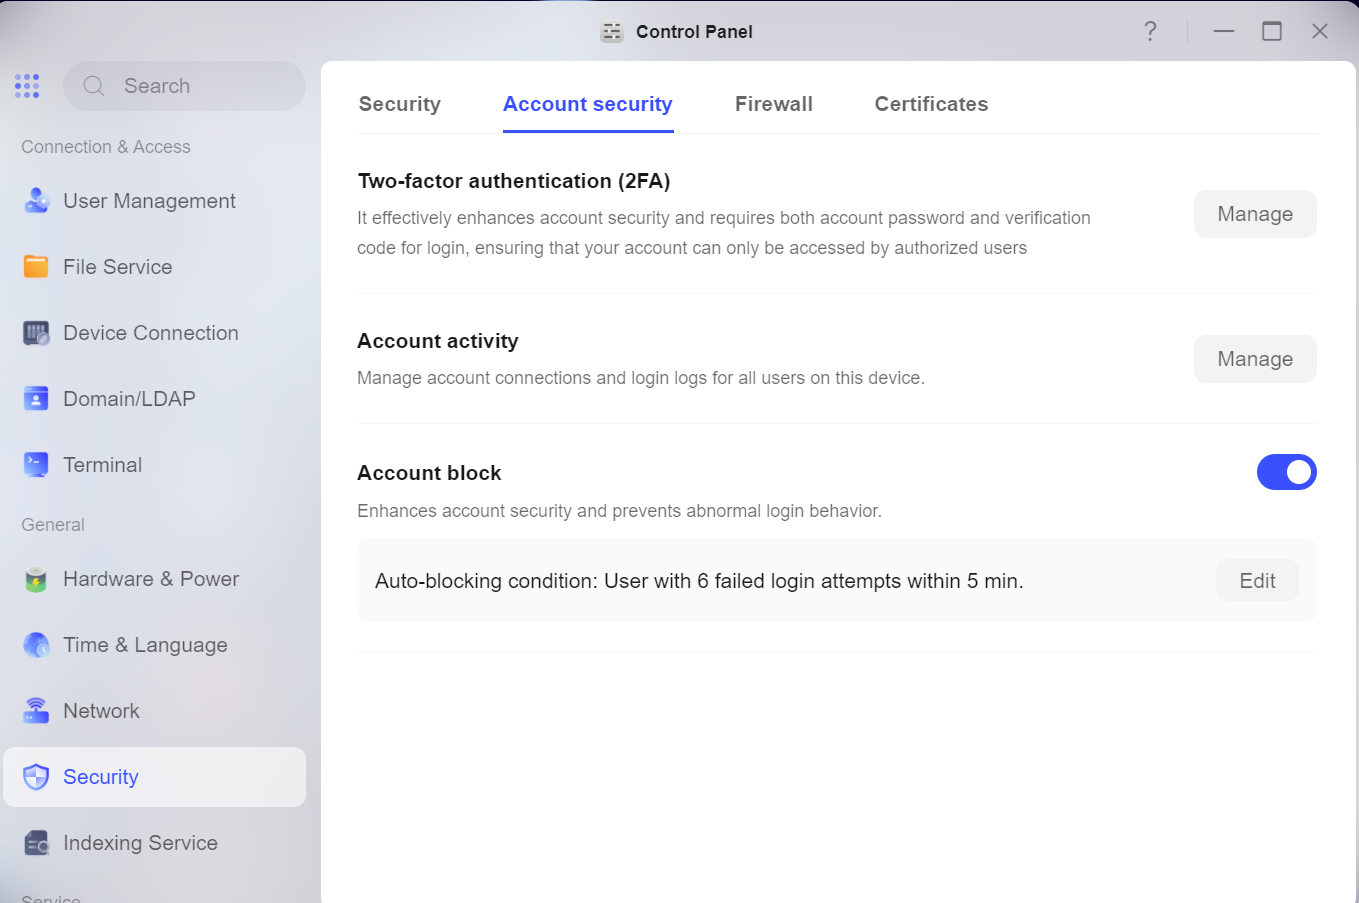
Your NAS security is only as strong as the accounts that can access it.
Use a strong, unique password and enable two-factor authentication whenever possible. Two-factor authentication adds another layer of protection because gaining access requires more than simply knowing the password.
UGOS also provides an Account Activity section where you can see which users are currently connected, how they’re connected, and information about the device or IP address being used.
If you notice an unfamiliar connection, you can terminate that session directly from the interface.
UGREEN also provides account-level blocking, which offers another method of limiting repeated failed login attempts against individual user accounts.
Configure the Firewall with Default-Deny Approach
UGREEN includes a built-in firewall that can provide another layer of protection.
If you already use a dedicated firewall such as UniFi, pfSense, or OPNsense, that device will usually remain your primary line of defense. However, enabling the NAS firewall can still provide some additional protection directly on the device.
When configuring firewall rules, I prefer a default-deny approach. Instead of asking which services should be blocked, ask which services actually need to be allowed.
For example, if you use SSH, SMB, and NFS, you can create allow rules specifically for those services.
If you don’t use services such as FTP or WebDAV, there’s usually no reason to create separate firewall rules specifically denying them. Simply leave those services disabled in UGREEN’s file-service settings.
What About Geo-IP Blocking?
UGREEN also provides Geo-IP filtering.
If you’re using a typical consumer router without advanced firewall capabilities, Geo-IP filtering can provide another useful layer of protection by blocking connection attempts from countries where you don’t expect legitimate traffic to originate.
However, Geo-IP blocking should never be treated as a replacement for strong passwords, multi-factor authentication, or secure remote-access practices.
More advanced firewall platforms such as UniFi, pfSense, and OPNsense are generally better equipped to handle Geo-IP filtering, VLAN policies, and more complex network rules.
UGREENlink vs. Tailscale
UGREEN includes its own remote-access service called UGREENlink, which provides encrypted access to your NAS from outside your home network.
There’s nothing inherently wrong with using it.
However, some users may prefer a remote-access solution that isn’t tied to a particular NAS manufacturer. That’s where Tailscale becomes particularly useful.
Tailscale uses WireGuard-based encrypted connections and creates a private network between your authorized devices. It gives you a consistent way to access not only your UGREEN NAS, but also other servers, computers, and services in your homelab.
Installing Tailscale on a UGREEN NAS with Docker
For this configuration, Tailscale runs inside a Docker container.
First, make sure the Docker application is installed on your UGREEN NAS through the App Center.
Next, open File Manager and locate your shared docker directory. Inside that directory, create a folder named:
tailscale
Inside the Tailscale folder, create another folder named:
state
I recommend keeping these directory names lowercase because the volume paths in the Docker Compose YAML file need to match the directory names exactly.
Import the Tailscale YAML File
Open the Docker application and select Project, then choose the option to create a new project.
Use the Import option and select the Tailscale YAML file.
Rather than manually creating each Docker container setting through the graphical interface, the YAML file defines the container configuration for you. Once imported, you can review and modify the configuration before deployment.
To download the yaml file I’m using, please visit my patreon!
Create Your Tailscale Account & Tailnet
If you don’t already have one, create a free account at Tailscale.
You should also install Tailscale on the device you’ll use when accessing the NAS remotely. This could be your laptop, desktop computer, tablet, or smartphone.
Once a device is connected to your account, it becomes part of your tailnet.
A tailnet is essentially the private network created between all of the devices connected to your Tailscale account.
Generate a Tailscale Authentication Key
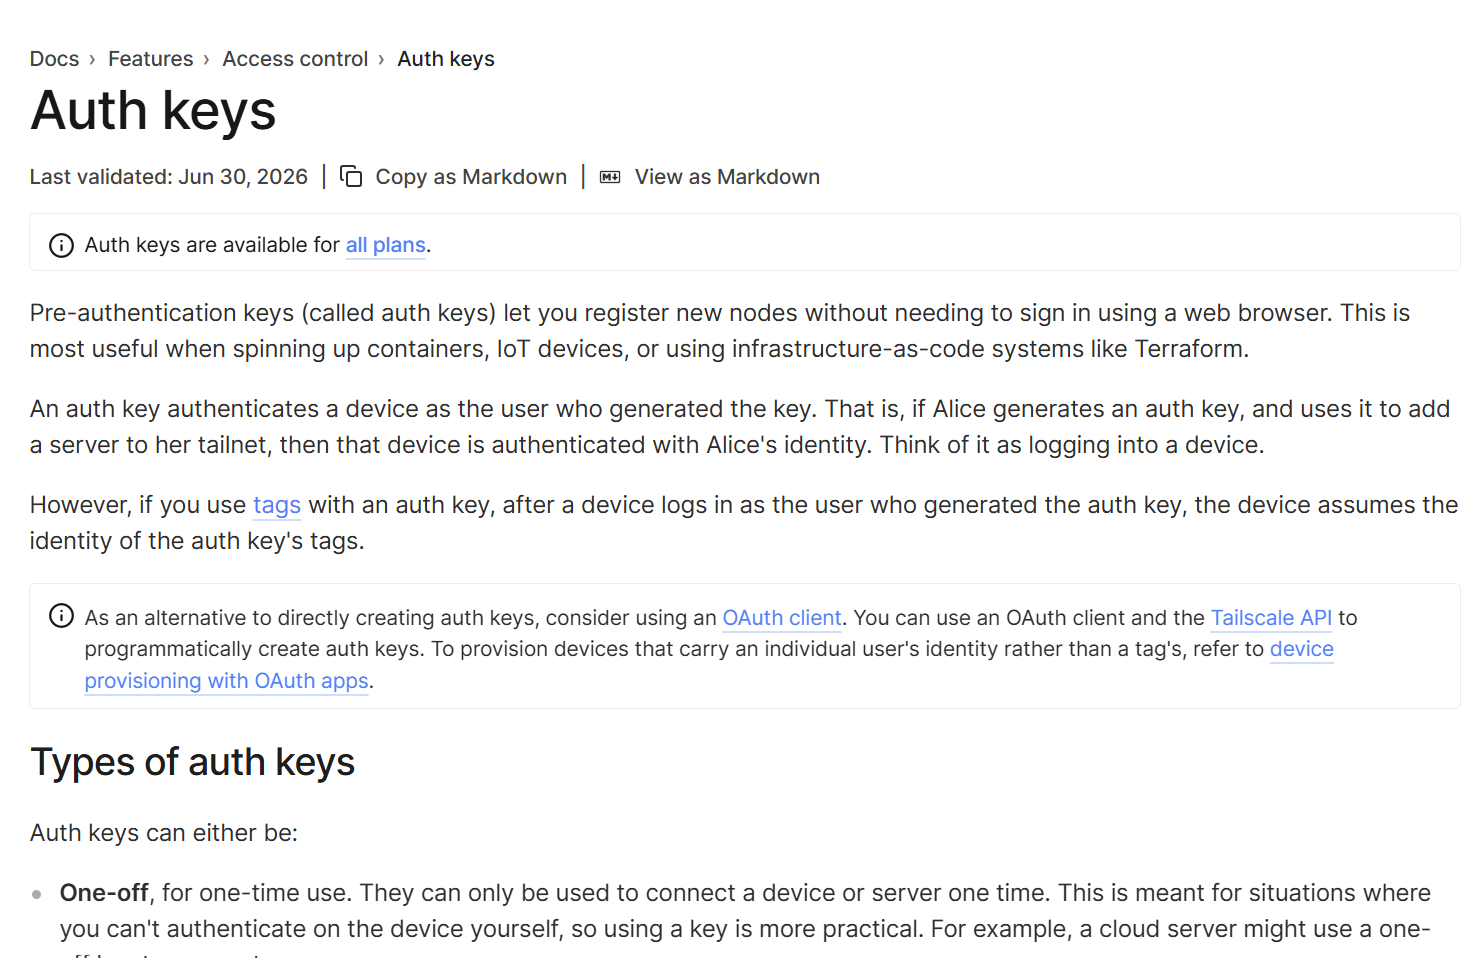
To add the UGREEN NAS to your tailnet, log into the Tailscale web interface and open the Keys section under your account settings.
Generate a new authentication key and give it a recognizable name such as:
ugreennas
You can also configure an expiration date for the key.
Tailscale provides an option to make devices ephemeral, meaning they can automatically disappear from your tailnet after going offline. For a NAS that remains part of your network permanently, I generally leave that option disabled.
Once the authentication key is generated, copy it to your clipboard.
Add the Authentication Key to Your YAML File
Return to the Tailscale project you imported into UGREEN Docker.
Inside the YAML configuration, locate the Tailscale authorization environment variable and replace the generic placeholder key with the authentication key you just generated.
You should also carefully review the volume path.
The path on the left side of the volume mapping refers to the folders located on your UGREEN NAS. Make sure the directory names match the folders you created earlier, including capitalization.
The path on the right side represents the corresponding location inside the Docker container and generally doesn’t need to be changed.
Once everything looks correct, deploy the project.
Verify Your NAS in Tailscale
After the container starts, return to the Tailscale administration page.
Your UGREEN NAS should now appear as another connected device on your tailnet.
Tailscale will assign the NAS a Tailscale IP address and can also provide a MagicDNS hostname, which makes accessing devices easier because you don’t have to remember individual IP addresses.
Access the UGREEN Web Interface Remotely
Once both your remote device and UGREEN NAS are connected to Tailscale, you can access the UGOS management interface through your private tailnet.
Enter the NAS’s Tailscale address or MagicDNS hostname into your browser along with the port used by the UGREEN web interface.
You can then log into UGOS using your normal NAS username and password.
The important difference is that you’re reaching the NAS through your private Tailscale connection rather than exposing the NAS management interface directly to the public internet.
Access Immich Remotely Through Tailscale
The same method works for applications running on your NAS.
For example, if you’re hosting an Immich photo library on your UGREEN NAS, you can connect to it remotely using Tailscale. On your phone, enable Tailscale and open the Immich app. For the server address, enter the MagicDNS hostname or Tailscale address for your UGREEN NAS followed by Immich’s port: 2283
This allows your phone to communicate directly with the Immich server through your private Tailscale network, even when you’re away from home and using cellular data or another Wi-Fi network.
If you want to see my blog post about configuring immich on the UGREEN NAS, click here!
Security Is About Layers
There isn’t one setting that suddenly makes a NAS secure.
Good security comes from combining multiple layers.
Disable services you don’t need. Keep UGOS, applications, and Docker containers updated. Use strong passwords and multi-factor authentication. Enable automatic blocking and firewall protections where appropriate. Avoid exposing NAS management ports directly to the internet.
And when you need remote access, a private networking solution such as Tailscale can provide a much safer and more flexible alternative to simply forwarding ports through your router.
The goal isn’t to make your NAS impossible to reach. It’s to make sure that only the people and devices you trust have a path to it!
Please be sure to sign up for a free patreon membership and join my ‘Tech Fans’ community for the full tutorial for configuring Tailscale on UGREEN NAS
💻 Hardware I Used: ✅ Some links may be affiliate links, which help support me and help keep ads off here!
- UGREEN DXP6800 Pro NAS: https://amzn.to/4tKmKoF
- 4x 8TB Ironwolf HDD Used in 6800 Pro: https://amzn.to/4diniNt
- 256 Kingspec NVMe Drive: https://amzn.to/4ukfJvG