A lot of homelabers seem pretty split right now between going fully DIY with something like TrueNAS or Unraid, or just buying a more turnkey NAS from companies like Synology, QNAP, or UGREEN and obviously, both approaches have their pros and cons.
DIY platforms usually give you a lot more flexibility and control over how everything works, while turnkey NAS systems tend to focus more on simplicity and ease of use. But what makes the UGREEN NAS DXP4800 Pro interesting is that it kind of sits somewhere in the middle of those two worlds.
You still get the simpler UGOS setup and management side of things, but the hardware itself also feels surprisingly flexible since you’re not locked into proprietary RAM or storage upgrades. People have also been experimenting with things like Proxmox VE and TrueNAS on the hardware as well.
In fact, I recently ran a couple polls on the channel asking whether people preferred more turnkey NAS platforms or more DIY solutions, and most people leaned heavily toward the DIY side of things, which honestly didn’t surprise me.
So rather than turning this into another NAS review full of spreadsheets and synthetic benchmarks, the real question I wanted to answer was this:
Can the UGREEN DXP4800 Pro still scratch that DIY homelab itch while also keeping some of the simplicity of a turnkey NAS?
UGREEN sent me the DXP4800 Pro along with a few Seagate IronWolf drives to test out at no charge, but no money changed hands and, as always, all opinions are my own.
Hardware and First Impressions
Before getting too deep into TrueNAS testing, I first wanted to get UGOS set up and take a quick look at what the overall UGREEN ecosystem and user experience actually feels like.
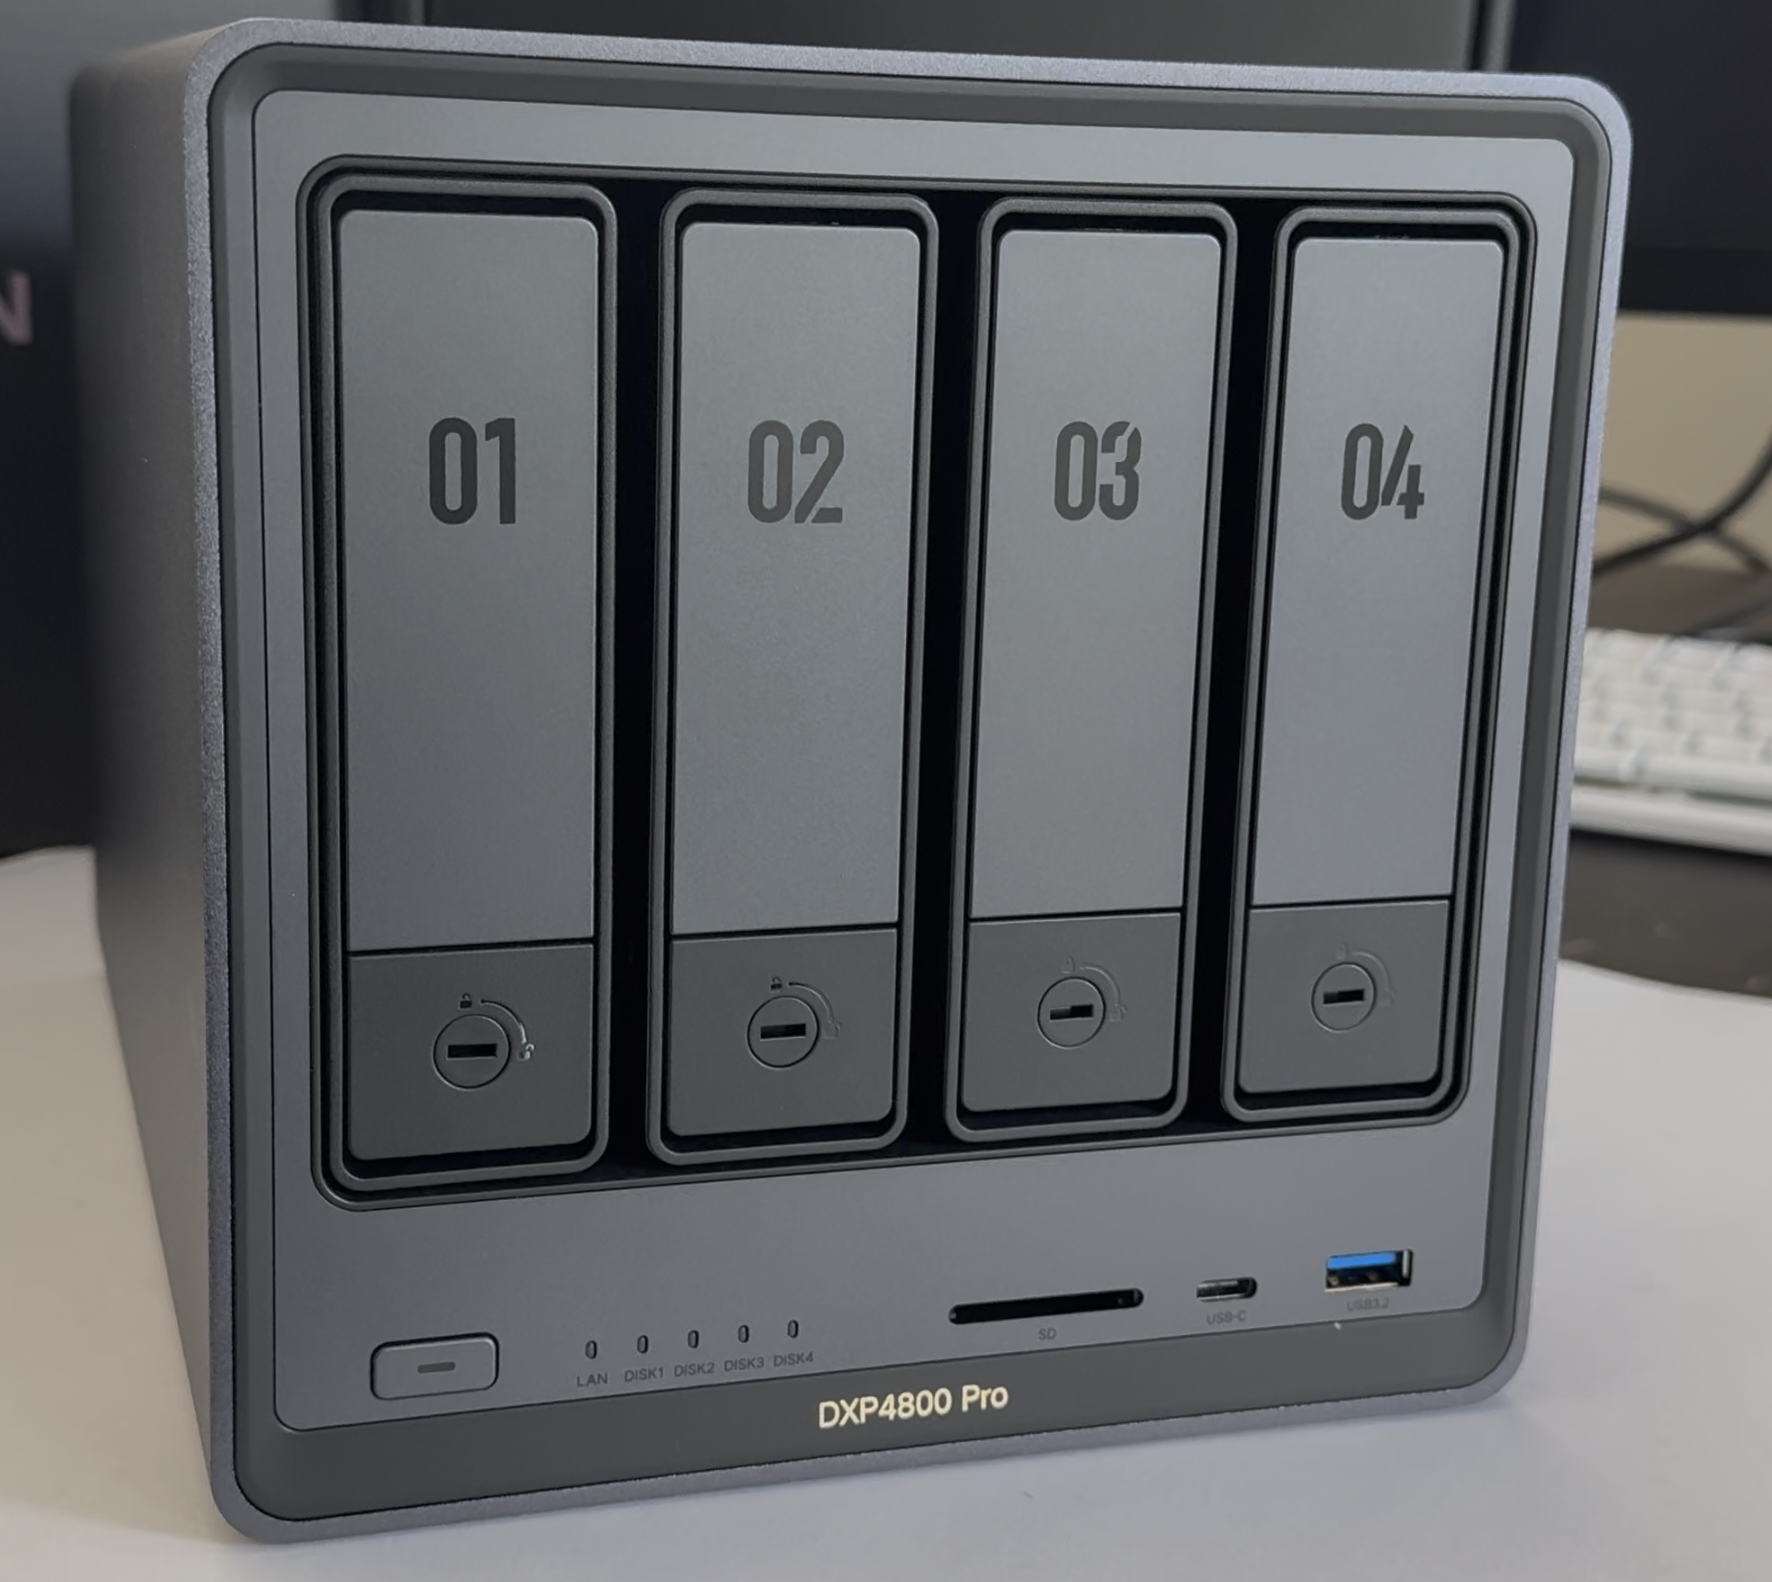
Hardware-wise, the DXP4800 Pro is a 4-bay NAS supporting up to 144TB of storage with a surprisingly generous mix of connectivity options. You’ve got HDMI out capable of 4K at 60Hz, an SD card slot for quickly importing footage or photos, multiple high-speed USB ports including 10Gb USB-C, and dual networking ports including both 10GbE and 2.5GbE.
Internally, the system is powered by Intel’s Core i3-1315U processor and ships with 8GB of RAM. There are also two DDR5 memory slots supporting up to 96GB of RAM along with dual M.2 NVMe slots which can be used either for cache or additional storage pools.
So from a hardware perspective, this honestly feels much closer to a compact homelab server than just a basic file storage box.
Installing the drives was also pretty straightforward since the DXP4800 Pro uses a mostly tool-less design for mounting standard 3.5-inch drives into the sliding bays, while 2.5-inch drives use the included mounting screws already attached to the trays.
Once installed, the drive trays slide in with a satisfying click, and the bays can also be locked using the included keys if you want a little extra security.
And yes, the standard SATA hard drive bays are hot swappable on NASync series devices like the DXP4800 Pro, although according to UGREEN’s documentation, hot swapping SSDs and NVMe drives is not officially supported.
Setting Up UGOS
For my testing, I also installed a 256GB Kingspec NVMe SSD by removing the bottom cover and securing it with the included screws.
With all the drives installed, I plugged the NAS into my network, connected the included 120W power adapter, and powered the system on.
To initially register and connect to the NAS, you’ve got a few different options. You can use the official mobile app, navigate to find.ugnas.com in your browser, or install the desktop application, which is what I ended up doing.
The setup process itself was honestly very simple. The software walks you through creating your administrator account and registering the NAS, then from there you can begin creating storage pools and configuring the filesystem.
One thing I liked seeing was support for JBOD, or “Just a Bunch Of Disks,” which can be useful if you have mismatched drive sizes and simply want to maximize available storage capacity. That said, JBOD does not provide any redundancy or protection against drive failure like RAID configurations do.
For my testing, I chose RAID 5 using Btrfs instead of ext4 so I’d have better snapshot support.
Now one thing worth mentioning is that Btrfs RAID5 and RAID6 have had a somewhat controversial reputation over the years, which is one reason many homelab users still prefer ZFS for parity-based storage pools.
A lot of the concern historically centered around parity consistency during unexpected power loss while data is actively being written, which is also why using a UPS is generally a smart idea regardless of the filesystem you choose.
That said, I’ve personally been running Btrfs RAID5 on another UGREEN NAS for over a year now without issues — though as always, make sure you have proper backups and do your own research.
Apps, Features, and Security
After getting storage configured, I enabled SMB, WebDAV, FTP, Bonjour, and SSH, adjusted some permissions, created another user account, and configured a shared folder. Honestly, all of that was pretty easy.
And if you do get stuck, there’s a built-in help section with links to tutorials and documentation directly inside the interface.
Compared to something like Synology or QNAP, UGREEN’s app ecosystem is still relatively small, but it already includes a lot of the core functionality most people are probably looking for. Things like media streaming, snapshots, virtualization, cloud syncing, and Docker support are all already there.
The Photos app also ties into UGREEN’s built-in AI model system for things like facial recognition, duplicate image detection, OCR text recognition, and even cat and dog breed recognition.
Most of those AI features worked surprisingly well overall, although some parts still felt a little rough around the edges in my testing — particularly the pet breed recognition. I also noticed portions of UGREEN’s AI documentation felt somewhat incomplete, so I wasn’t really able to find a clear answer for a few of the issues I encountered.
If you want remote access, UGOS also includes a feature called UGREENlink so you don’t have to deal with manual port forwarding. That said, if you’re especially security-conscious, you could always disable remote access entirely and instead use something like Tailscale or your own VPN setup instead.
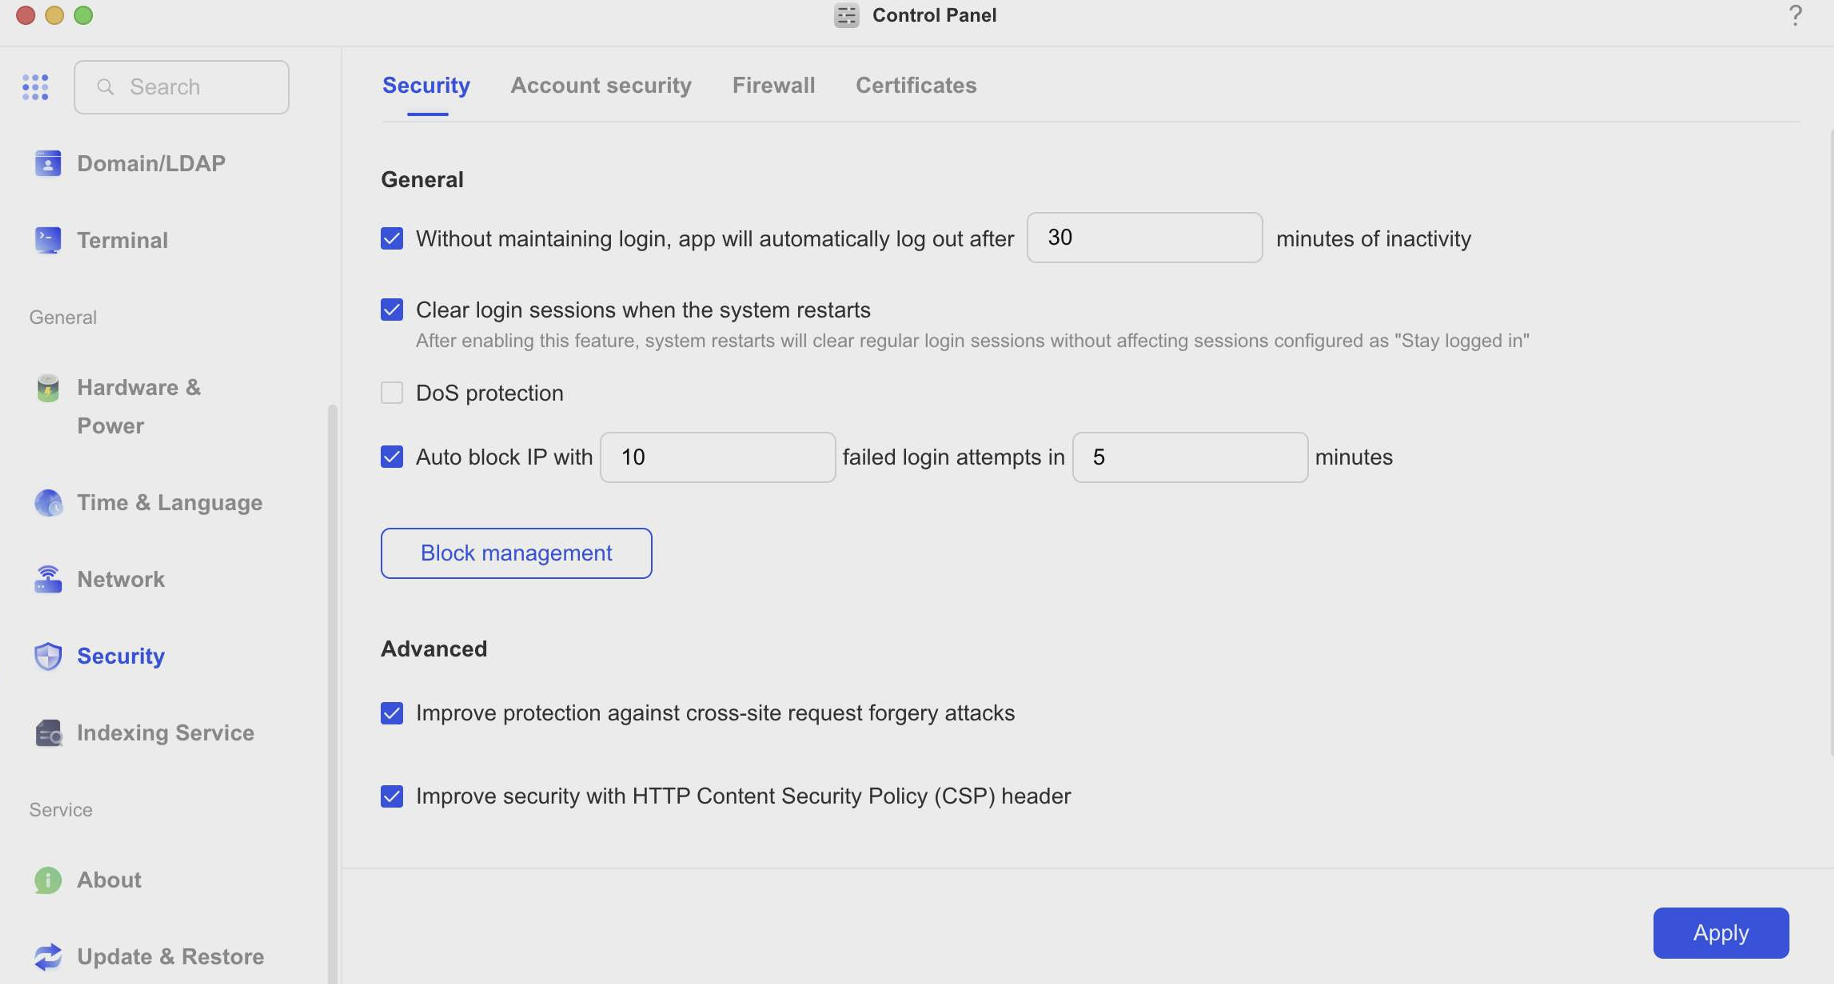
I also liked several of the smaller security-focused touches throughout UGOS. SSH access can be limited to the local network, the system recommends using timed SSH sessions rather than leaving SSH permanently enabled, and there’s support for things like automatic IP blocking, firewall rules, TLS encryption settings, session management, certificate management, and built-in two-factor authentication.
Overall, the platform seems to put a decent amount of focus on sensible security defaults and account protection right out of the box.
Docker, Virtualization, and Media Streaming
One area where I think a lot of people are probably going to spend time on a NAS like this is media streaming.
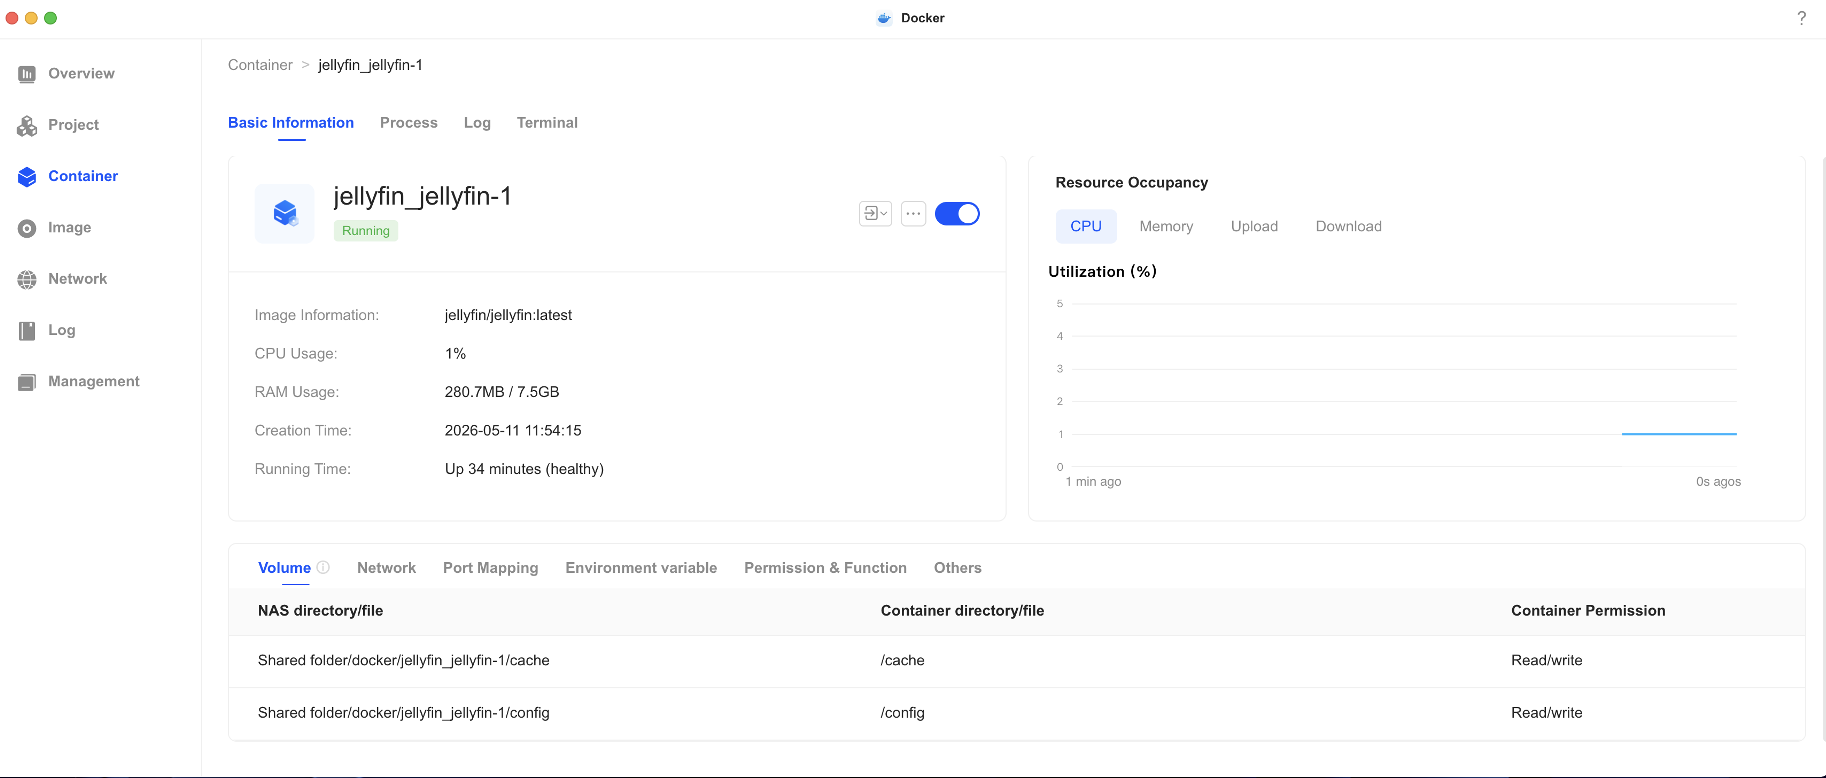
For that, you can either install Jellyfin directly through the app store or deploy it yourself using Docker.
Honestly, the Docker app reminded me a little bit of using Portainer. You basically search for an image, download it, and create the container. Very simple.
There’s also a “Projects” feature that allows you to deploy multiple related containers together using a single YAML file. So instead of manually configuring every container individually, you can launch an entire stack at once — like the Joplin setup I showed running on my DXP6800 Pro which included both the application itself and a PostgreSQL database container.
Power efficiency during testing was also pretty impressive. At idle, the DXP4800 Pro hovered around 31.5 watts.
Even after running an Ubuntu virtual machine, allocating 4GB of RAM, installing Chromium, and simultaneously streaming a 20-minute 4K video through Jellyfin over 10GbE, the system only climbed to around 43–44 watts.
Honestly, for a NAS with virtualization, Docker, 10Gb networking, and media streaming workloads, that’s pretty respectable.
Installing TrueNAS
Now let’s switch gears and install TrueNAS onto the 256GB NVMe drive I installed earlier so we can preserve the original UGOS installation.
I also swapped in a separate set of 2TB IronWolf drives for this portion of the testing so I wouldn’t disturb the existing UGOS storage pools.
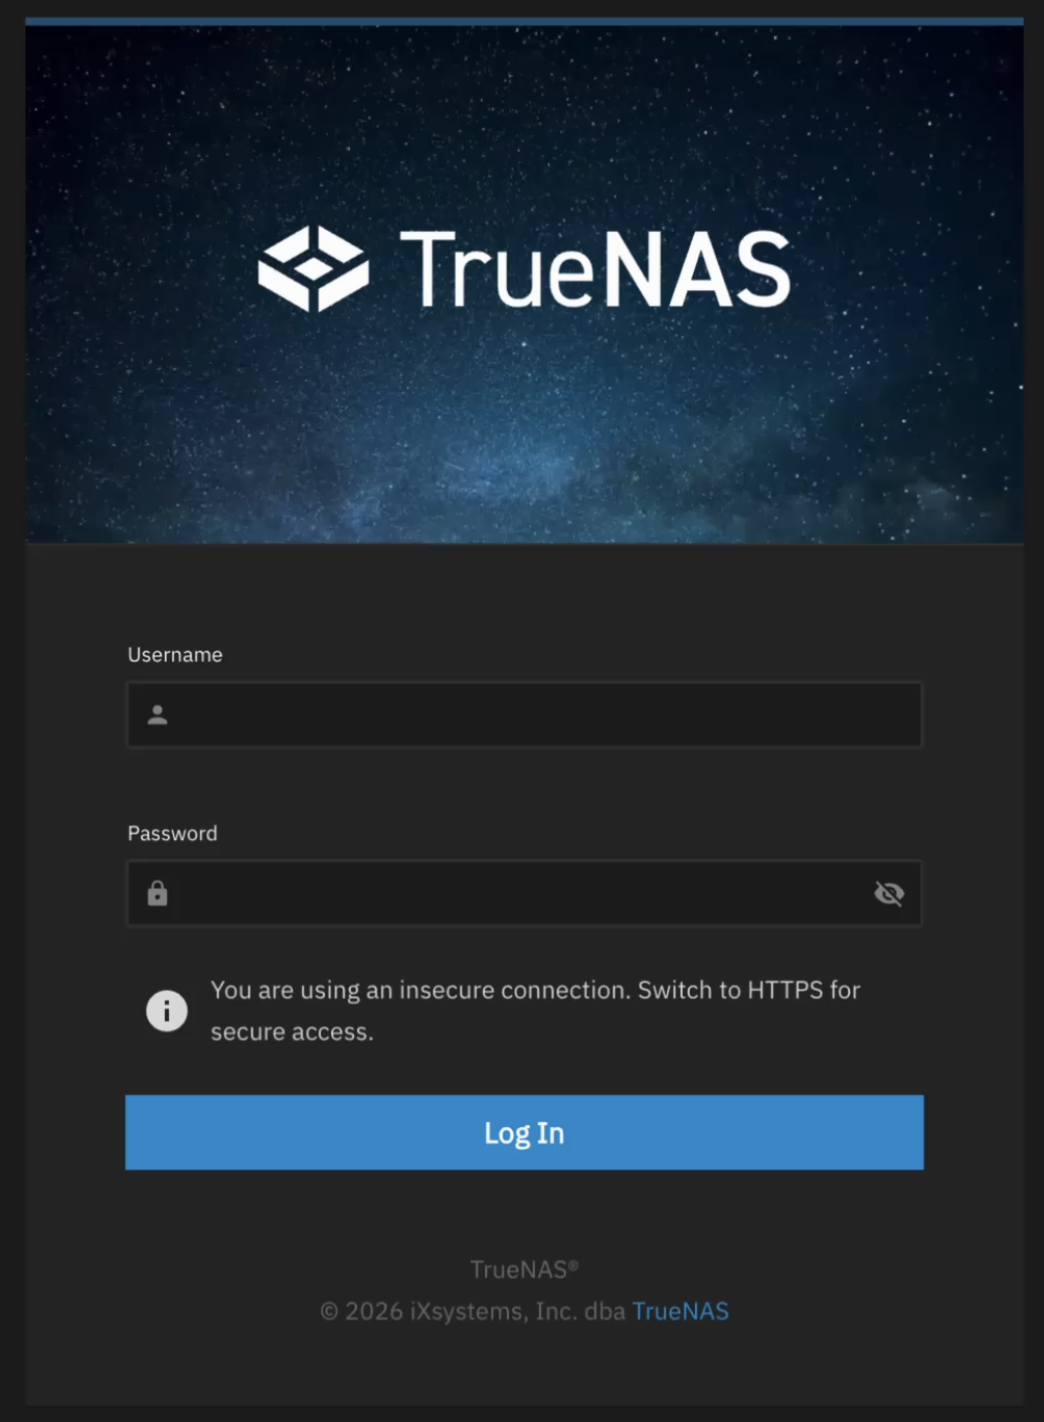
I downloaded TrueNAS Community Edition version 25.10.3.1, flashed it to a USB drive using balenaEtcher, connected a monitor through HDMI, attached a keyboard and mouse dongle, and booted into the installer.
Inside the BIOS, I enabled booting from the NVMe drive and disabled the system watchdog feature. Otherwise, the NAS would automatically reboot itself if it didn’t detect UGREEN OS running.
After setting the TrueNAS USB installer as the primary boot device, I selected the 256GB NVMe SSD as the installation target and completed the installation.
The process itself was actually pretty quick.
Once installed, I configured networking, signed into the TrueNAS web interface, and immediately noticed one of the more classic ZFS behaviors: aggressive RAM caching.
At first glance, memory usage looked surprisingly high even though I hadn’t created any pools yet, but that’s completely normal behavior for ZFS and one reason many DIY users prefer it.
Power usage while mostly idle was still hovering around only 31.5–32 watts, which was honestly pretty impressive considering TrueNAS and its associated services were already running.
The DIY Side of Things
Once I created my ZFS mirror pool and enabled things like SSH and NFS, I started installing apps and virtual machines.
And this is where the difference between turnkey and DIY platforms really becomes obvious.
TrueNAS definitely has the more mature app ecosystem overall with a massive catalog of community-driven containerized applications. But compared to UGOS, there’s also a lot more manual configuration involved.
You’re usually dealing with datasets, permissions, storage mappings, application paths, and network configuration before things work exactly the way you want.
Long story short, TrueNAS expects you to think more like a system administrator.
That added complexity gives you significantly more flexibility and control, but it also means there are a lot more moving parts involved compared to something like UGOS.
For example, unlike UGOS — which includes a built-in browser-based VM console — I had to use a separate VNC application to remotely access my Ubuntu virtual machine installer inside TrueNAS.
Power usage also climbed slightly higher under TrueNAS during heavier workloads. While streaming a local 4K video through Jellyfin and simultaneously installing Ubuntu 26.04 inside a VM, the system hovered around 51 watts, which honestly still seems pretty reasonable considering we were now running ZFS, virtualization, and media streaming workloads all at the same time.
Final Thoughts
After spending time with both UGOS and TrueNAS on the DXP4800 Pro, I really think UGREEN has found an interesting middle ground here.
If you just want media streaming, backups, Docker, virtualization, simple remote access, and an easy-to-manage NAS, UGOS already feels surprisingly polished and approachable.
But at the same time, the hardware itself also feels open enough that if you eventually want to experiment with something more DIY-focused like TrueNAS, Proxmox, or another operating system entirely, you can absolutely do that too.
And honestly, I think that flexibility is a big reason these systems have become so popular in the homelab community recently.
Personally, if I were setting something up for family members or somebody newer to self-hosting, I’d probably lean more toward leaving UGOS installed because it’s simpler and more approachable.
But for people who enjoy deeper customization, virtualization, containers, advanced storage management, and tinkering with their systems, running something like TrueNAS on the hardware was actually a lot of fun.
In the end though, I don’t really think this is about “UGOS versus TrueNAS.”
It’s more about figuring out which approach fits you best.
And with the Core i3 processor, support for up to 96GB of RAM, dual NVMe slots, and 10Gb networking, the DXP4800 Pro hardware itself feels very capable regardless of which direction you decide to go.
And speaking of turkney NAS, i have a dedicated video on why I switched over to UGREEN after being a Synology customer for 15 years!
💻 Hardware Used:
✅ Some links may be affiliate links, which help support me and help keep ads off here!
- 2TB Ironwolf HDD Used on TrueNAS: https://amzn.to/4uBXn9X
- UGREEN DXP4800 Pro: https://amzn.to/4uG8n67
- UGREEN DXP6800 Pro: https://amzn.to/4tKmKoF
- 4x 8TB Ironwolf HDD Used in 6800 Pro: https://amzn.to/4diniNt
- 256 Kingspec NVMe Drive: https://amzn.to/4ukfJvG